Adjusting the Screen Size (Aspect)
The screen size of the projected image can be adjusted optimally according to the original screen size (aspect) that
has been input.
1
Press the [MENU] button to display the menu
2
Select “Installation” " “Aspect” in the menu, then select the setting and press [OK]
0
Lens Control
Pixel Adjust
Mask
Screen Setting
Aspect
Anamorphic Off
Front
Auto
Installation Style
Mode 1
Keystone
Installation Mode
Setting Description
Zoom Magnifies the input image horizontally to the maximum while maintaining its aspect
ratio for display.
Part of the image that runs off the edge vertically will not be displayed.
* Displayed in a width of 3840 pixels when in the 3D mode.
Auto Magnifies the input image horizontally or vertically to the maximum while
maintaining its aspect ratio for display.
Native Any image below 1920x1080 and 2048x1080 will be scaled 4 times the native
resolution of the source.
Any source above 1920x1080 will be shown without any scaling. *2048x1080 the
exception.
3
Press the [MENU] button to exit
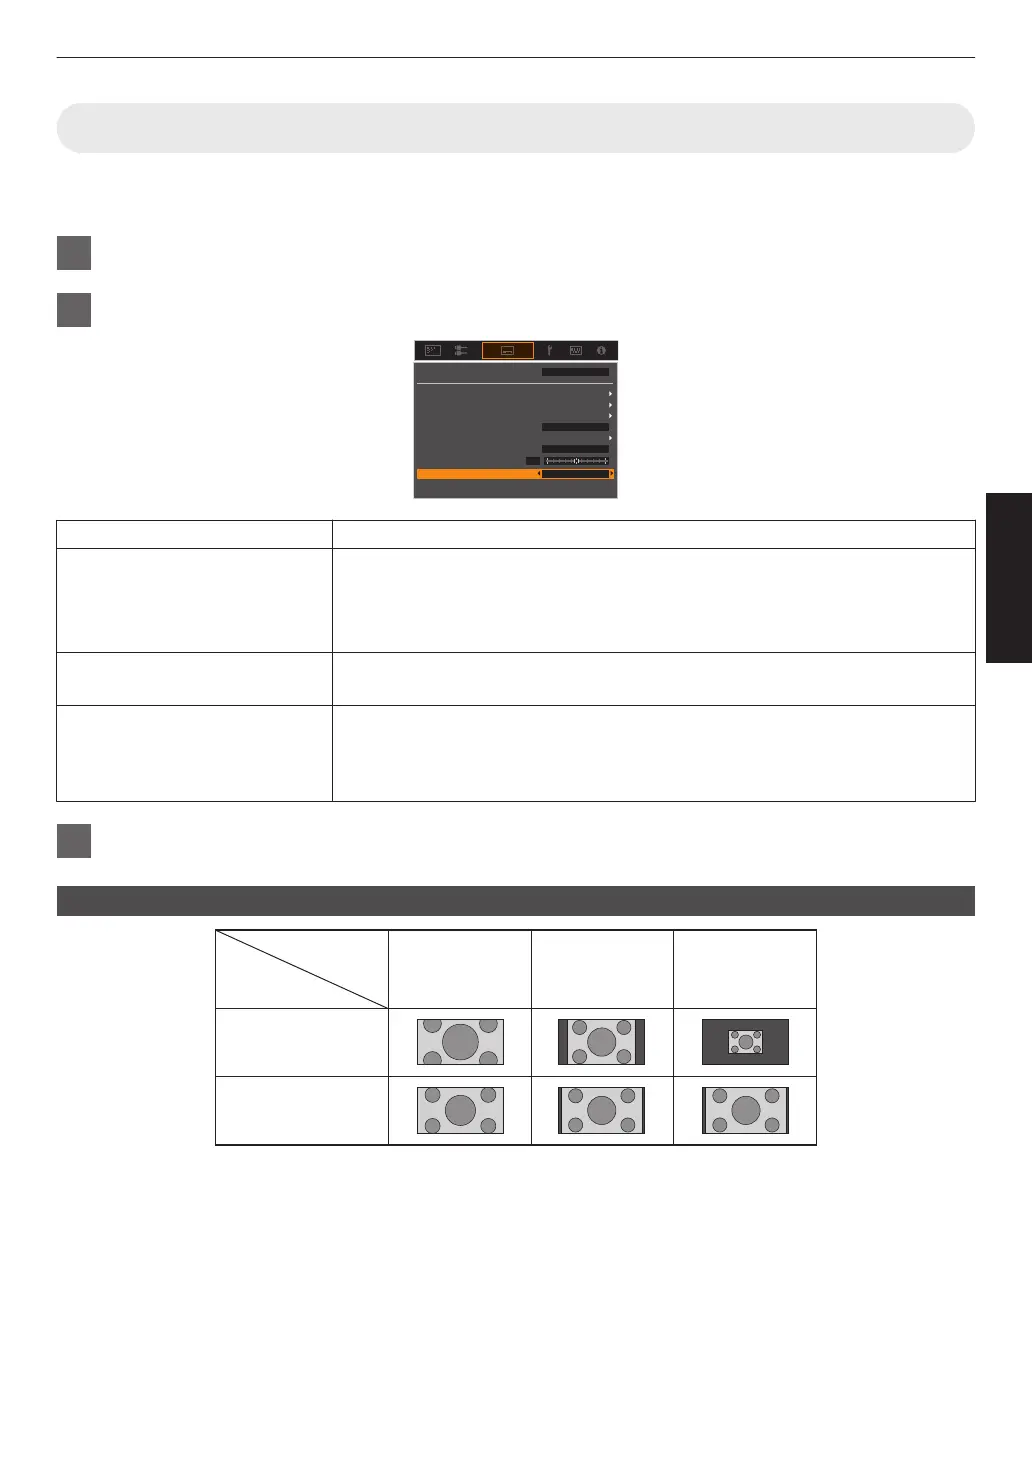
Example of input image and screen size
Zoom
720×480
1920×1080
Setting
Input Image
Size
Auto Native
25
Operate
 Loading...