- 26 -
Adding a Timer
Press • YELLOW button on the remote control to
add a timer. The following menu appears on the
screen:
Channel: Changes network type by using “
” or “ ”.
Timer Type: This feature is unavailable to be set.
Date: Enter a date using the numeric buttons.
Start: Enter a starting time using the numeric
buttons.
End: Enter an ending time using the numeric
buttons.
Duration: Displays duration between the starting and
ending time.
Repeat: Sets a timer to be repeated as Once, Daily or
Weekly. Use “
” or “ ” buttons to select an option.
Press • GREEN button to save the timer. Press RED
button to cancel.
Change/Delete:Controls parental settings on timers.
Editing a Timer
Select the timer you want to edit by pressing “• ”
or “ ” button.
Press • GREEN button. Edit Timer menu screen will
be displayed.
When fi nished with editing, press • GREEN button to
save. You can press MENU button to cancel.
Deleting a Timer
Select the timer you want to delete by pressing “•
” or “ ” button.
Press • RED button.
Select • YES by using “
” or “ ” buttons to delete the
timer. Select NO to cancel.
Confi guring Date/Time Settings
Select Date/Time in the Settings menu to confi gure
Date/Time settings. Press OK button.
Use “• ” or “ ” buttons to highlight Date/Time.
Date,Time,Time Settings Mode and Time Zone Setting
will be available.
Use “ ” or “ ” buttons to highlight the Time Settings
Mode. Time Settings Mode is set using “ ” or “ ”
buttons. It can be set to AUTO or MANUAL.
When AUTO is selected, Date/Time and Time Zone
options will not be available to be set. If MANUAL
option is selected as the Time Zone can be altered:
• By pressing “
” or “ ” buttons select Time Zone.
Use “
” or “ ” buttons to change the Time Zone
between GMT-12 or GMT+12. Date/Time on the top
of the menu list will then change according to the
selected Time Zone.
Changes are automatically stored. Press • MENU to
exit.
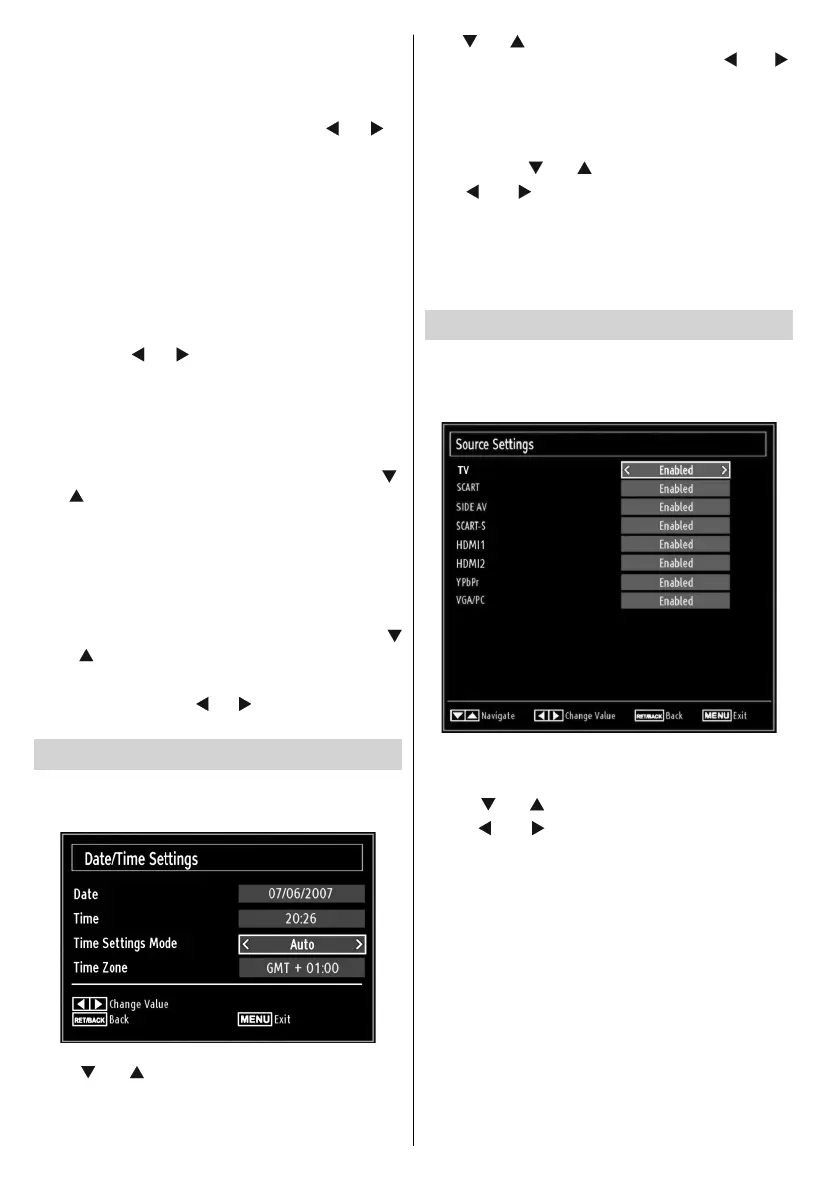
Confi guring Source Settings
You can enables or disable selected source options. The
TV will not switch to the disabled source options when
SOURCE button is pressed.
Select • Sources in the Settings menu and press OK
button.
Press“•
” or “ ” buttons to select a source.
Use “•
” or “ ” button to enable or disable the
selected source. Changes are automatically
stored.
Note : YPbPr mode can be used only when you
connect a device that has a YPbPr output through the
PC input with YPbPr to PC cable (supplied).
01_MB62_[GB]_woypbpr_3902UK_IDTV_NICKEL17_32925W_10075176_5020xxxx.indd 2601_MB62_[GB]_woypbpr_3902UK_IDTV_NICKEL17_32925W_10075176_5020xxxx.indd 26 27.10.2011 13:24:2127.10.2011 13:24:21
 Loading...