experience. We recommend that you spend some time reading this instruction manual so that you fully
Read all the safety instructions carefully before use and keep this instruction manual for future reference.
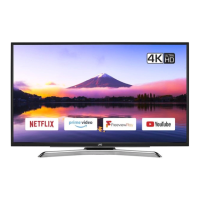
Thank you for purchasing your new JVC TV.
Your new TV incorporates the latest technology to enhance your viewing
experience. We would suggest that you allow about 15 mins for initial setup.
Please follow this guide for a successful rst time installation.
The latest eco-friendly power-saving technology will switch o the TV if
it is left on and idle for 4 hours. Please refer to “Auto Standby” under the
“Time Settings” section of the instruction manual for more detail.
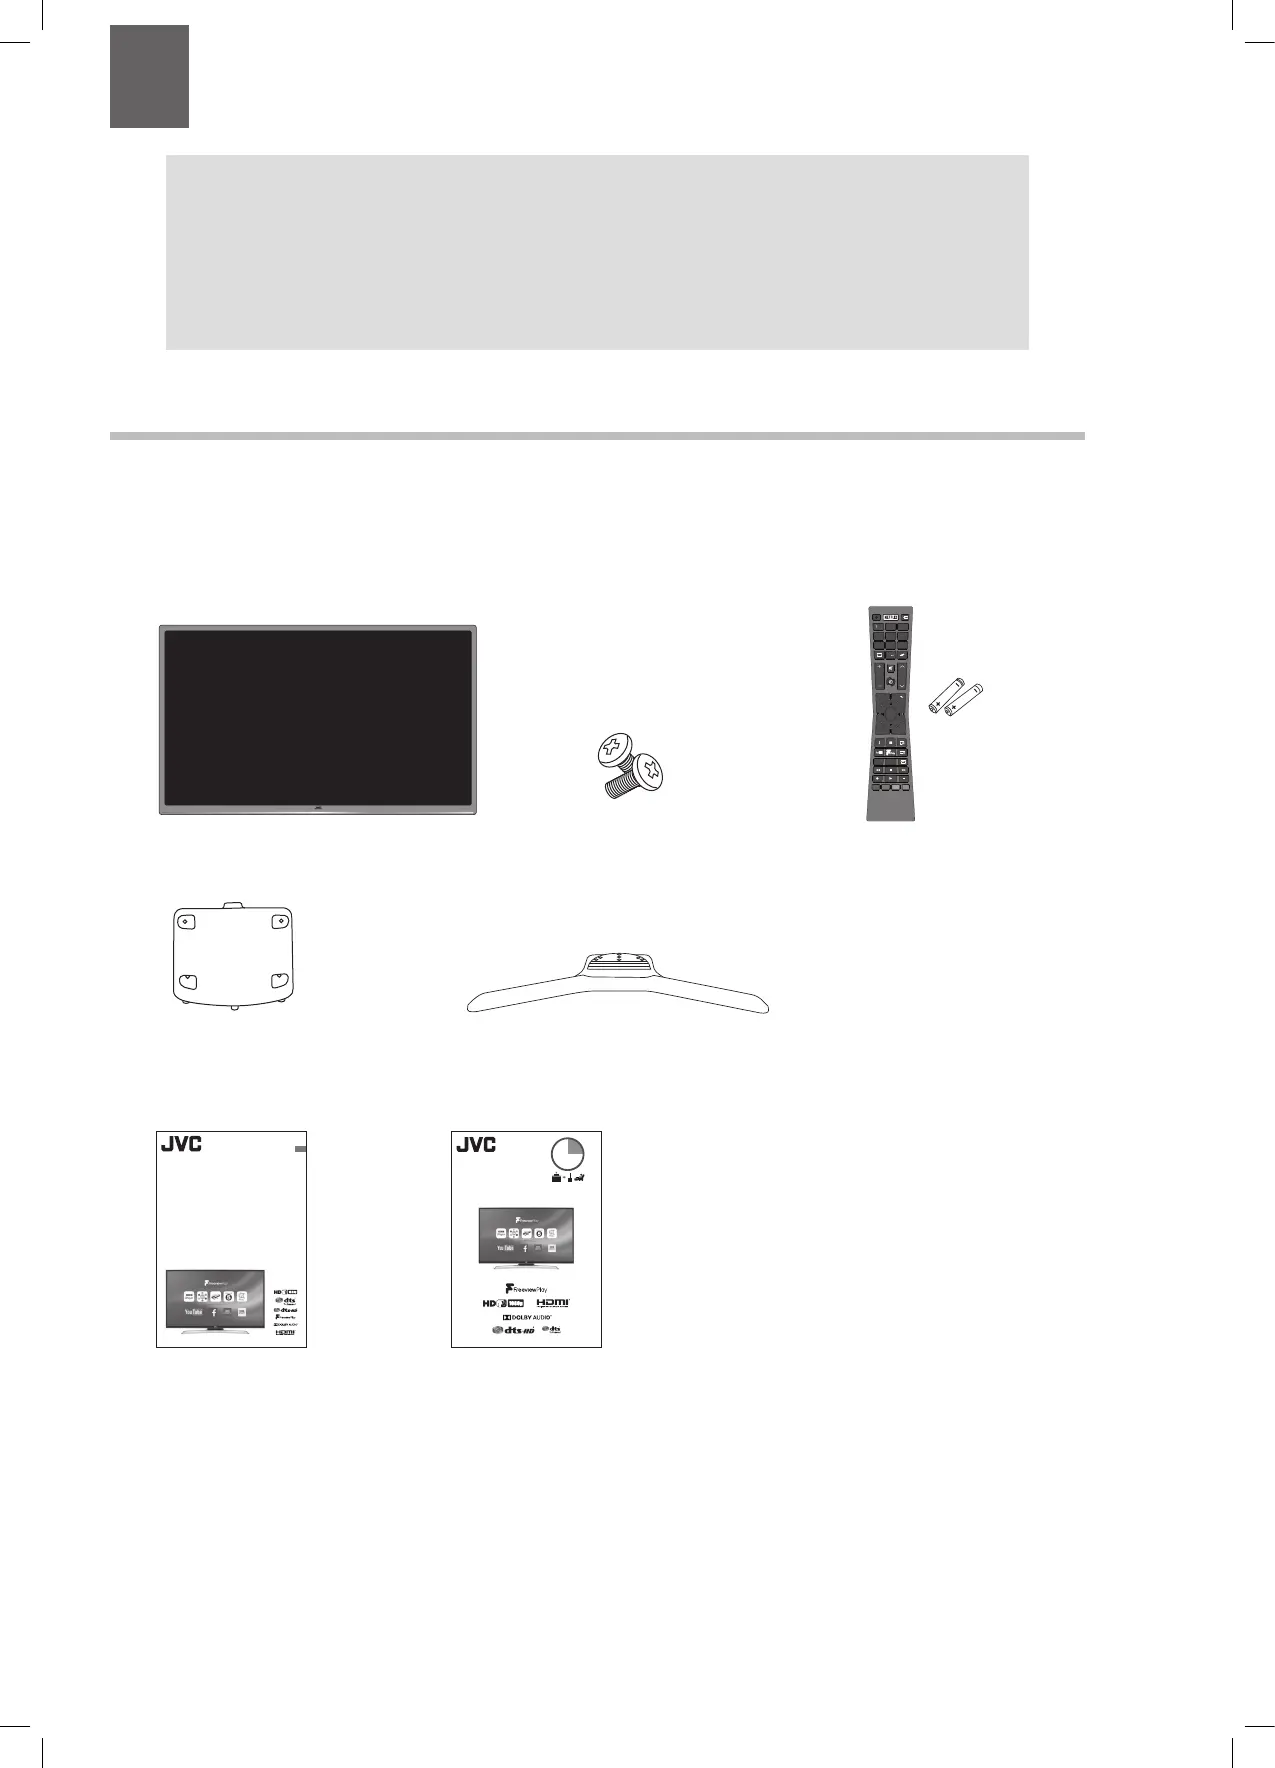
What’s in the Box?
1
Remove all packaging from the unit. Retain the packaging. If you dispose of it please do so according to any local regulations.
TV
TV Stand Neck
TV Stand Base
Remote Control/
AAA Batteries x2
Screws x 8
Instruction Manual
Quick Start Guide
Please inspect your TV for damage after unpacking. If
you do notice any damage please consult your dealer.
Operating Your Remote Control
2
1. Slide open the battery compartment on the back of the remote control.
2. Insert two AAA size batteries. Make sure to match the (+) and ( - ) ends of
the batteries with the (+) and ( - ) ends indicated in the battery compartment.
3. Slide the battery compartment cover back into place. Make sure it clicks into place.
Fitting the Stand Neck and Base Together
1. Fit the neck onto the base.
2. Using 4 of the supplied screws, screw the neck to the base.
Fitting the Stand to the TV
3. Ensure the TV is switched off and not connected to the mains power supply.
4. Lay the TV down on a flat surface ideally on the edge of a table so the base of the TV slightly
overhangs the edge of the table, with the back side facing up. Please make sure a soft cushioned
material (such as a dry bath towel or thick piece of foam) is placed beneath the screen.
5. Slide the stand under the lip, the neck will fit snugly over the screw holes.
Then screw the stand to the TV using the 4 screws supplied.
Installing the Base Stand
3
The LCD display is very fragile, and must be protected at all times when installing and removing the base stand. Be sure that no hard or sharp object, or
anything that could scratch or damage the LCD display, comes into contact with it. DO NOT exert pressure on the front of the TV at any time because the
screen could crack.
• Do not connect the TV to the mains supply until you have completed all the connections.
• Always disconnect the TV from the mains socket when not in use for a long period of time.
• The
button on the remote control is only used for switching the TV into standby, it does not disconnect the TV from the mains power.
To completely disconnect the mains power, please remove the mains plug from the mains socket.
1. Connect one end of the RF coaxial cable to the aerial socket on the wall and the other end of the cable to the ANT socket on the back of your TV.
2. Plug the TV into a mains socket and switch on at the mains.
3. In standby mode, press the
button on the remote control to turn the TV on. The LED indicator will ash for a few seconds then the TV will switch on.
Connecting the Aerial and Turning on the TV
4
SCART
SPDIF
VGA
ANT.
HDMI 1
(ARC)
HDMI 2
HDMI 3
LAN
Optic.OUT
RF coaxial cable
(not included)
Router
(not included)
SCART
SPDIF
Optic.OUT
VGA
ANT.
HDMI 1
(ARC)
HDMI 2
HDMI 3
LAN
Optional
If you want to connect to the internet via a wired connection
then connect your ethernet cable to the LAN socket.
 Loading...