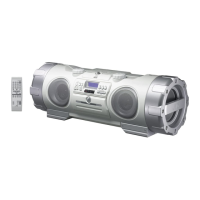
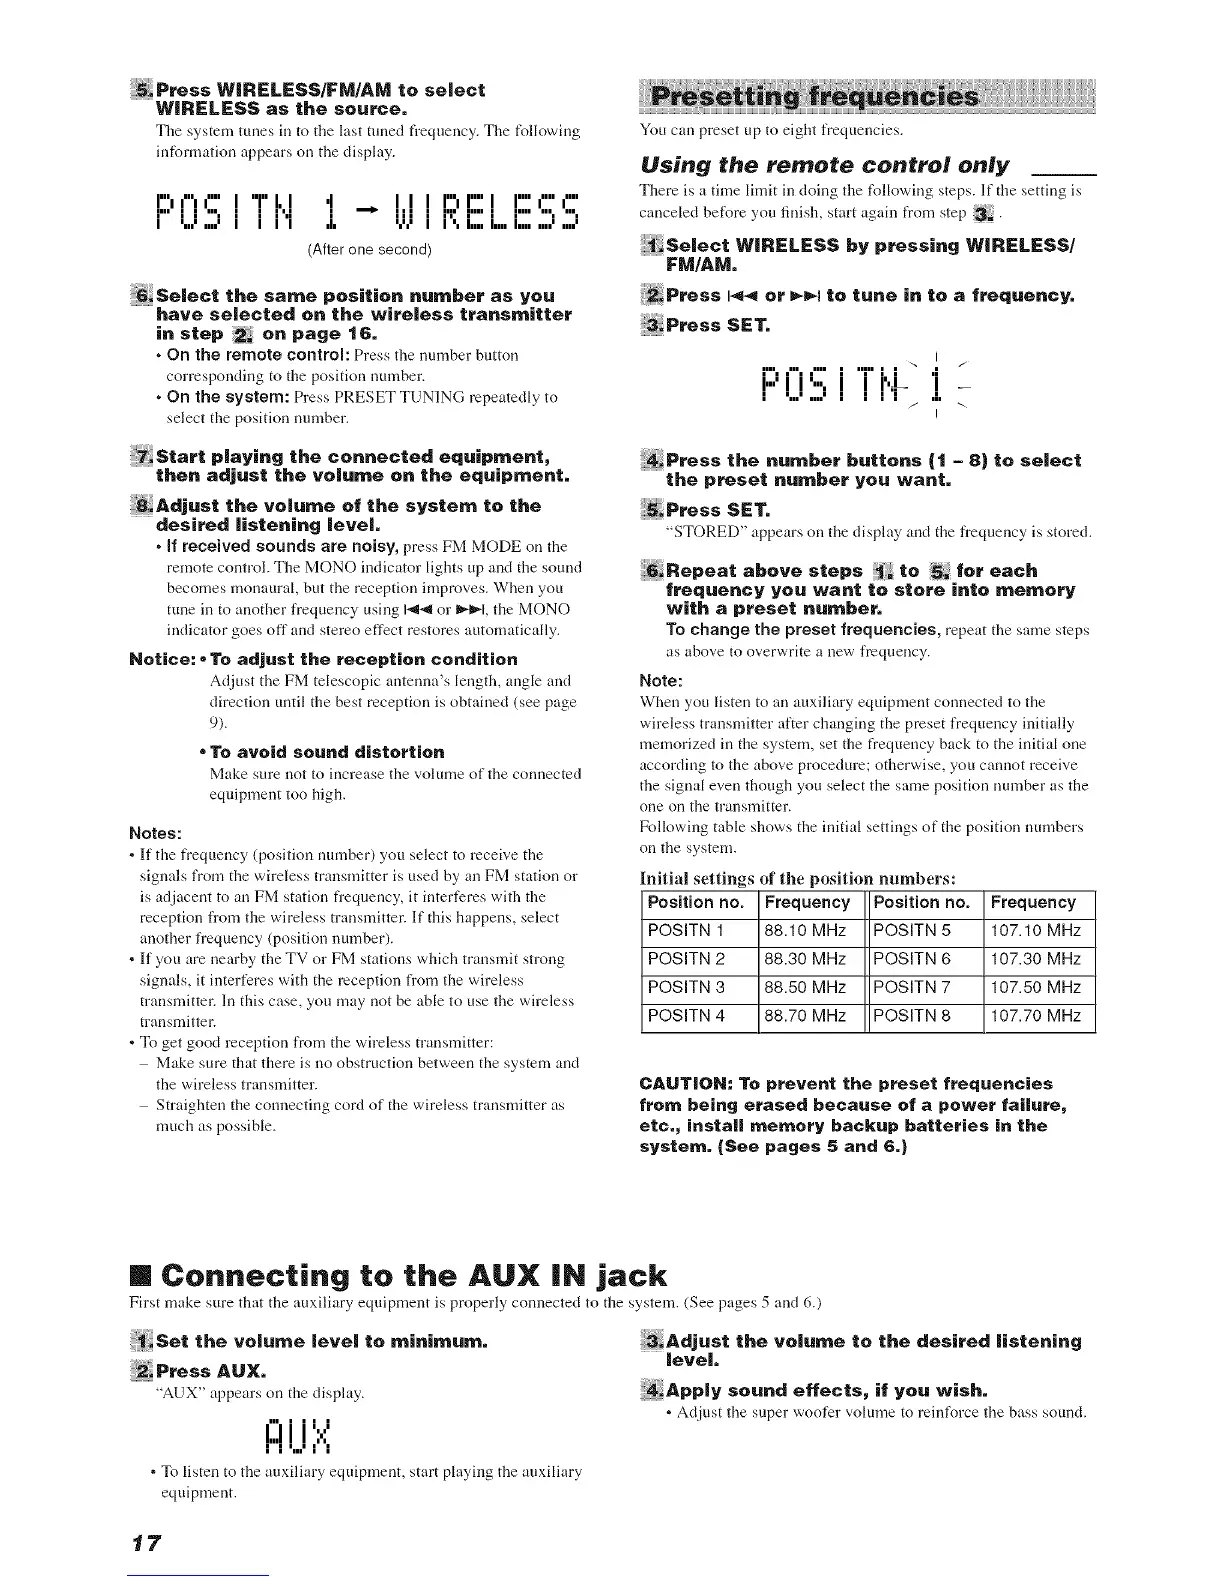
Press WIRELESS/FM/AM to select
WIRELESS as the source=
The system tunes in to the last tuned frequency. The following
int'ormation appears on the display.
l"li"ll .... I'T'I,I 'I l lll"ir"l l"'i""i ....
r" I 1% I I I'.I I --_ I I I JJrr I-- I-- % %
I %'..' I I I I .h %' I I'. I.. I.. I....'..'
(After one second)
_ Select the same position number as you
have selected on the wireless transmitter
in step 2= on page 16,
o On the remote controh Press the number button
corresponding to the position number.
• On the system: Press PRESET TUNING repeatedly to
select the position number.
playing the connected equipment,
then adjust the volume on the equipment=
thevo'umeofthe systemto the
desired listening level.
• if received sounds are noisy, press FM MODE on the
remote control. The MONO indicator lights up and the sound
becomes monaural, but the reception improves. When you
tune in to another frequency using I-4< or IDq_l, the MONO
indicator goes off and stereo effect restores automatically.
Notice: • To adjust the reception condition
Adjust tile FM telescopic antenna's length, angle and
direction until the best reception is obtained (see page
9).
• To avoid sound distortion
Make sure not to increase the vohlme of the connected
equipment too high.
Notes:
• If the frequency (position number) you select to receive the
signals from the wireless transmitter is used by an FM station or
is adjacent to an FM station fi'equency, it intefl'cres with the
reception from the wireless transmitter. If this happens, select
another frequency (position number).
= If you are nearby the TV or FM stations which transmit strong
signals, it inter[ores with the reception fi'om the wireless
transmitter. In this case, you may not be able to use the wireless
transmitter.
To get good reception from the wireless transmitter:
Make sure that there is no obstruction between the system and
the wireless transmitter.
Straighten the connecting cord of the wireless transmitter as
much as possible.
You can preset tip to eight frequencies.
Using the remote control only
There is a time limit in doing the following steps. If the setting is
canceled before you finish, start again from step _.
_:Select WIRELESS by p,essing WIRELESS/
FM/AM=
2_Press I<< or _t to tune in to a frequency=
P,essSET.
.I/
r". ,', ," I "r' I I .
""'"' I r''- I-
I ',,/ ,,,,' I I I / ,,
I
the numbe_buttons(1- 8)to select
the preset number you want.
P,essSET.
"STORED" appears on the display and the fl'equency is stored.
_Repeat above steps _ to :5_ for each
frequency you want to store into memory
with a preset number=
To change the preset frequencies, repeat tile same steps
as above to overwrite a new frequency.
Note:
When you listen to an auxiliary equipment connected to the
wireless transmitter after changing the preset frequency initially
memorized in the system, set the frequency back to the initial one
according to tile above procedure; otherwise, you cannot receive
the signal even though you select the same position number as the
one on the transmitter.
Following table shows the initial settings of the position numbers
on the system.
Initial settings of tl_e position numbers:
Position no. Frequency Position no. Frequency
POSITN 1 88.10 MHz POSITN 5 107.10 MHz
POSITN 2 88.30 MHz POSITN 6 107.30 MHz
POSITN 3 88.50 MHz POSITN 7 107.50 MHz
POSITN 4 88.70 MHz POSITN 8 107.70 MHz
CAUTION: To prevent the preset frequencies
from being erased because of a power failure,
etc., instal| memory backup batteries in the
system. (See pages 5 and 6.)
m Connecting to the AUX iN jack
First make sure that the auxiliary equipment is properly connected to the system. (See pages 5 and 6.)
thevolumelevelto minimum.
P,essAux.
"AUX" appears on the display.
I:::lii':,:'
I I '.,' I I
. To listen to tile auxiliary equipment, start playing tile auxiliary
equipment.
3adjust thevolumetothedesi,ed.stoning
level=
4 Apply sound effects, if you wish.
• Adjust tile super woofer vohlme to reinforce tile bass sound.
17
 Loading...