ENGLISH Window Washer
4
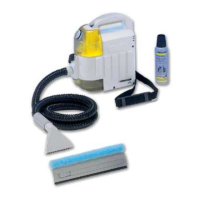
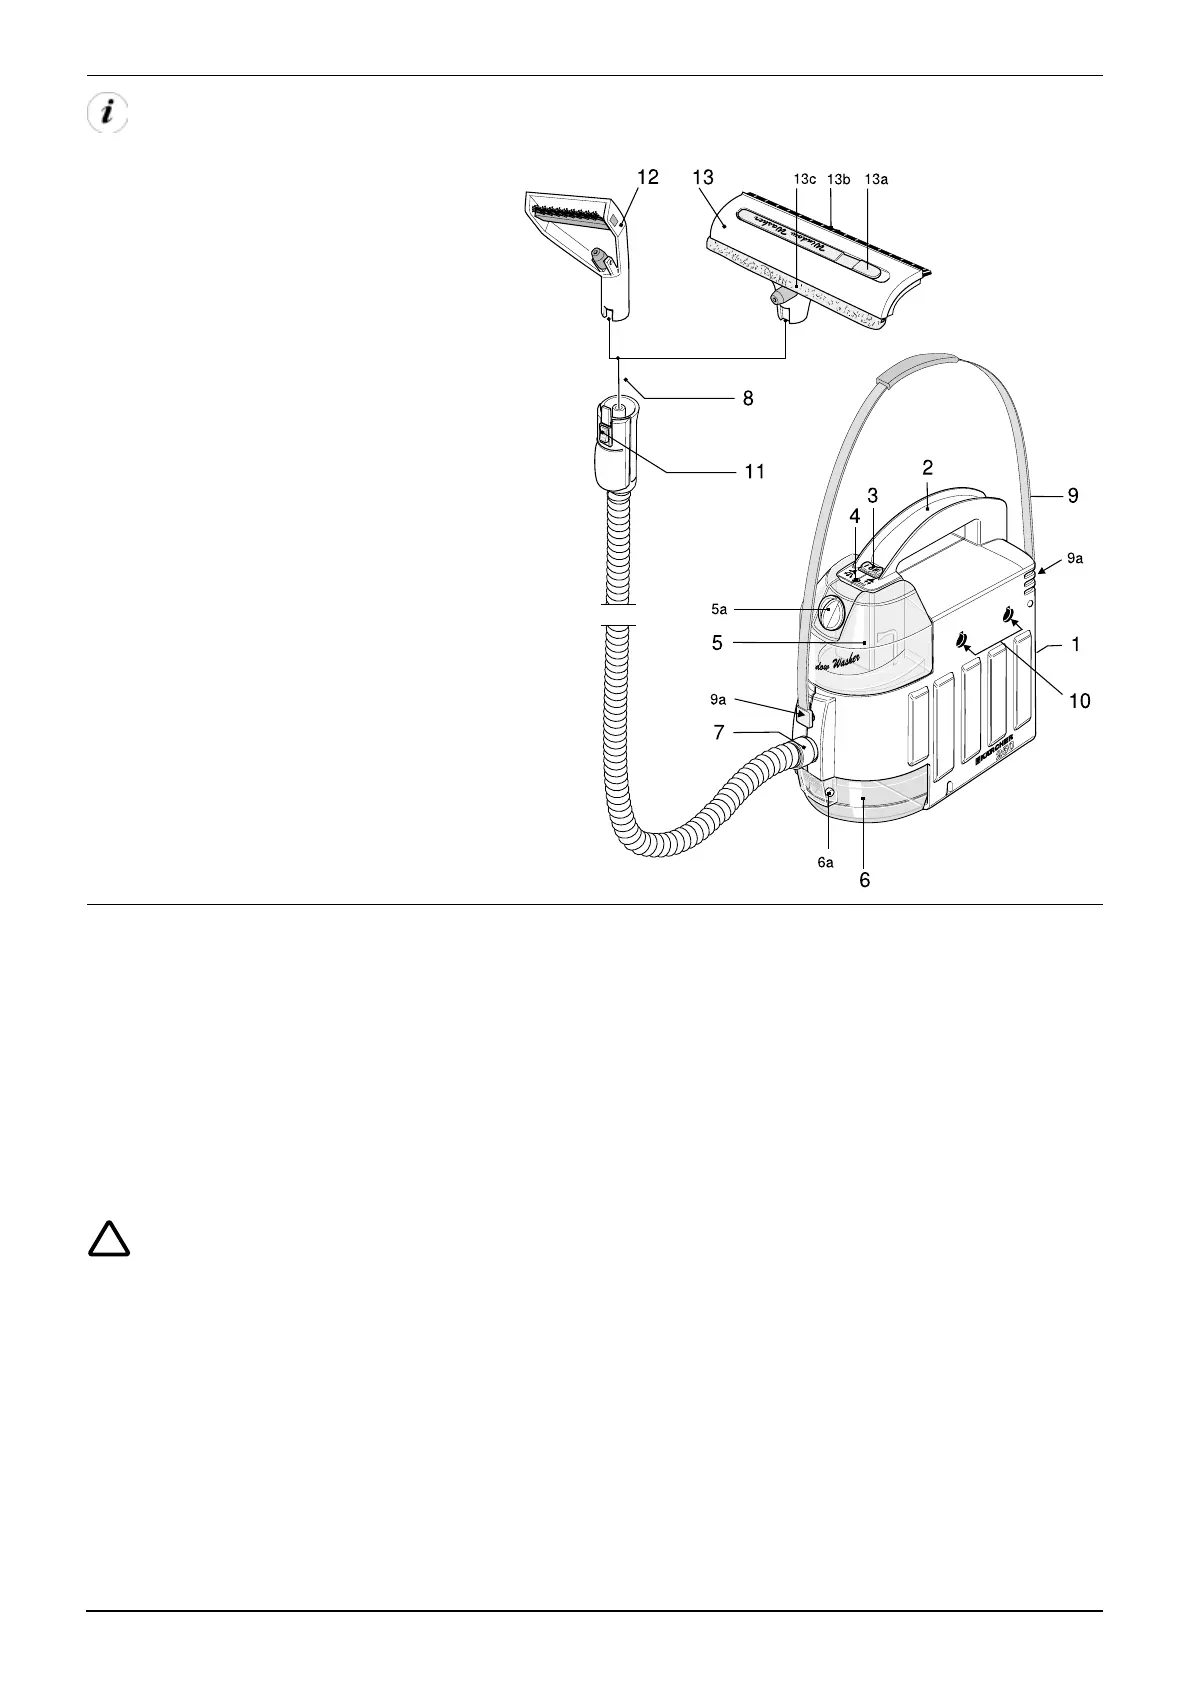
Unit diagram
1 Battery cover (not shown)
2 Carrying handle
3 Switch – spraying and vacuuming
4 Indicator lamp
5 Fresh-water tank
5a Cap – fresh-water tank
6 Dirty-water tank
6a Locking button – dirty-water tank
7 Threaded connection hose to unit
8 Plug-and-socket connection
hose to cleaning head or
hose to upholstery nozzle
9 Shoulder strap
9a Fastening point for shoulder strap
10 Fastening point for waist belt
11 Spray button
12 Upholstery nozzle
13 Cleaning head
13a Slider – cover
13b Rubber blade
13c Felt strip
1. Preparing the unit for use
Applications
• Removal of marks from upholstered furniture,
carpets or hard surfaces with the upholstery
nozzle.
• Cleaning of windows, tiles or smooth surfaces
(e.g. mirrors, kitchen cabinets, shower
surrounds) with the cleaning head.
!
Information about the battery
• The Window Washer should only be used with
the lead gel battery that has been supplied with
the unit. Use only the supplied charger to
charge this battery.
• The battery should never be allowed to become
fully discharged, so charge it as soon as the
indicator lamp on the unit illuminates
continuously or if there is a marked reduction in
performance (demonstrated by a drop in the
noise level and poor vacuuming results).
Please first fold out the left cover pages with the illustrations.
• We recommend that the battery is recharged
overnight after each use of the unit.
Overcharging cannot happen when doing so.
• If the unit is to remain unused for a lengthy
period of time, store the unit only with fully
charged battery.
• See Chapter 3 for technical specifications
relating to the battery and charger.
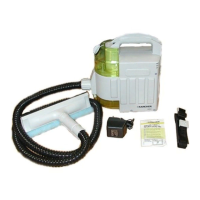
Charging the battery
• Open the cover at the rear of the unit and insert
the battery in such a way that the battery
contacts make contact with those of the unit.
Close the cover again. (Fig. A, B)
• Charge the battery by connecting the supplied
charger to the unit and then plugging the
charger into a mains socket. The indicator light
on the unit should illuminate to show that the
equipment has been correctly connected to the
mains. (Fig. C)
• After the battery has been on charge for approx.
15 hours, disconnect the charger from the mains.
 Loading...