English 9
Use suitable mounting tools for wall mounting.
Take the weight of the device and the loading capacity
of the installation location into account when selecting
the fasteners.
몇 WARNING
Risk of electric shock and injuries
Make sure there are no electrical cables, water or gas
pipes in the wall around the mounting area.
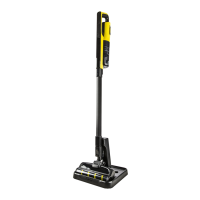
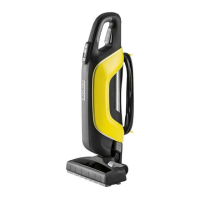
Initial startup
Installing accessories
Note
The multi-function brush is also driven by its own inte-
grated motor and must therefore always be connected
directly to the hand-held device or the suction pipe in or-
der to ensure the power supply.
All other accessor parts can also be used directly with
the hand-held device or with the suction pipe to increase
the reach.
Push the suction pipe on to the suction fitting of the
dust container until it audibly clicks into place.
Press the unlocking button and remove the suction
pipe from the suction fitting.
Illustration B
Push the floor nozzle on to the suction pipe until it
audibly clicks into place.
Press the unlocking button and remove the floor
nozzle from the suction pipe.
Illustration C
Push the accessory, such as the crevice nozzle, on
to the suction fitting of the dust container or suction
pipe until it audibly clicks into place.
Illustration D
Battery charging
Note
The device is not supplied with a charged battery. Fully
charge the battery before using it for the first time.
Please observe the enclosed safety instructions for bat-
tery powered vacuum cleaners.
1. To charge the device, attach it to the wall bracket in-
cluded in the scope of delivery.
Illustration E
2. Plug the charger into a socket.
Insert the connecting plug into the charging socket
of the device.
The LED indicator light flashes green during the
charging process.
Illustration F
3. When the device is fully charged, the LED indicator
light lights up continuously green for 2 min. and then
goes out.
Remove the charger from the power socket and
charging socket.
Remove the device from the wall bracket.
Illustration G
The device is ready for use.
Operation
LED display
The LED on the head of the device shows information
on the charging state of the battery and error messages.
The progress of charging the battery can be read from
the green LED. The LED only lights up when the battery
is correctly installed.
Changing accessories
To change accessories, see chapter Installing accesso-
ries
Vacuuming
1. Install the required accessories, see chapter Install-
ing accessories.
2. Switch on the device, depending on cleaning re-
quirements:
Press the On/Off switch and keep it pressed dur-
ing operation.
or
Turn the locking lever to switch the device directly
to continuous operation.
Illustration H
3. If necessary, press the Boost button to increase the
dust intake.
Illustration I
Note
When the device is switched off, the boost function is
automatically disabled.
The boost function can also be switched off by pressing
the Boost button again.
Ending operation
1. Switch off the device.
Release the On/Off switch or disable the locking le-
ver.
Note
To ensure an optimum suction performance, empty the
dust container and clean the air inlet filter after each
use.
Empty the dust container at the latest when the "MAX"
marking is reached.
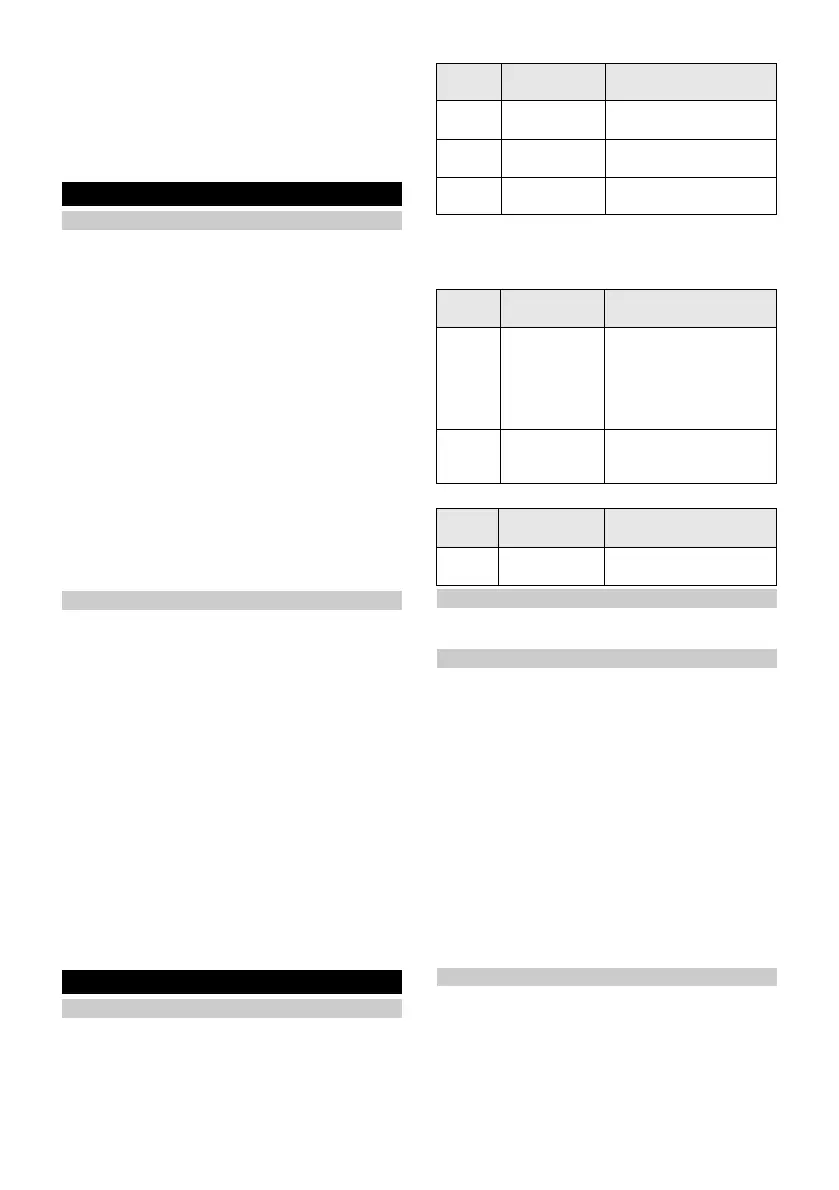
Battery charging state
LED Duration of
lighting
Meaning
Lights up
green
continuously Battery charged
Flashes
green
1 s on / 1 s off 2 min remaining running
time (-1 min/+2 min)
Flashes
green
125 ms on / 125
ms off
Battery fault
While charging
LED Duration of
lighting
Meaning
Flashes
green
0.2 s from off to
on /
0.6 s on /
0.2 s from on to
off /
1 s off
Battery is charging
Lights up
green
2 min continu-
ous lighting,
then off
Battery fully charged
Error message
LED Duration of
lighting
Meaning
Flashes
red
125 ms on / 125
ms off
Floor nozzle blocked
 Loading...