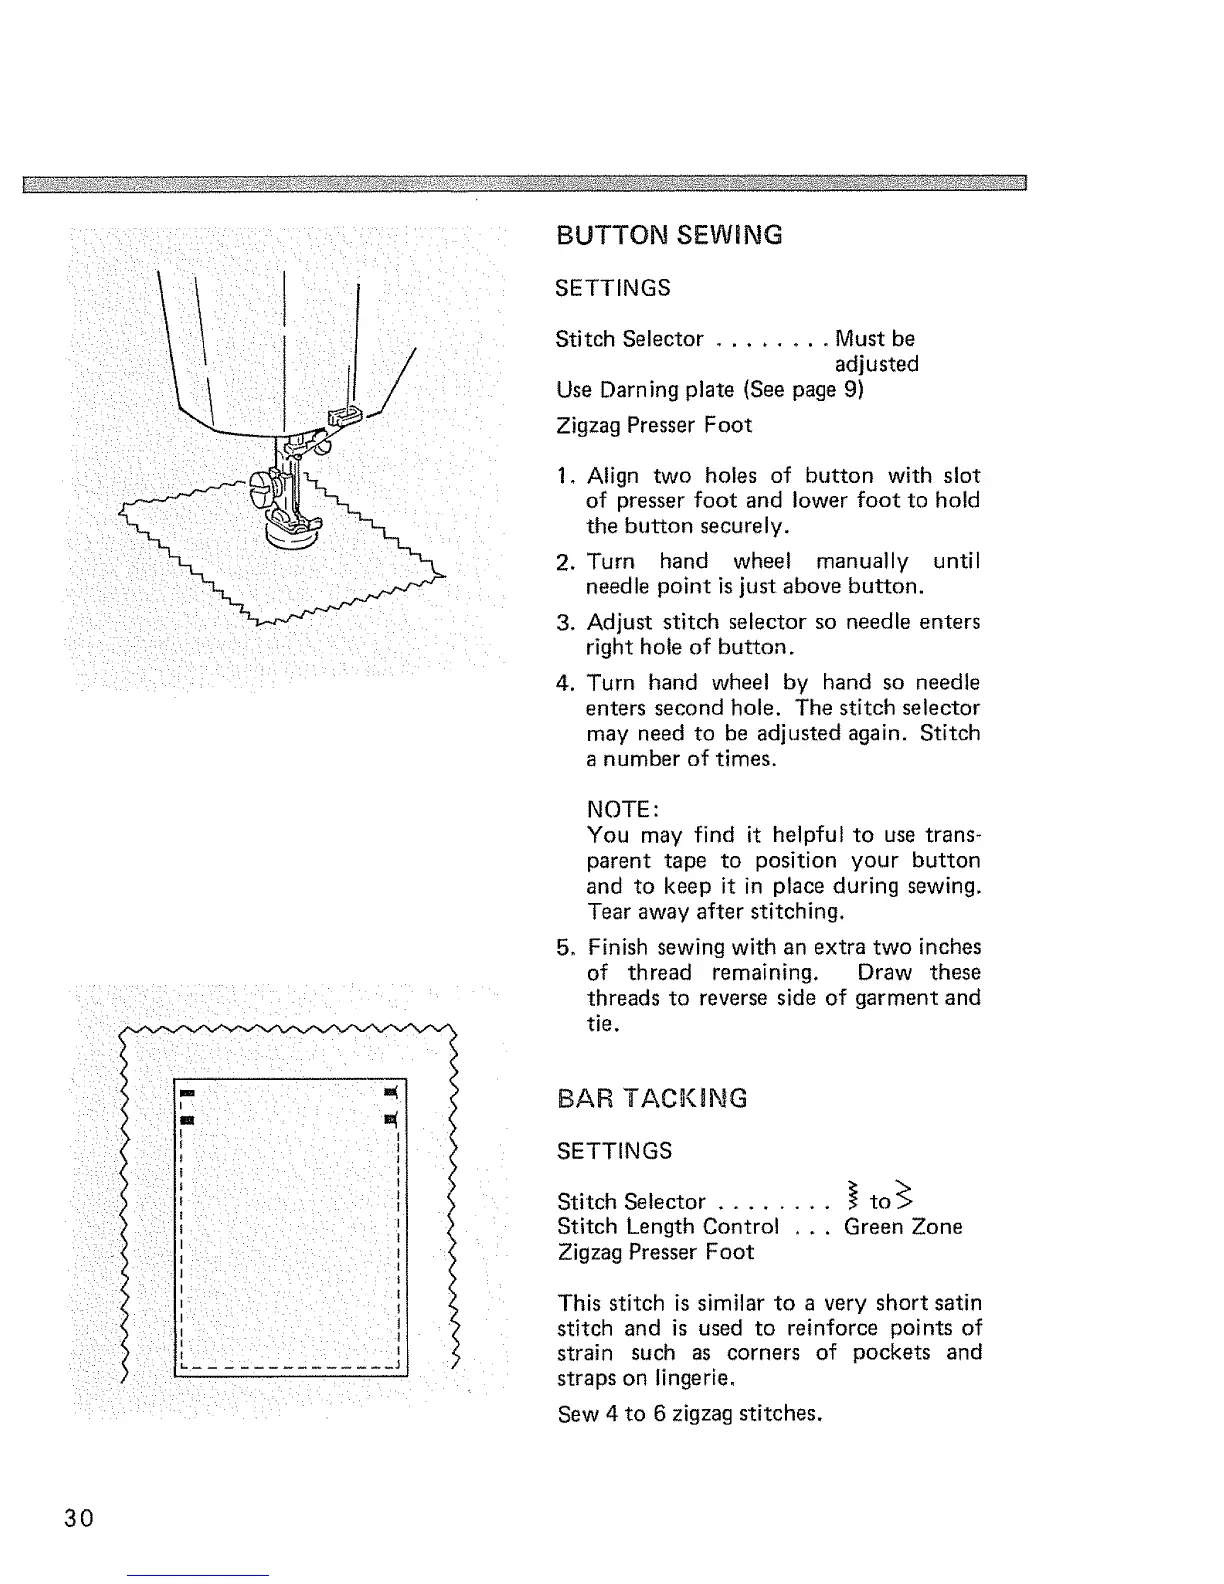
BUTTON SEWING
SETTINGS
Stitch Selector ........ Must be
adjusted
Use Darning plate (See page 9)
Zigzag Presser Foot
!, Align two holes of button with slot
of presser foot and lower foot to hold
the button securely.
2, Turn hand wheel manually until
needle point is just above button,
3. Adjust stitch selector so needle enters
right hole of button,
4. Turn hand wheel by hand so needle
enters second hole. The stitch selector
may need to be adjusted again, Stitch
a number of times.
5_
NOTE:
You may find it helpful to use trans-
parent tape to position your button
and to keep it in place during sewing.
Tear away after stitching.
Finish sewing with an extra two inches
of thread remaining. Draw these
threads to reverse side of garment and
tie,
BAR TAClKING
SETTINGS
Stitch Setector ........ _ to_
Stitch Length Control _ . . Green Zone
Zigzag Presser Foot
This stitch is similar to a very short satin
stitch and is used to reinforce points of
strain such as corners of pockets and
straps on lingerie,
Sew 4 to 6 zigzag stitches,
3O
 Loading...