RC-63DLN – Connecting the RC-63DLN Room Controller
4.1 Connecting RS-232 Devices
You can control an AV device such as a projector by connecting them to the
RC-63DLN via their RS-232 connection.
To connect a device to the RC-63DLN via RS-232:
Using a straight cable, connect pin 2 to TX, pin 3 to RX and pin 5 to GND on
the RS-232 terminal block connector of the RC-63DLN
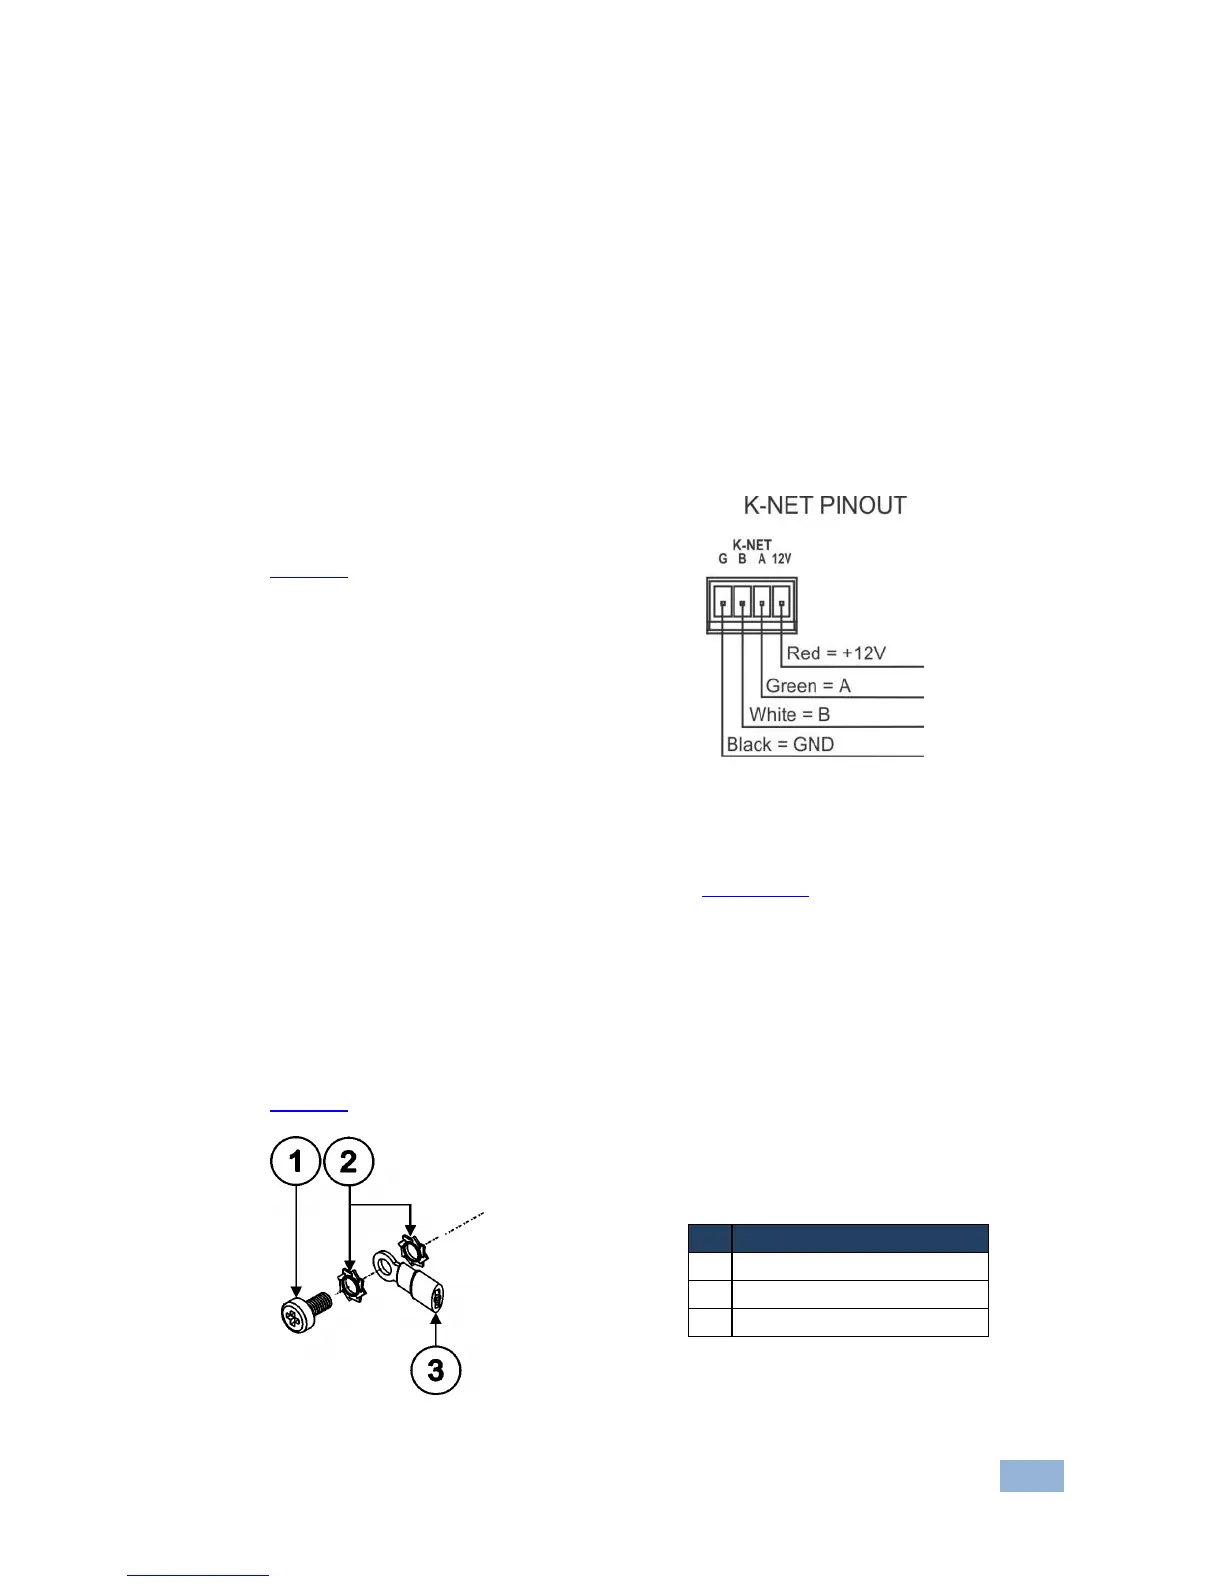
4.2 Connecting the K-NET Port
The K-NET port is wired as shown in
Figure 6.
Figure 6: K-NET PINOUT Connection
If your device is the first or last device on the line, slide the K-Net termination switch
up otherwise make sure it is set to down (see Section 3.2).
4.3 Grounding the RC-63DLN
The grounding screw is used to earth the chassis of the unit to the building ground
preventing static electricity from impacting the performance of the unit.
Figure 7 defines the grounding screw components.
Figure 7: Grounding Connection Components
 Loading...