21
EN
Installation of the lter cartridge - total duration: around 2 min
To get the best taste from your coffee and extend your appliance’s service life, we advise you to use only the Claris -
Aqua Filter System cartridge sold as an accessory.
Fig. 30 : Mechanism to indicate the month the cartridge was tted and when to replace it (after 2 months at most).
Installing the cartridge in the appliance. On rst use, screw the lter cartridge into the bottom of the water tank - Fig. 31.
Place a 0.6 l container under the steam nozzle.
Press the button for more than 3 seconds (unless the appliance requires a ‘CLEAN’ and/or ‘CALC’ maintenance).
The indicator light ashes.
When the installation of the lter cartridge is nished, the indicator light becomes constant.
Your appliance is ready for the next use.
The Claris cartridge needs to be replaced after about every 50 litres of water or every two months at least. If you are
using the Claris – Aqua Filter System cartridge, set the water hardness to level 0.
Settings
Connect the appliance to the mains power supply but do not turn it on.
Lift the cup grid by pressing on the back to make it tilt - Fig. 25.
Press the and simultaneously - Fig. 27.
The digital display for parameter setting is under the servicing ap - Fig. 28.
Look down vertically to the bottom of the window - Fig. 29.
Proposed settings order:
1. Adjust water hardness
2. Adjust coffee temperature
3. Adjustment of the auto-off function
4. Info
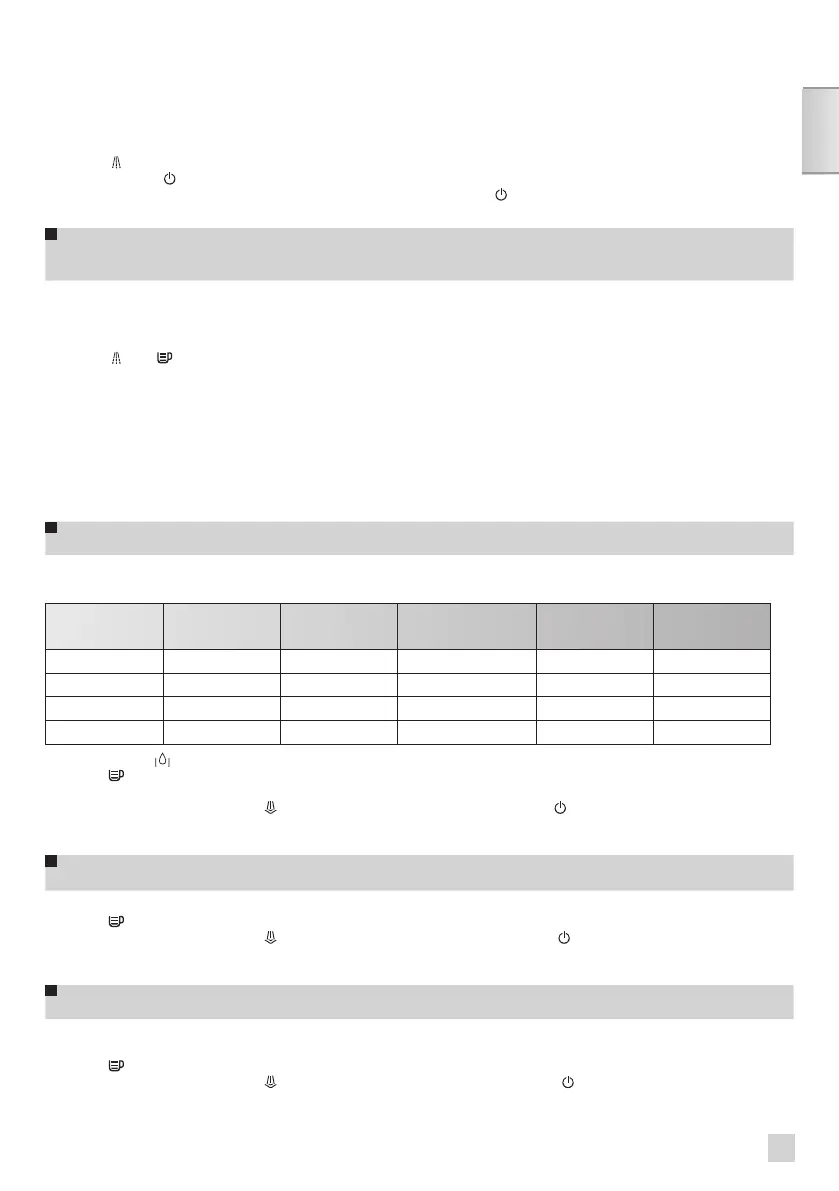
1. Setting water hardness
Appliances are pre-set in the factory for hardness level 4.
Before using the appliance for the rst time or if you have noted a change in water hardness, it is advisable to adapt the
appliance to the water hardness. Please contact your water supplier to nd out the water hardness in your area.
Degree of
hardness
0
Verv soft
1
soft
2
moderately hard
3
hard
4
extremely hard
° f < 5,4° > 7,2° > 12,6° > 25,2° > 37,8°
°dH < 3° > 4° > 7° > 14° > 21°
°e < 3,75° > 5° > 8,75° > 17,5° > 26,25°
Settings 0 1 2 3 4
The “water tank” light will come on.
Press the button - Fig. 32 as many times as are needed to select the hardness level for the water used: 0 = very
soft, 1 = soft, 2 = moderately hard, 3 = hard, 4 = very hard.
To go to the next phase, press the button or to leave the settings mode press .
2. Setting the coffee temperature
Appliances are pre-set in the factory to level 2.
The ‘CALC’ light comes on.
Press the - Fig. 32 button as many times as are needed to adjust the desired coffee temperature: 1, 2 or 3.
To go to the next phase, press the button or to leave the settings mode, press .
3. Setting the automatic electrical power supply cut-off (auto-off)
Appliances are pre-set in the factory to 1 hour.
You can set your appliance to turn off after a pre-programmed number of hours.
The ‘CLEAN’ light comes on.
Press the - Fig. 32 button as many times as necessary to select the desired duration: 1 = 1h, 2 = 2h, 3 = 3h, 4 = 4h.
To go to the next phase, press the button, or to leave the settings mode, press .
 Loading...