8
If power is applied and the zone sensor screen
remains off, inspect and verify all wire connections.
Setup Guide
aPPly PoWer
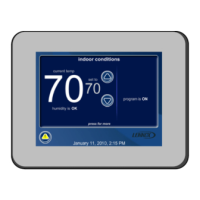
After power is applied to the zone sensor for the
rst time it will display the Lennox
®
“splash screen”
and then the zone number selection screen. Set the
address using the plus/minus buttons. Selections
are 2, 3 or 4.
NOTE: Zone 1 is always the thermostat.
Figure 5. Zone Selection
CAUTION
When replacing a failed zone sensor, remember to
set the new zone sensor to the same address as
the one being replaced. Also, If an existing zone
sensor has failed and being replaced by a zone
sensor relocated from another zone in the home,
remember to set relocated zone sensor’s address
to match the one that has failed. Not doing so
could contribute to incorrect zone operations and
possible equipment damage.
menU > aDvanCeD settings
This represents the menu icon. Most
procedures will start with menu and with
directions to sub-menus.
Table 3 lists the settings that can be adjusted under
this menu selection
Table 3. Advanced Settings
Menu Selection Setting
Zone
Number
Default value is 2. Minimum value is 2.
Maximum value is 4. Adjustment is made with
either the + or - selection tool..
Reset
Resets the zone sensor to factory default
settings. Select Conrm to reset all.
Restart Reboots the zone sensor.
 Loading...
