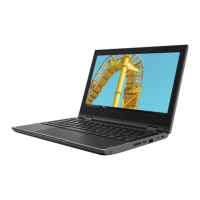
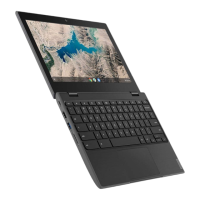
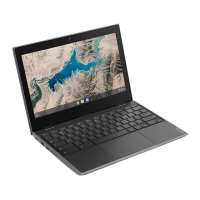
Use the USB repair shim
Step 1. Press the power button together with esc and . The Chrome operating system recovery screen is
displayed. Follow the on-screen instructions to enter the developer mode.
Step 2. Remove the base cover assembly, disconnect the built-in battery from the system board, and then
attach the ac power adapter to the Chromebook.
Step 3. Connect the prepared USB storage drive to the Chromebook and after the operating system
verification screen is displayed, Press Ctrl + U.
Step 4. Type I in the window prompted to install the shim image. The Chromebook will enter the factory-
test-image environment after the process is completed.
Step 5. Detach the ac power adapter, reconnect the built-in battery to the system board, and then reattach
the ac power adapter to the Chromebook.
Step 6. Remove the USB repair shim from the Chromebook and store it in a safe place.
Step 7. Follow the on-screen instructions to start the FFT.
Note: If the FFT detects a defective component, turn off the Chromebook, detach the ac power
adapter, and then replace the defective component.
Step 8. Start the RunIn and FAT (This is an optional operation.)
Step 9. Follow the on-screen instructions to start the GRT. If the tests finish successfully, all data stored on
the Chromebook is deleted and the Chromebook is turned off. If the GRT fails, it might result from
hardware identity (HWID) mismatch and write-protect malfunction. Use the following information to
identify problems.
Problem Description
HWID mismatch
A set of valid hardware identities (HWIDs) is provided by Google. Google logs
the exact hardware combination into a Chromebook and creates an HWID. The
HWID is used for the following purposes:
• Auto-update new patches and software for the lifetime of the Chromebook
• Reset the Chromebook to factory settings
HWID mismatch can be caused by using unauthorized or missing parts. If the
write-protect function is not turned off before recovering the Chromebook with
the USB repair shim, it can also cause HWID mismatch.
Write-protect
malfunction
The Chromebook system cannot be finalized until the write-protect function is
turned on.
Note: You can terminate the GRT when the tests have to be bypassed because they cannot be
performed. To end the process, press f.
26
Lenovo 100e Chromebook 2nd Gen Hardware Maintenance Manual
 Loading...

