7.Carefullypullonthetipsoftherubbermountsuntilthefrontfanassemblyissecuredinplace.
Figure62.Installingthefrontfanassembly
8.Connectthenewfrontfanassemblycabletothepowerfanconnectoronthesystemboard.See
“Locatingpartsonthesystemboard”onpage17.
Whattodonext:
•Toworkwithanotherpieceofhardware,gototheappropriatesection.
•Tocompletethereplacement,goto“Completingthepartsreplacement”onpage90.
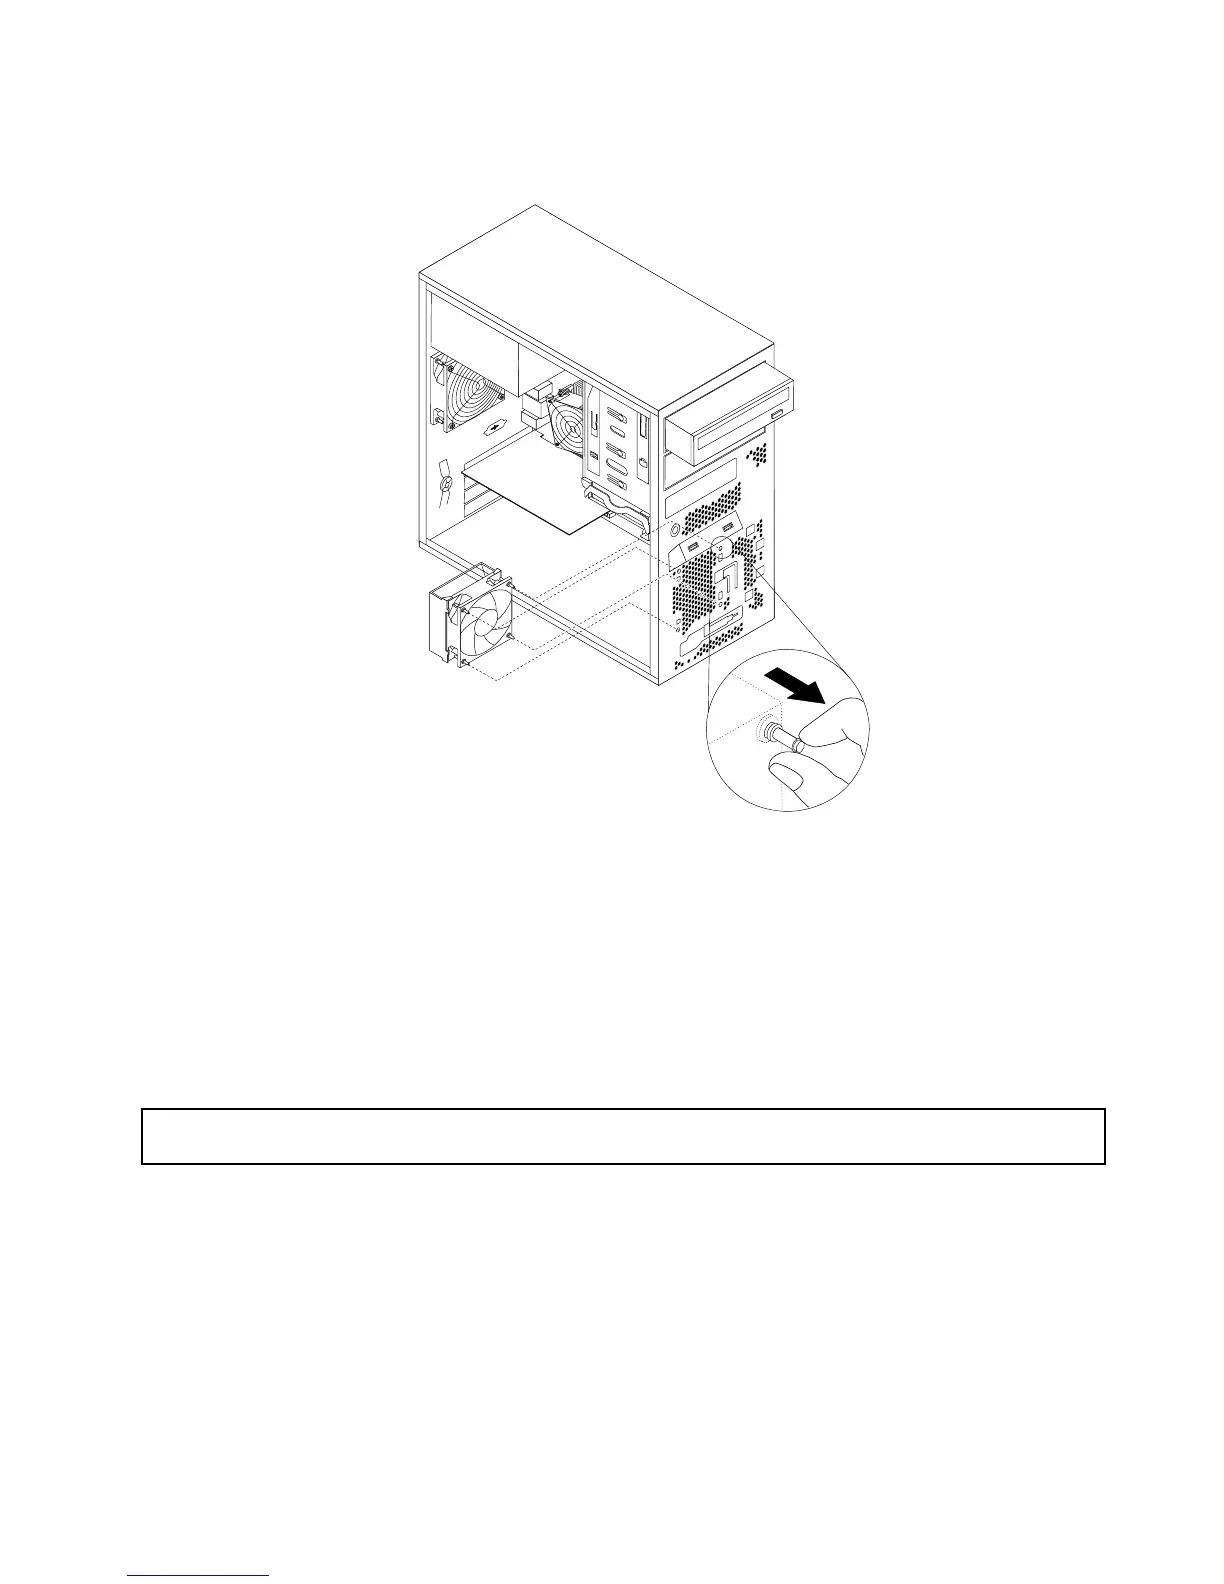
Replacingtherearfanassembly
Attention:Donotopenyourserverorattemptanyrepairbeforereadingandunderstanding“Safetyinformation”
onpageiiiand“Guidelines”onpage39.
Thistopicprovidesinstructionsonhowtoreplacetherearfanassembly.
Toreplacetherearfanassembly,dothefollowing:
1.Removeallmediafromthedrivesandturnoffallattacheddevicesandtheserver.Then,disconnectall
powercordsfromelectricaloutletsanddisconnectallcablesthatareconnectedtotheserver.
2.Removetheservercover.See“Removingtheservercover”onpage41.
3.Locatetherearfanassembly.See“Internalcomponents”onpage18.
4.Disconnecttherearfanassemblycablefromthesystemfanconnectoronthesystemboard.See
“Locatingpartsonthesystemboard”onpage17.
Chapter6.Installing,removing,orreplacinghardware81
 Loading...