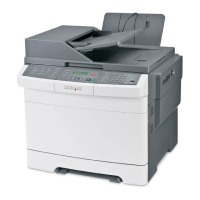
5 Press the arrow buttons until Add appears, and then
press
.
6 Press the arrow buttons until Enter Fax Number appears,
and then press
.
7 Enter the fax number, and then press .
8 Press 1 to enter another fax number, or press 2 to end fax
number entry.
9 After selecting 2=NO, Enter Name appears.
a Press the button on the keypad that corresponds with the
letter you want. The first time you press the button, the
number for that button appears. When you press the
button again, one of the letters assigned to that button
appears.
b Press the right arrow button to move to the next space, or
wait a few seconds and the cursor will move to the next
space.
c Once the fax name is entered, press .
Save as Shortcut appears.
d Enter the shortcut number, and then press .
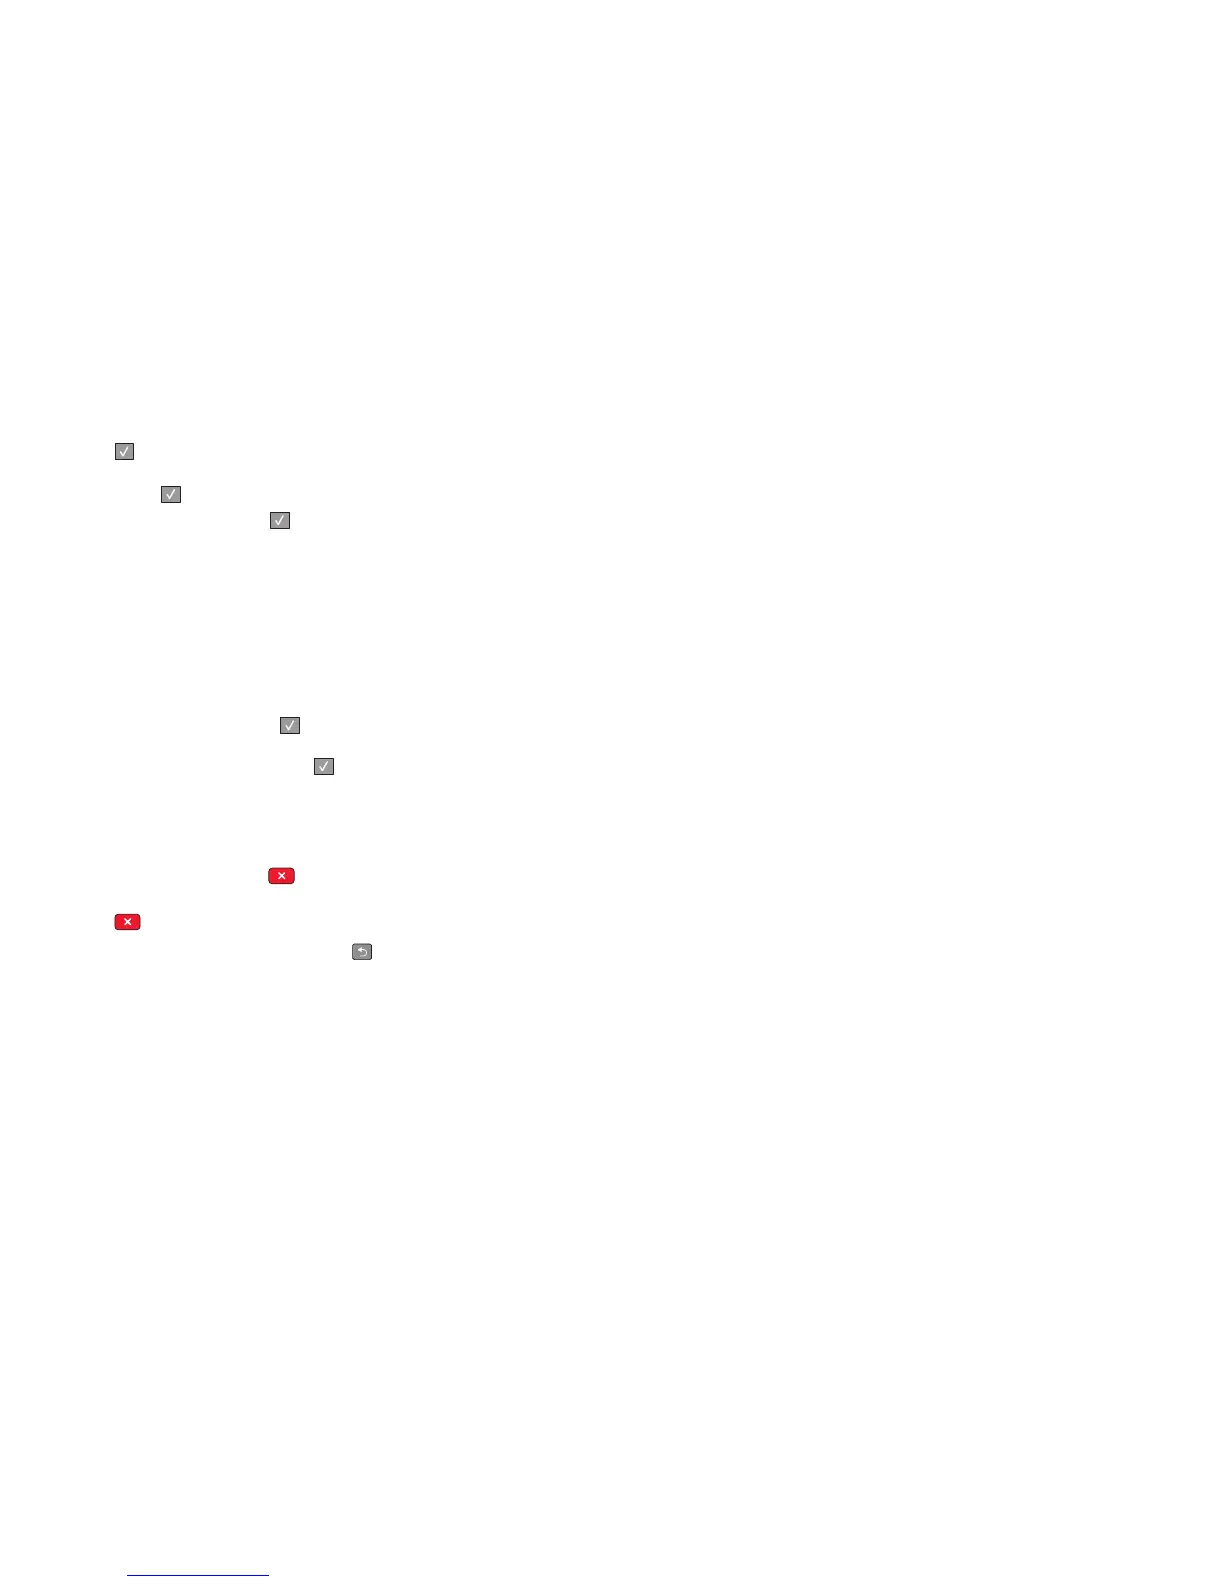
Canceling an outgoing fax
A fax can be canceled when the document is in the ADF or on the
scanner glass. To cancel a fax:
1 From the printer control panel, press .
Stopping appears, and then Cancel Job appears.
2 Press to cancel the job.
Note: If you want to continue to process the job, press
to
resume scanning the fax.
Canceling appears.
The printer clears all pages in the ADF and then cancels the job.
Faxing
4

 Loading...