 Loading...
Do you have a question about the LG DLHC1455W and is the answer not in the manual?
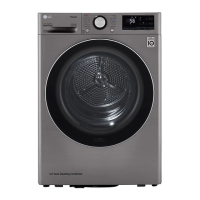
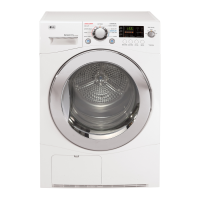
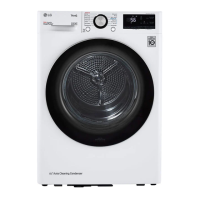
| Type | front load; heat pump |
|---|---|
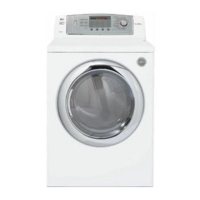
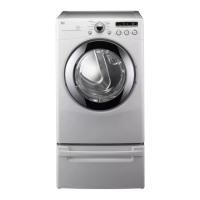
| Color | white |
| Dryer Capactity | 4.2 cu. ft. |
| Number of Cycles | 14 normal, heavy duty, bulky/large, small load, towels, sportswear, antibacterial, delicates, wool, perm press, rack dry(maual dry), heated dry (manual dry), air dry (manual dry), downloaded |
| Number of Options | 12 more time, less time, wrinkle care, control lock, wi-fi, pgm save, custom pgm, remote start, condenser care, drum care, drum light, signal |
| Drying Levels | very dry, normal dry, damp dry |
| Venting | ventless |
| Temperature Settings | 3 |
| Control Panel | digital and knobs |
| Cycle Signal | yes |
| Interior Light | yes |
| Sensor Dry Option | yes |
| Smart Home | yes; thinq® |
| Wi-Fi | yes |
| Electrical Requirements | 120/240v, 60hz, 3.1a 120/208v, 60hz, 3.5a |
| Voltage | 240/208 volts |
| Current | 30 |
| Depth | 27 1/4 inch |
|---|---|
| Height | 33 1/2 inch |
| Width | 24 inch |
| Net Weight | 125.7 lb |
Essential safety warnings, precautions, and grounding instructions for operating the dryer safely.
Proper grounding procedures to prevent electric shock hazards and ensure appliance safety.
Details on dryer components, dimensions, weight, capacity, and included accessories.
Guidelines for choosing a location, necessary clearances, ventilation, and spacing for proper installation.
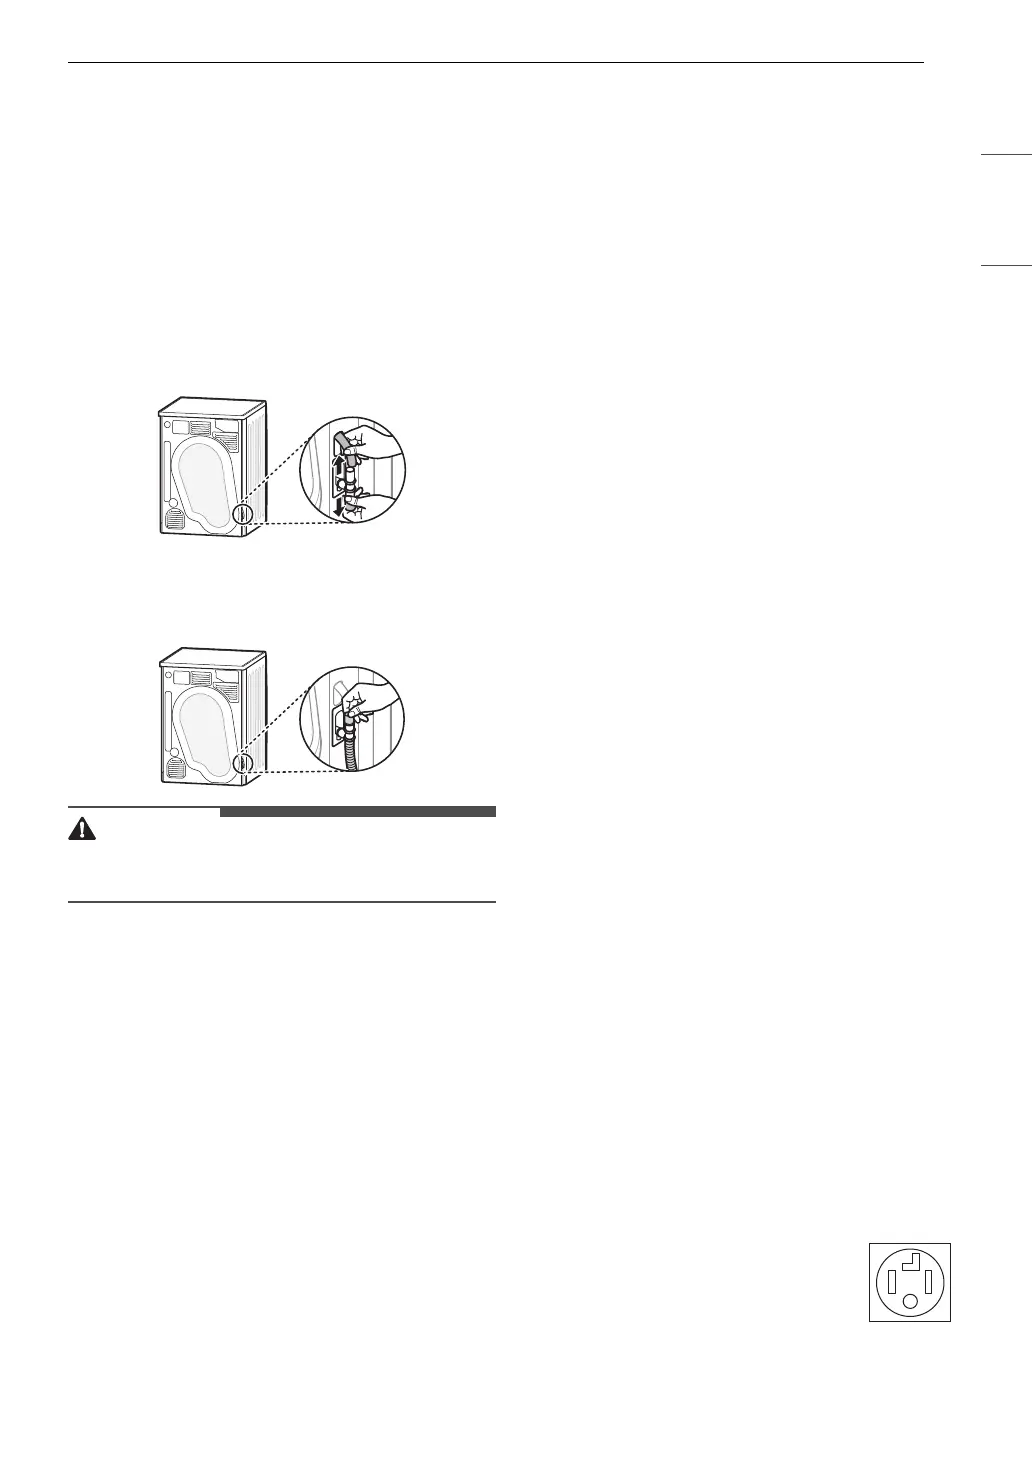
Step-by-step instructions for leveling, reversing the door, and stacking the dryer for optimal use.
Detailed guidance on electrical hookups, including requirements for different wiring configurations and mobile homes.
Initial steps before drying, including preparing the appliance and loading clothes correctly.
Explanation of the control panel, indicators, and available drying cycles for various fabric types.
How to use LG ThinQ app, smart diagnosis, and other smart features for enhanced drying.
Routine cleaning procedures for lint filters, water container, exterior surfaces, and air inlets.
Procedures for periodic cleaning of sensors, draining water, special care cycles, and cold climate issues.
Instructions for thawing frozen components and the appliance itself to resolve issues caused by low temperatures.
Answers to common questions and explanations of error codes for quick problem resolution.
Solutions for common problems like poor drying, wrinkles, static, odors, and connectivity issues.
Resources for further assistance, including video tutorials and online support.
Details on warranty coverage, terms, dispute resolution, and customer support contact information.