 Loading...
Do you have a question about the LG DRT389H and is the answer not in the manual?
| Analog signal format system | PAL I, SECAM D/K |
|---|---|
| Audio formats supported | MP3, WMA |
| Video formats supported | AVI, DivX |
| Audio decoders | Dolby Digital |
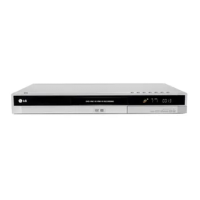
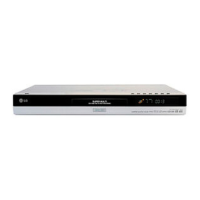
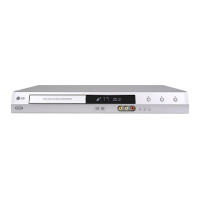
| Device type | DVD recorder |
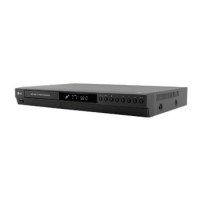
| Product color | Black |
| Disc types supported | DVD-RAM |
| USB 2.0 ports quantity | USB 2.0 ports have a data transmission speed of 480 Mbps, and are backwards compatible with USB 1.1 ports. You can connect all kinds of peripheral devices to them. |
| Digital audio coaxial out | 1 |
| Dimensions (WxDxH) | 430 x 49 x 275 mm |
| Power requirements | 200-240V(±10%) 50/60Hz |
Warnings about opening the unit, rain, moisture, and ventilation to prevent hazards.
Cautions regarding laser beams, power cord integrity, and safe usage practices.
Instructions for environmentally responsible disposal of the old appliance.
Information on mains voltage, plug types, and internal wire color coding for installation.
Advice on copyright laws for copying and compatibility with HD TVs.
Details on which DVD recordable and playback disc types are supported.
List of file formats and media types that can be played by the unit.
Guidelines for handling discs and understanding copy-once protection measures.
Instructions for battery installation and programming the remote to control your TV.
Detailed explanation of each button on the remote control and its primary function.
Identification and function of buttons, ports, and the display window on the main unit.
Step-by-step guide for connecting power, antenna, and SCART cables.
Connecting via component cables and audio outputs for enhanced video and sound.
Connecting external devices using S-Video and digital audio output ports.
Guide to connecting via HDMI for optimal digital audio and video signal transfer.
How to use the LG TV remote control to operate the DVD recorder via HDMI.
Instructions for connecting PAY-TV decoders and VCRs/external devices to specific jacks.
How to connect and use USB flash drives for media playback.
Connecting a DV camcorder for digital video transfer to DVD.
Step-by-step process for the initial setup wizard to configure language, clock, and channels.
How to manually edit, add, or rename channels and manage favorites.
Switching between digital, analog, and radio program lists and setting favorite channels.
Accessing and navigating the main Home Menu for various media and setup options.
Overview of functions accessible via the Home Menu, including Movie, Photo, and Music.
Step-by-step guide to entering and navigating the main SETUP menu.
Configuring automatic channel scans and setting the system clock.
Adjusting TV aspect ratio and setting up the AV2 input source.
Managing power saving modes and performing a factory reset for the unit.
Setting languages for on-screen display, menus, audio, and subtitles.
Configuring digital audio signals, sampling frequency, and dynamic range control.
Setting up passwords, rating levels, and blocking schemes for content access.
Choosing recording quality modes, aspect ratio, and audio options for recordings.
Procedures for formatting, finalizing, and unfinalizing discs for compatibility.
Setting custom disc labels and protecting discs from accidental changes.
Configuring automatic or manual software updates for the digital tuner.
Viewing system details and running diagnostics for troubleshooting purposes.
How to view current playback status, title, audio, and subtitle information.
Using subtitle selection, angle switching, and sound mode adjustment during playback.
Viewing channel, program title, and media details while watching TV.
Methods for selecting TV programs using the remote or the program list.
Accessing and browsing the Electronic Program Guide for TV program information.
Scheduling recordings directly from EPG program listings for convenience.
Using interactive text and graphics services offered by digital TV broadcasters.
Standard procedure for inserting a disc and initiating playback.
Using pause, frame-by-frame, speed adjustments, and scene memory functions.
Setting repeat playback modes and accessing title menus for navigation.
Steps to select and play DivX movies from discs or USB drives.
Specifications for DivX files, codecs, subtitles, and common playback issues.
Steps for playing MP3, WMA, and Audio CD files from various media.
Requirements for music files and creating custom playback sequences.
How to view JPEG photos, including full screen and slide show modes.
Specifications for JPEG files, including size, format, and potential compatibility issues.
Steps to select recording mode, source, and start/stop instant recordings.
Programming the unit to record programs automatically at scheduled times.
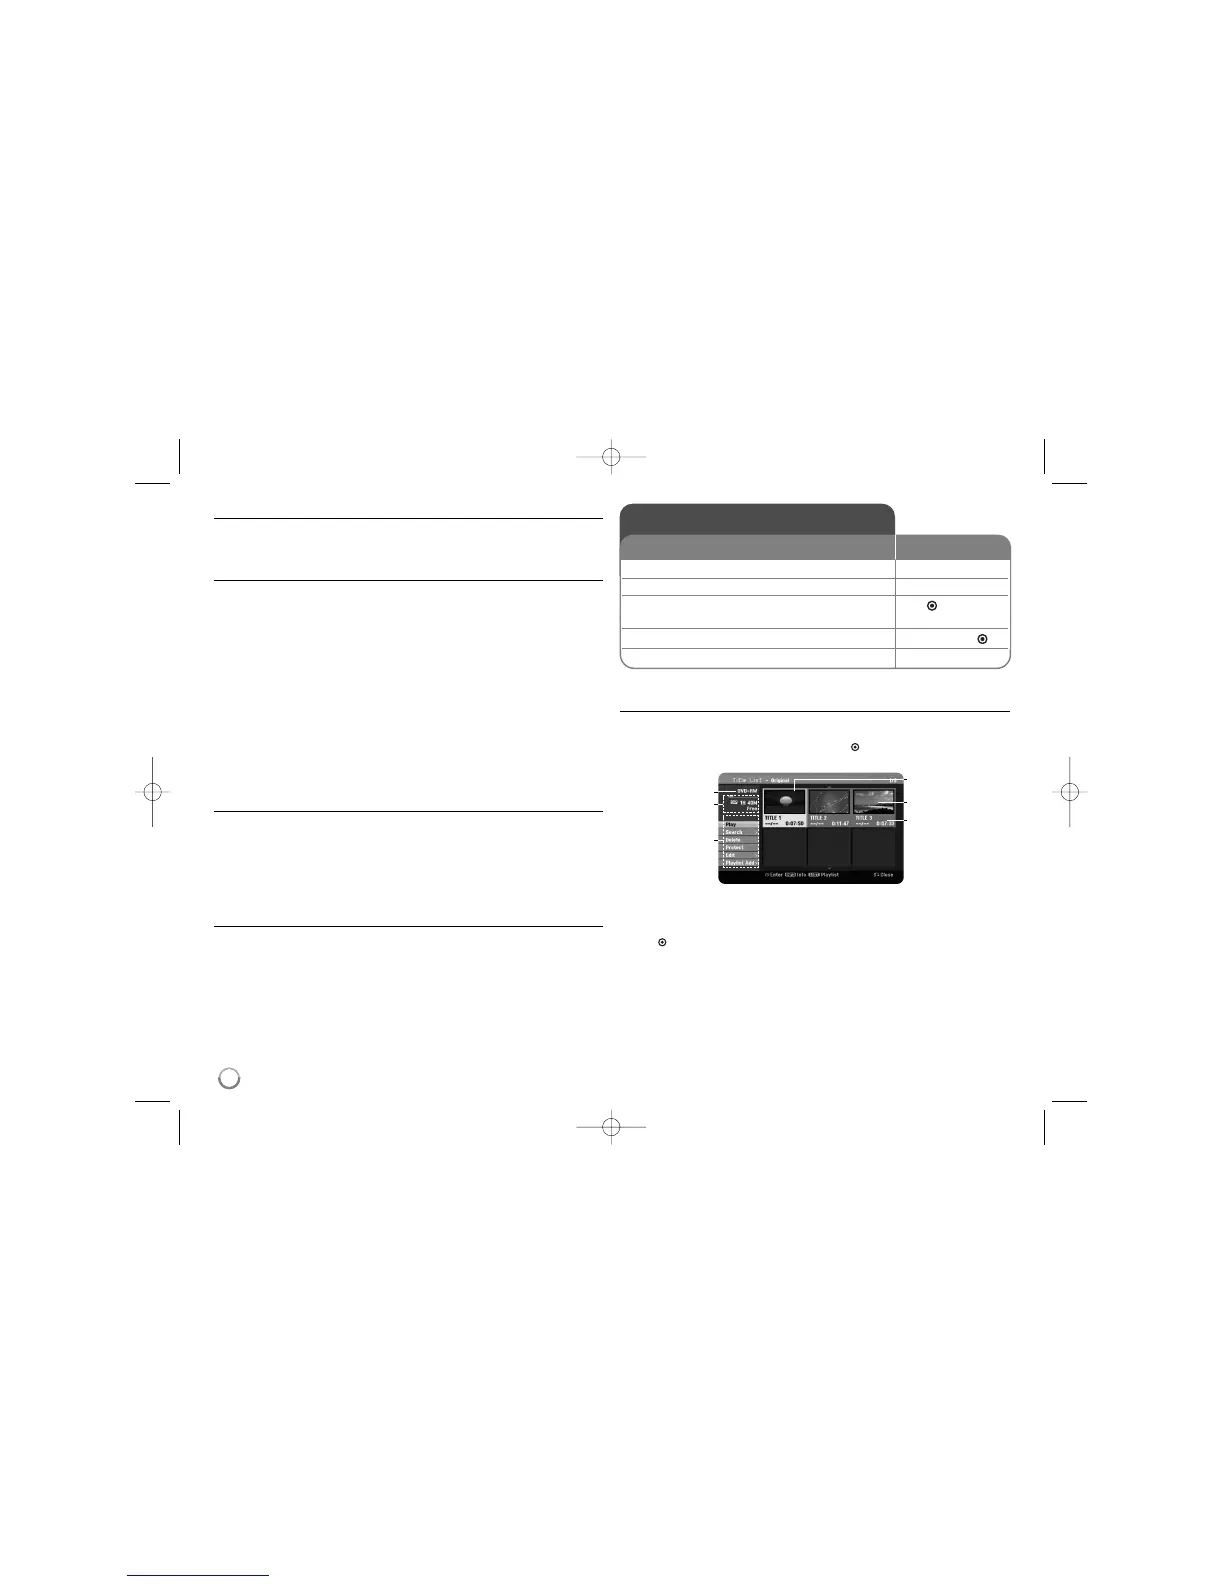
Accessing and using the title list menu for editing video content.
Common problems encountered during recording and their solutions.
Creating, managing, and moving chapters within playlists for editing.
Adding chapter markers and deleting titles or chapters from original recordings.
Navigating to specific times and hiding chapters without deletion.
Splitting titles into multiple parts and protecting them from modification.
Changing the default names of recorded titles using an on-screen keyboard.
Accessing and using disc settings like format, finalize, label, and protect.
Comprehensive lists of codes for language selection and geographic area settings.
Solutions for common problems with power, picture, sound, and remote control.
Resolving problems related to disc playback, file formats, and unit compatibility.
Addressing issues with recording, stereo audio, and HDMI connectivity.
Steps for resetting the unit to factory defaults to resolve operational faults.
Details on power, dimensions, weight, and playback performance metrics.
Information on recording formats, compression, and input/output port characteristics.
Explanation of the product guarantee, coverage, and limitations.
Information on how to get help, contact details, and website resources.