14 INSTALLATION
Leveling the Washer
The drum of your new washer spins at very high
speeds. To minimize vibration, noise, and unwanted
movement, the oor must be a level, solid surface.
NOTE
% Adjust the leveling feet only as far as necessary to
level the washer. Extending the leveling feet more
than necessary can cause the washer to vibrate.
% Before installing the washer, make sure that the
oor is clean, dry and free of dust, dirt, water and
oil so the washer feet cannot slide easily. Feet
that move or slide on the oor can contribute to
excessive vibration and noise due to poor contact
with the oor.
1
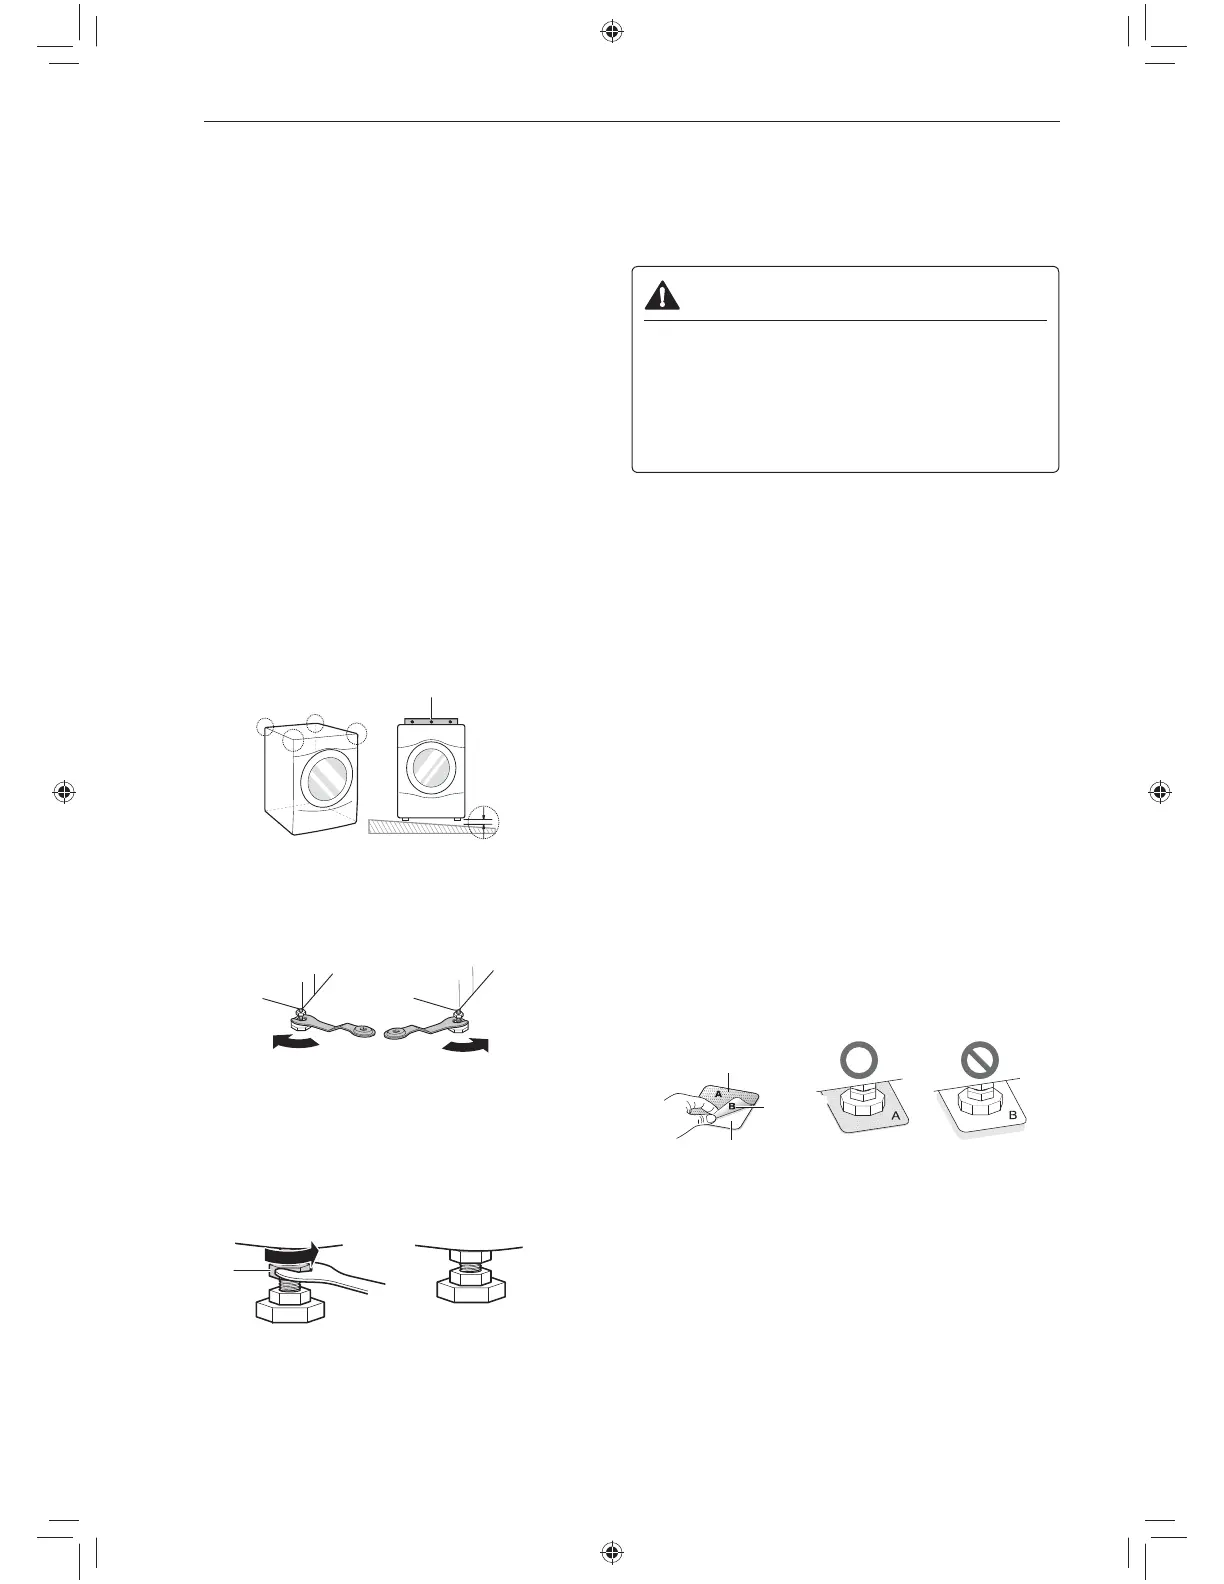
3RVLWLRQWKHZDVKHULQLWV¿QDOORFDWLRQ
Take special care not to pinch, strain, or crush the
water and drain lines. If you have a carpenter's
level, you can place it across the top of the
washer. The slope beneath the washer should not
exceed 1 inch, and all four leveling feet must rest
rmly on the oor.
Level
1"
2
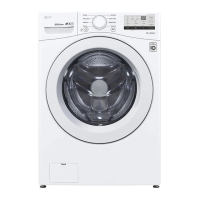
$GMXVWWKHORZHUQXWRQWKHOHYHOLQJIHHW
Turn in one direction to raise the washer or the
other direction to lower it.
Raise Lower
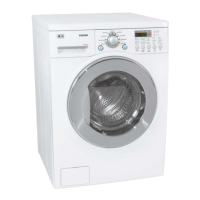
3
Tighten the locknuts.
Turn the locknuts counter-clockwise to tighten
them when the washer is level.
Locknut
Tighten all 4
locknuts securely
4
Recheck the washer’s levelness.
Push or rock the top edges of the washer gently
to make sure the washer does not rock. If the
washer rocks, repeat steps 2-3.
CAUTION
% Using the washer without leveling it may cause
excess vibration and noise, leading to a machine
malfunction.
% Extend the leveling feet only to level the washer.
If you extend the leveling feet unnecessarily, it
may cause abnormal vibration of the washer.
Using Non-Skid Pads
If you install the washer on a slippery surface, it may
move because of vibration. Incorrect leveling may
cause malfunction through noise and vibration. If this
occurs, install the non-skid pads under the leveling
feet and adjust the level.
1
&OHDQWKHÀRRUWRDWWDFKWKHQRQVNLGSDGV
Use a dry rag to remove and clean foreign objects
or moisture. If moisture remains, the non-skid
pads may slip.
2
$GMXVWWKHOHYHODIWHUSODFLQJWKHZDVKHULQWKH
installation area.
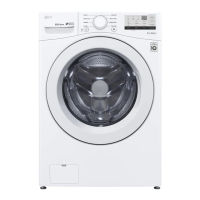
3
Place the adhesive side of the non-skid pad
RQWKHÀRRU
It is most effective to install the non-skid pads
under the front leveling feet. If it is hard to place
the pads under the front leveling feet, place them
under the back leveling feet.
This side up
Adhesive
side
Remove backing
4
Recheck the washer’s levelness.
Push or rock the top edges of the washer gently
to make sure that the washer does not rock. If the
washer rocks, level the washer again.