5
lci1.com 574-537-8900 Rev: 05.30.19
Solera
®
Slider
Installation and Owner’s Manual
(For Aftermarket Applications)
CCD-0001264
Fig.4
Fig.5
4. Remove packaging from the roll tube and unroll a small
portion of fabric, no more than one turn.
Fig.6
5. Repeat Steps 1-4 for the other end, but do not secure
the second hex extension rod to the spring head assembly
torsion arm until the Solera Slider is ready for installation
on the unit.
Installing the Solera Slider Assembly
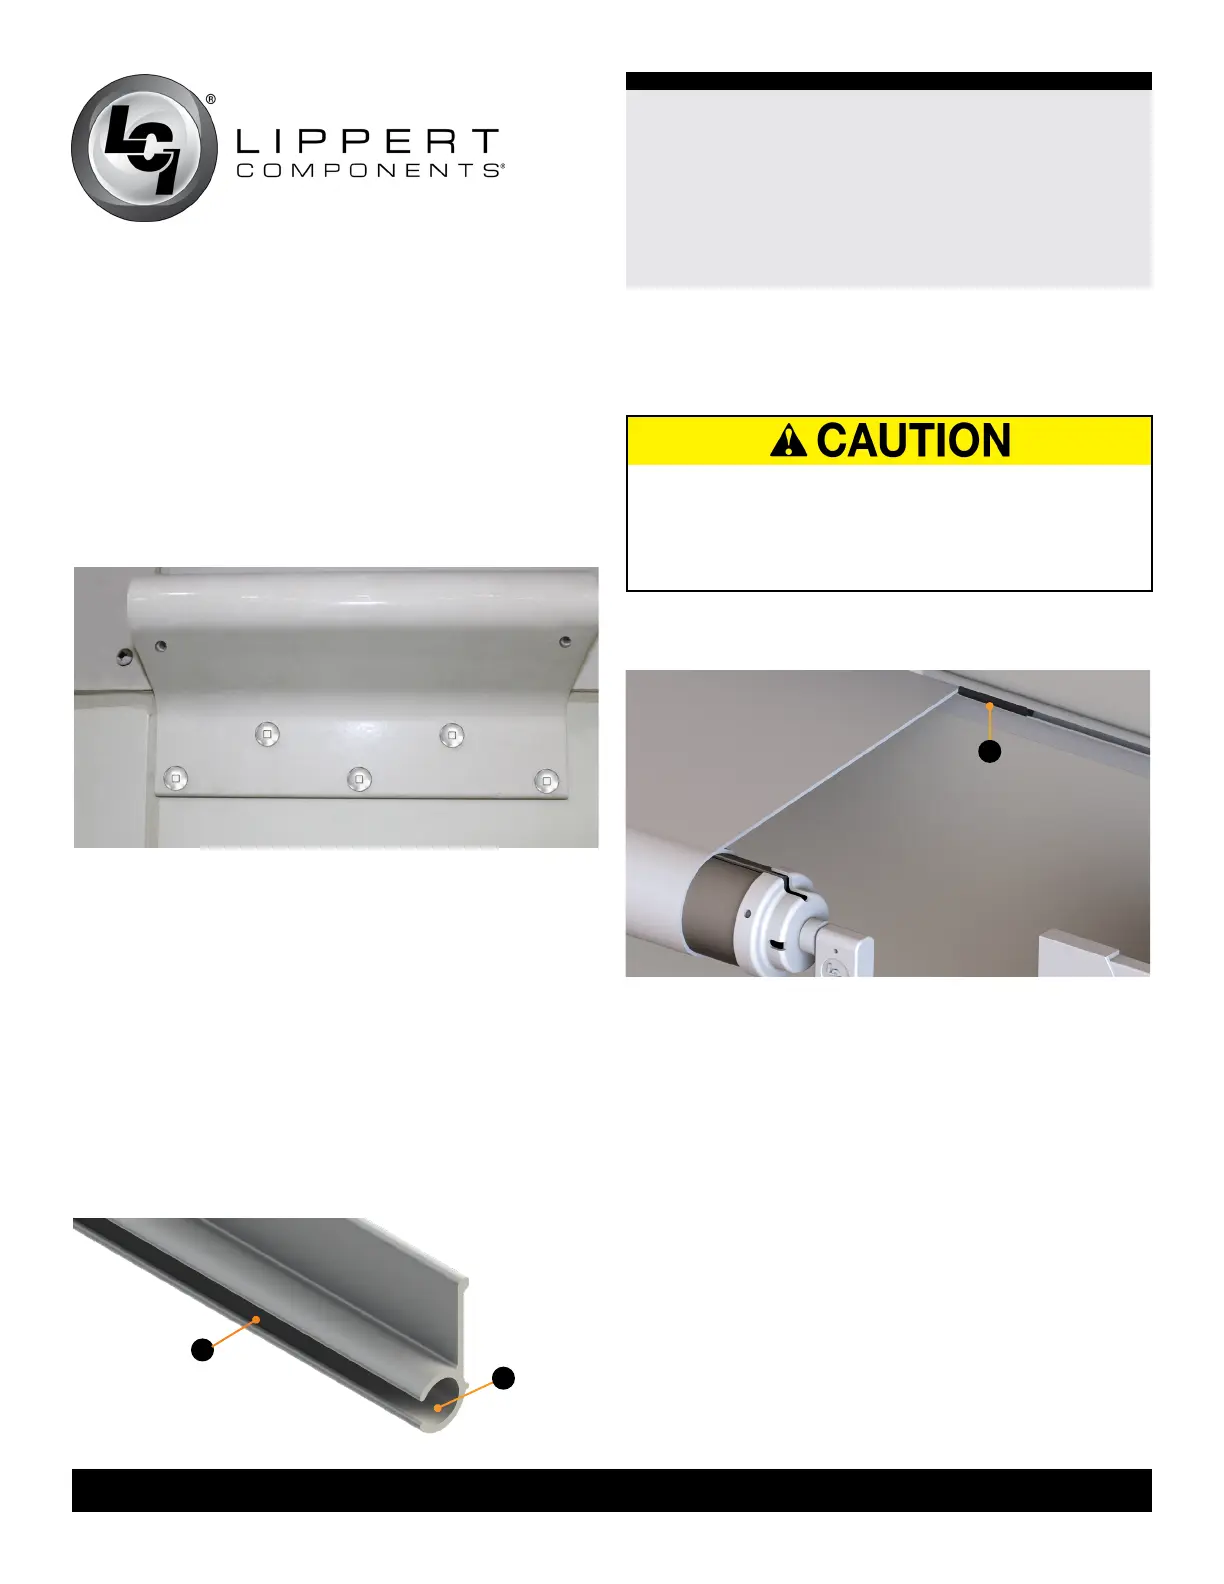
1. To prepare for fabric installation, use a screwdriver to
spread open either end of the awning rail on the installation
end (Fig.5A).
2. To protect the fabric from damage during installation,
le any sharp edges or burrs from the awning rail.
3. Spray the inside of the awning rail channel with silicone
lubricant (Fig.5B).
3. Seal the back side of the extension rod bracket screw
holes with sealant so that the sealant is against the unit
when mounting the extension rod bracket.
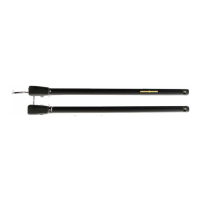
4. Place the support arm bracket against the bottom
of the T-molding at the top corner of the slide-out.
Make sure to keep the support arm bracket parallel with
the T-molding. Fasten using the provided #10 - 16 x 1 ¼”
self-tapping screws (Fig.4).
B
A
UNROLLING THE FABRIC MORE THAN ONE TURN
WILL CAUSE THE SLIDE TOPPER TO LOSE TENSION
AND CREATE SLACK WHEN CLOSING THE SLIDE
ROOM. MAKE SURE TO LEAVE THE SLIDE ROOM
CLOSED OR NOT TO EXTEND MORE THAN 6”.
5. Using at least two people, feed the polycord through the
awning rail channel (Fig.6A).
6. Feed one of the extension rods into the extension rod
bracket. By pulling the extension rod all the way into the
extension rod bracket, the opposite end extension rod can
now slide into the extension bracket or optional access
bracket at the opposite end.
7. Angle the extension rod so that the roll tube will not
be touching the slide room.
8. Secure the second extension rod to the spring head
assembly torsion arm using the provided 1/4” - 20 x 5/8”
slotted pan head, self-tapping screw (Fig.3).
9. Center the Solera Slider over the slide room using a
tape measure.
A
 Loading...