8
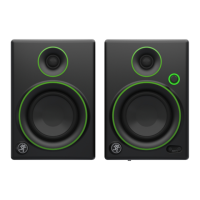
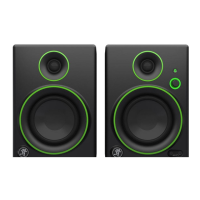
Multimedia Monitors w/ Bluetooth
®
Multimedia Monitors w/ Bluetooth
®
4. Powered Speaker Position Select Switch
Here you get to decide if the powered monitor is
to be positioned on the left side (switch up) or right
side (switch down) of the desk. One convenience is
that it keeps the power cord, front and/or rear panel
connections from crossing your work space.
Additionally, it doesn’t discriminate between right
or left-handed users. Simply set it up to suit your
preference.
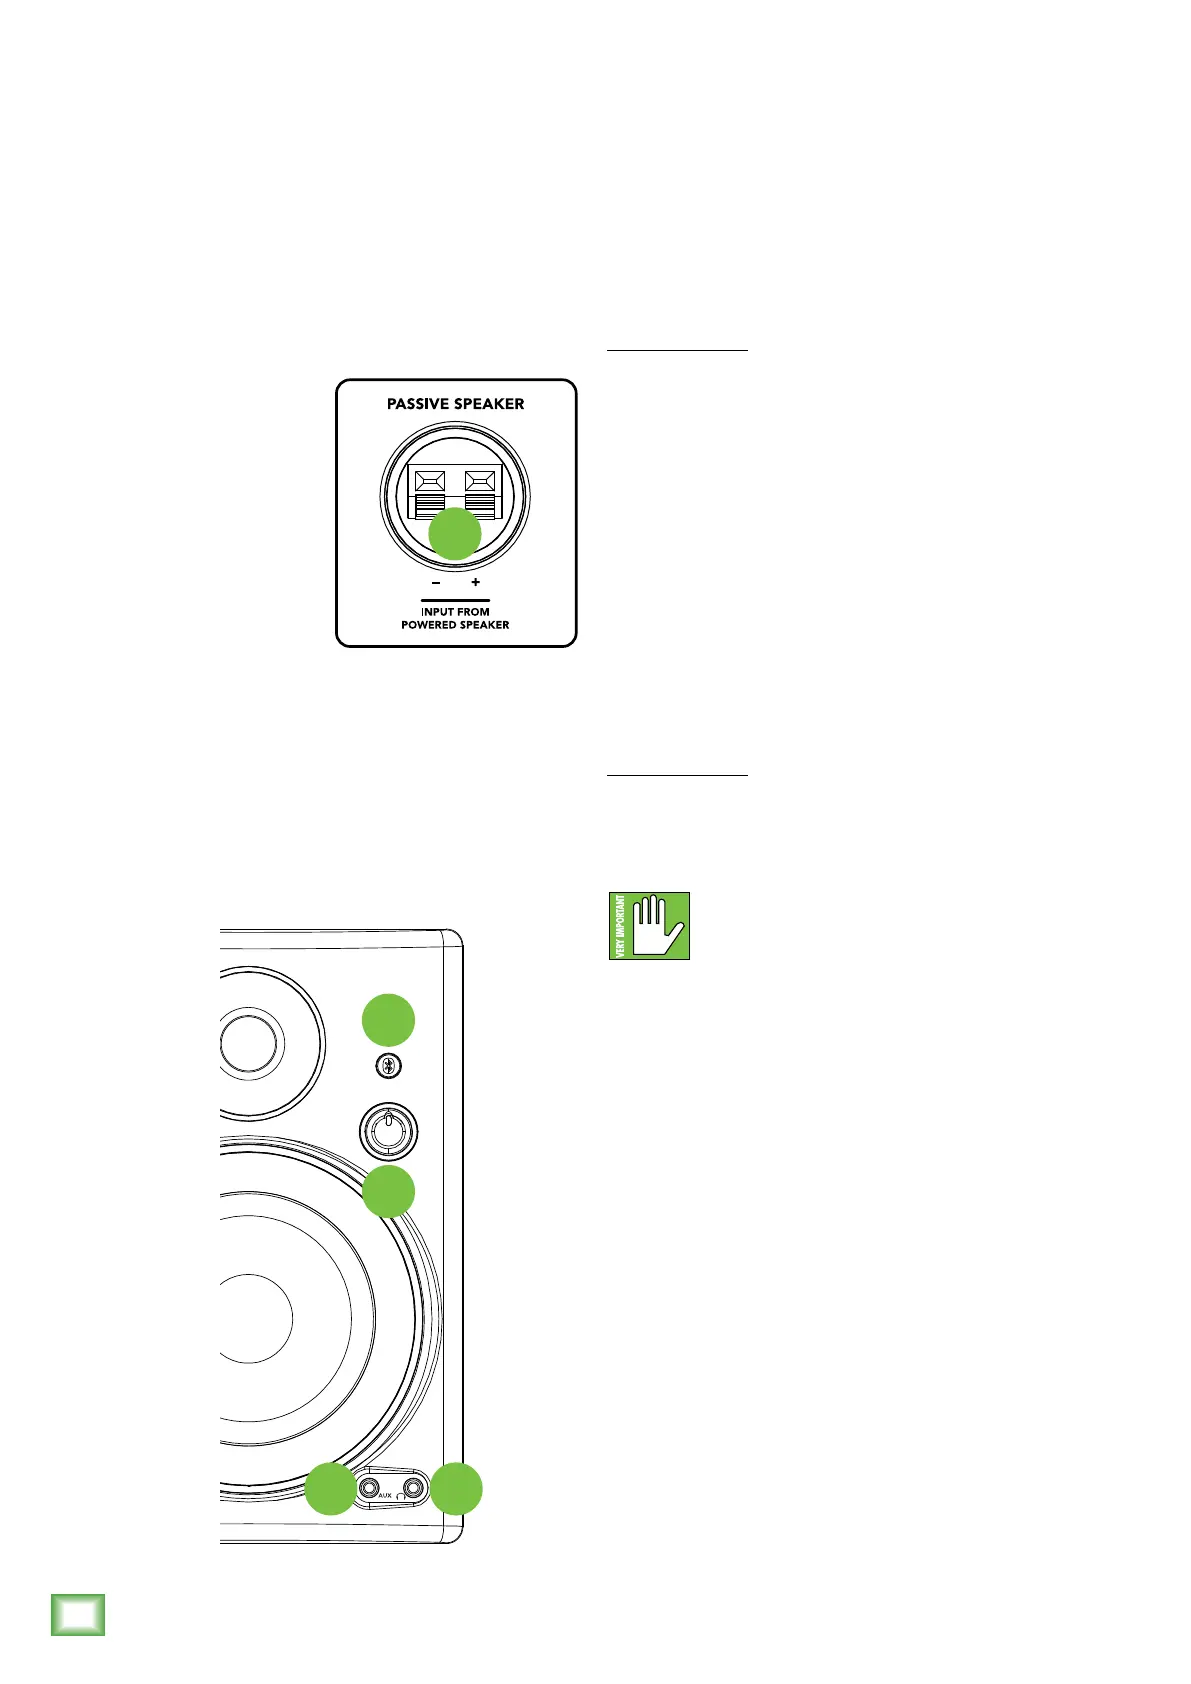
5. Wire Terminals (±)
Connect the included
black (–) and red (+)
speaker wires from
the powered monitor’s
± spring clips [big
green ball number 5 on
page 7] to the passive
monitor’s ± spring clips
(as seen to the right).
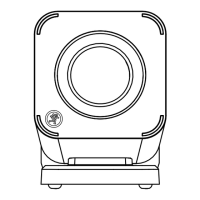
6. Custom-Tuned Rear Port
The custom-tuned rear port uses the radiation from
the rear of the woofer cone to extend the low-frequency
response of the speaker. The size of the port is carefully
designed with respect to the volume of the cabinet
and the characteristics of the woofer to produce
low-frequency extension.
5
Front Panel Description
7. Aux Input
Connect a line-level signal from an MP3 player,
smartphone or other signal source to this input jack
using an 1/8" connector.
It is wired as follows, according to standards specified
by the AES (Audio Engineering Society):
Stereo 1/8" TRS
Left Channel Tip
Right Channel Ring
Ground Sleeve
8. Phones Output
This 1/8" TRS connector supplies the output to stereo
headphones. The volume is controlled with the volume
knob [9]. The signal to the power amp is killed when
headphones are connected.
The phones output is wired as follows, according to
standards specified by the AES (Audio Engineering
Society):
Stereo 1/8" TRS
Left Channel Tip
Right Channel Ring
Ground Sleeve
Warning: The headphone amp is loud and
could cause permanent hearing damage.
Even intermediate levels may be painfully
loud with some headphones. BE CAREFUL! Always turn
the volume knob all the way down before connecting
headphones. Then turn it up slowly as you listen
carefully.
9. Volume Knob
CRBT Series multimedia monitors expect a line-level
signal at its input. Use this control to adjust the
sensitivity of the input section according to the signal
strength at its input.
The volume knob not only adjusts the overall output
level, but it also turns the monitor on and off. Simply
turn the knob counter-clockwise until it “clicks” off.
Turn the knob clockwise to turn the volume up.
The ring surrounding the volume knob illuminates
when the reference monitor is plugged in and the power
switch is on.
Refer to the Quick Start section on page 4 for the
level-setting procedure.
7 8
9
10
 Loading...