6
FUNCTIONAL
DESCRIPTION
CAUTION:
• Always be sure that the tool is switched off and
unplugged before adjusting or checking function on the
tool.
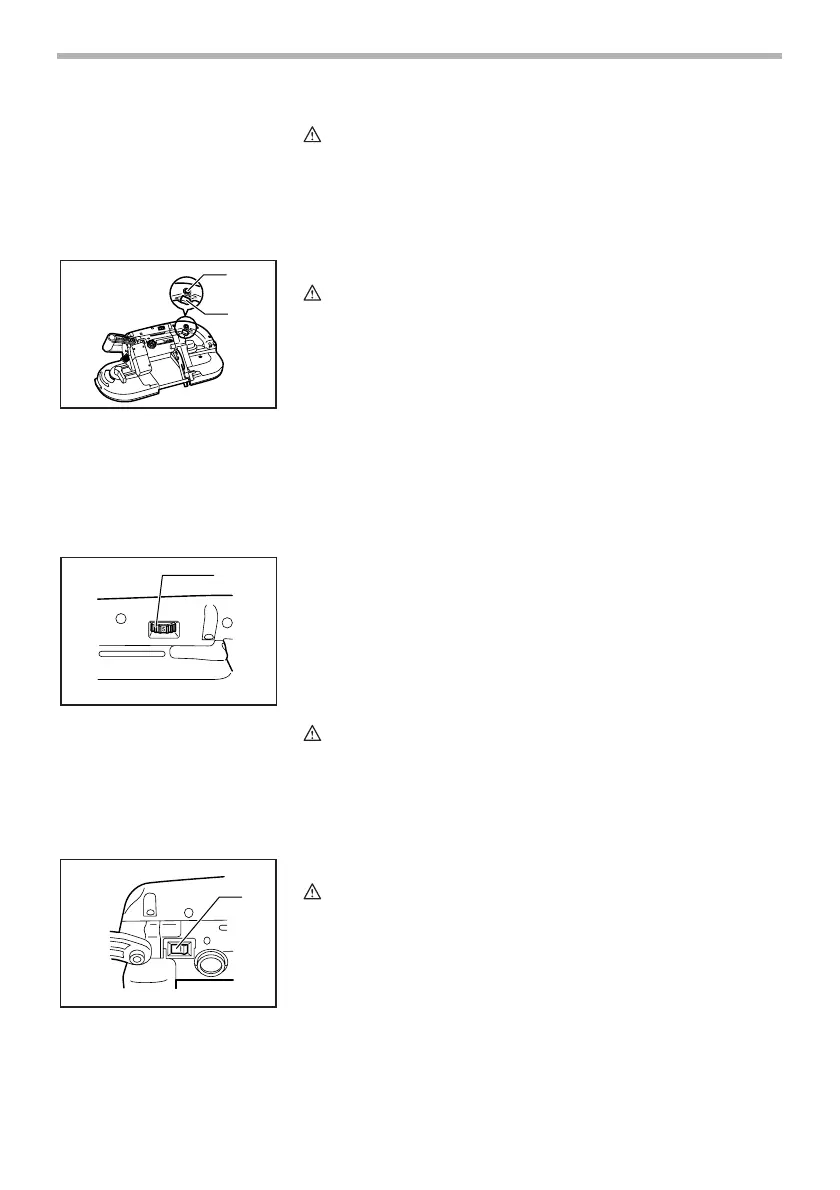
Switch action
CAUTION:
• Before plugging in the tool, always check to see that the
switch trigger actuates properly and returns to the “OFF”
position when released.
To start the tool, simply pull the switch trigger. Release the
switch trigger to stop.
For continuous operation, pull the switch trigger and then
push in the lock button.
To stop the tool from the locked position, pull the switch trig-
ger fully, then release it.
Speed adjusting dial
The tool speed can be infinitely adjusted between 1.0 m/s
and 1.7 m/s by turning the adjusting dial. Higher speed is
obtained when the dial is turned in the direction of number 5;
lower speed is obtained when it is turned in the direction of
number 1.
Select the proper speed for the workpiece to be cut.
CAUTION:
• The speed adjusting dial can be turned only as far as 5
and back to 1. Do not force it past 5 or 1, or the speed
adjusting function may no longer work.
Lighting up the lamps
CAUTION:
• Do not apply impact to the light, which may cause
damage or shorted service time to it.
To turn on the lamp, press the “I”(ON) side of the lamp
switch. Press the “O”(OFF) side to turn it off.
1. Lock button
2. Switch trigger
1
2
005894
1. Speed adjusting dial
1
005896
1. Lamp switch
1
005897
 Loading...