9 ENGLISH
ASSEMBLY
CAUTION: Always be sure that the tool is
switched off and the battery cartridge is removed
before carrying out any work on the tool.
Installing or removing driver bit/
drill bit
Optional accessory
1
2
3
►1. Sleeve 2. Close 3. Open
Turn the sleeve counterclockwise to open the chuck
jaws.Placethedriverbit/drillbitinthechuckasfar
as it will go. Turn the sleeve clockwise to tighten the
chuck. To remove the driver bit/drill bit, turn the sleeve
counterclockwise.
Installing hook
CAUTION: When installing the hook, always
secure it with the screw rmly. If not, the hook
may come off from the tool and result in the personal
injury.
3
2
1
►1. Groove 2. Hook 3. Screw
The hook is convenient for temporarily hanging the tool.
This can be installed on either side of the tool. To install
the hook, insert it into a groove in the tool housing on
either side and then secure it with a screw. To remove,
loosen the screw and then take it out.
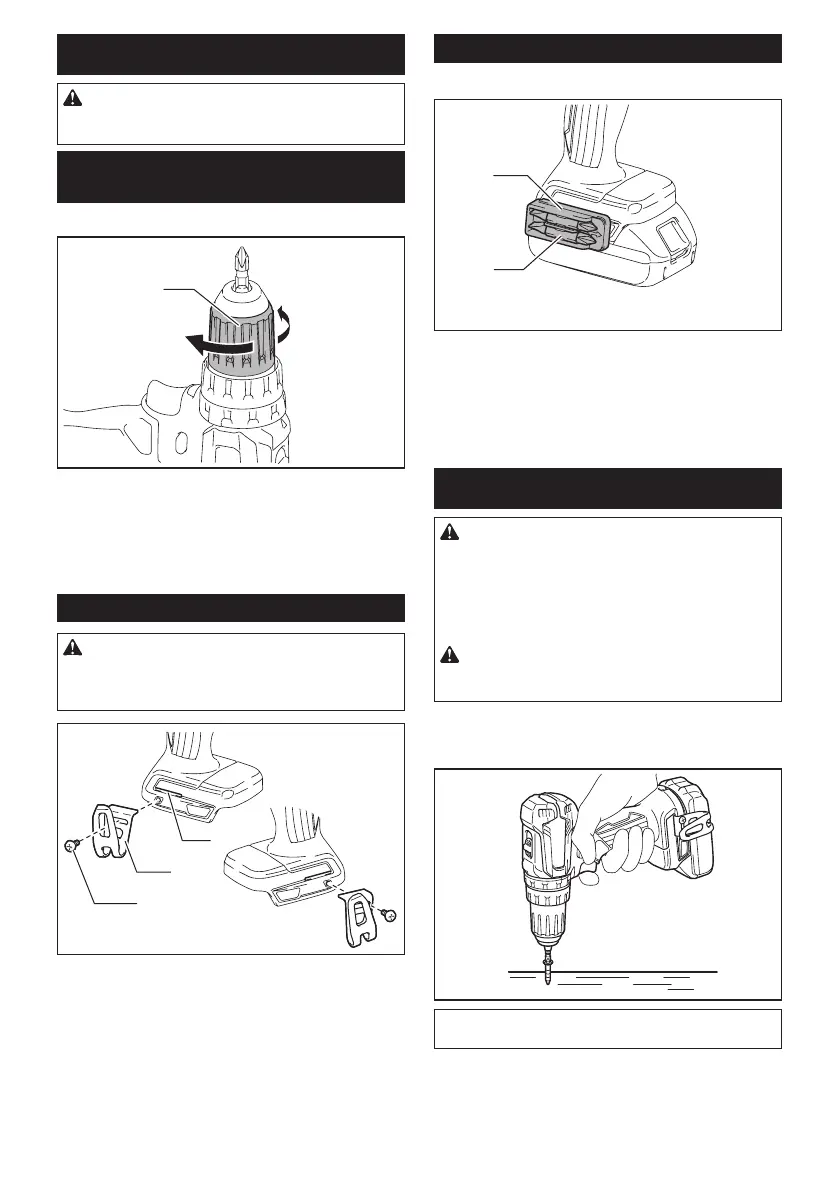
Installing driver bit holder
Optional accessory
2
1
►1. Driver bit holder 2. Driver bit
Fit the driver bit holder into the protrusion at the tool foot
on either right or left side and secure it with a screw.
When not using the driver bit, keep it in the driver bit
holders. Driver bits 45 mm-long can be kept there.
OPERATION
CAUTION: Always insert the battery cartridge
all the way until it locks in place. If you can see the
red indicator on the upper side of the button, it is not
locked completely. Insert it fully until the red indicator
cannot be seen. If not, it may accidentally fall out of
thetool,causinginjurytoyouorsomeonearound
you.
CAUTION: When the speed comes down
extremely, reduce the load or stop the tool to
avoid the tool damage.
Holdthetoolrmlywithonehandonthegripandthe
other hand on the bottom of the battery cartridge to
control the twisting action.
NOTICE: Do not cover vents, or it may cause over-
heating and damage to the tool.
 Loading...