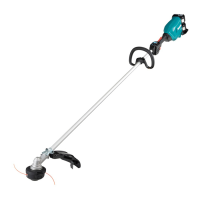
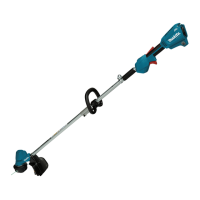
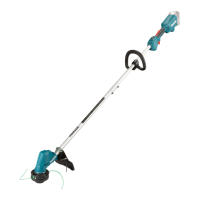
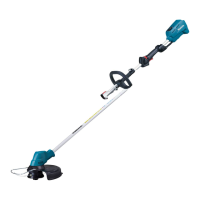
17 ENGLISH
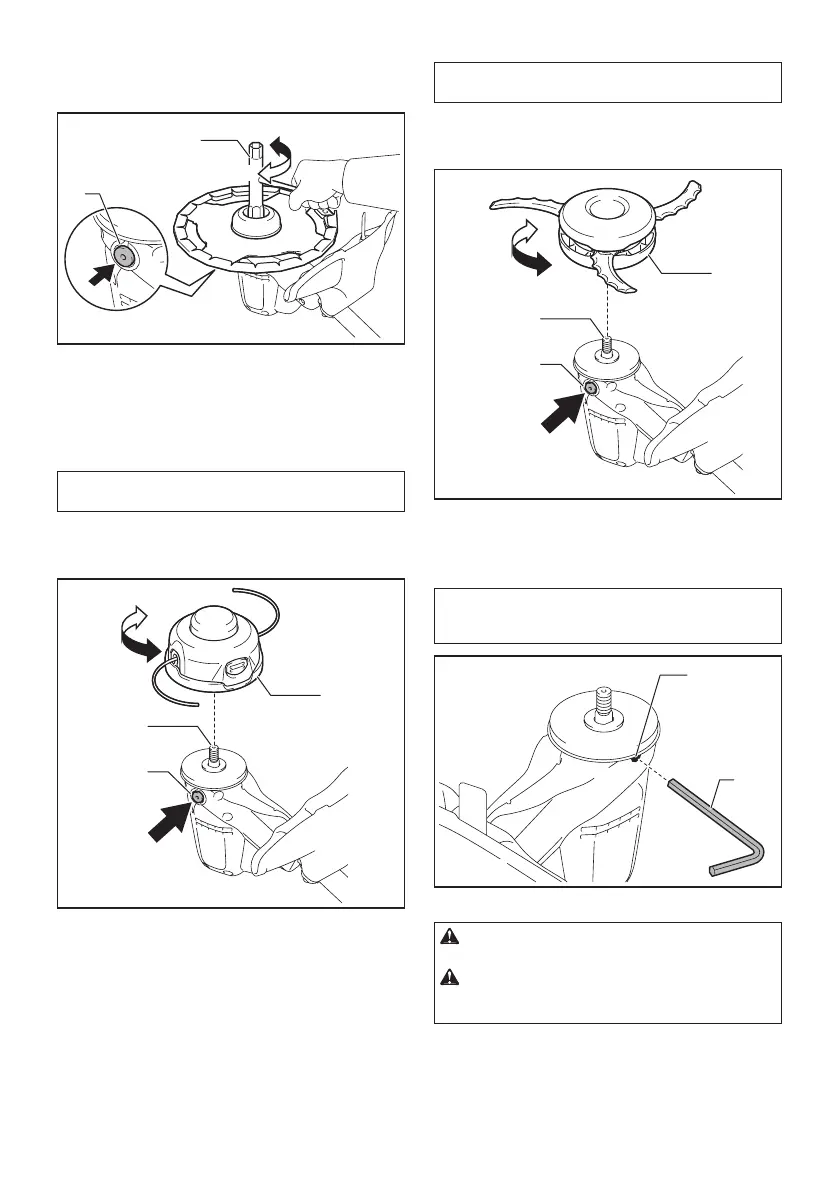
2. Put the clamp washer and cup onto the cutter
blade.
3. While holding down the spindle lock button,
tighten the nut securely by the box wrench.
1
2
4
3
►1. Spindle lock button 2. Box wrench 3. Loosen
4. Tighten
To remove the cutting blade, loosen the nut while hold-
ing down the spindle lock button.
Nylon cutting head
NOTICE: Be sure to use genuine Makita nylon
cutting head.
While holding down the spindle lock button, place
the nylon cutting head onto the spindle and tighten it
securely by hand.
1
2
3
4
5
►1. Nylon cutting head 2. Spindle 3. Spindle lock
button 4. Loosen 5. Tighten
To remove the nylon cutting head, loosen the nylon
cutting head while holding down the spindle lock button.
Plastic blade
NOTICE: Be sure to use genuine Makita plastic
blade.
While holding down the spindle lock button, place the
plastic blade onto the spindle and tighten it securely by
hand.
1
2
3
4
5
►1. Plastic blade 2. Spindle 3. Spindle lock button
4. Loosen 5. Tighten
To remove the plastic blade, loosen the plastic blade
while holding down the spindle lock button.
NOTE: You can use the supplied hex wrench to
install/remove the cutting tool. Insert the hex wrench
totheholeasshownintheguretolockthespindle.
1
2
►1. Hex wrench 2. Hole
CAUTION: Always use the supplied wrenches
to install/remove the cutting tool.
CAUTION: Be sure to remove the hex wrench
inserted into the tool head after installing the
cutting tool.
 Loading...