18 ENGLISH
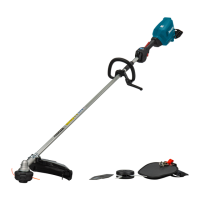
2. Place the nylon cutting head onto the spindle and
tighten the nut securely by the box wrench.
2
1
3
4
►1. Box wrench 2. Hex wrench 3. Loosen 4. Tighten
3. Remove the hex wrench from the gear case.
To remove the nylon cutting head, follow the installation
procedures in reverse.
Plastic blade
NOTICE: Be sure to use genuine Makita plastic
blade.
4
5
3
1
2
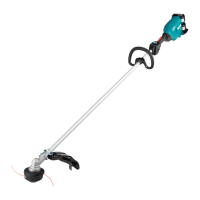
►1. Plastic blade 2. Spindle 3. Hex wrench 4. Loosen
5. Tighten
1. Insert the hex wrench through the hole in the gear
case to lock the spindle. Rotate the spindle until the hex
wrench is fully inserted.
2. Place the plastic blade onto the spindle and
tighten it securely by hand.
3. Remove the hex wrench from the gear case.
To remove the plastic blade, follow the installation pro-
cedures in reverse.
OPERATION
Attaching the shoulder harness
CAUTION: Always use the shoulder harness
attached to the tool. Before operation, adjust the
shoulder harness according to the user size to
prevent fatigue.
CAUTION: Before operation, make sure that
the shoulder harness is properly attached to the
hanger on the tool.
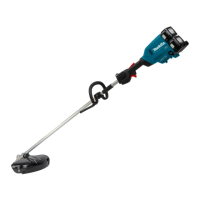
For DUR369A
1.
Put on the shoulder harness and fasten the buckle.
2.
Clasp the hook on the shoulder harness to tool's hanger.
1
2
►1. Hook 2. Hanger
3. Adjusttheshoulderharnesstoacomfortable
working position.

 Loading...