20 ENGLISH
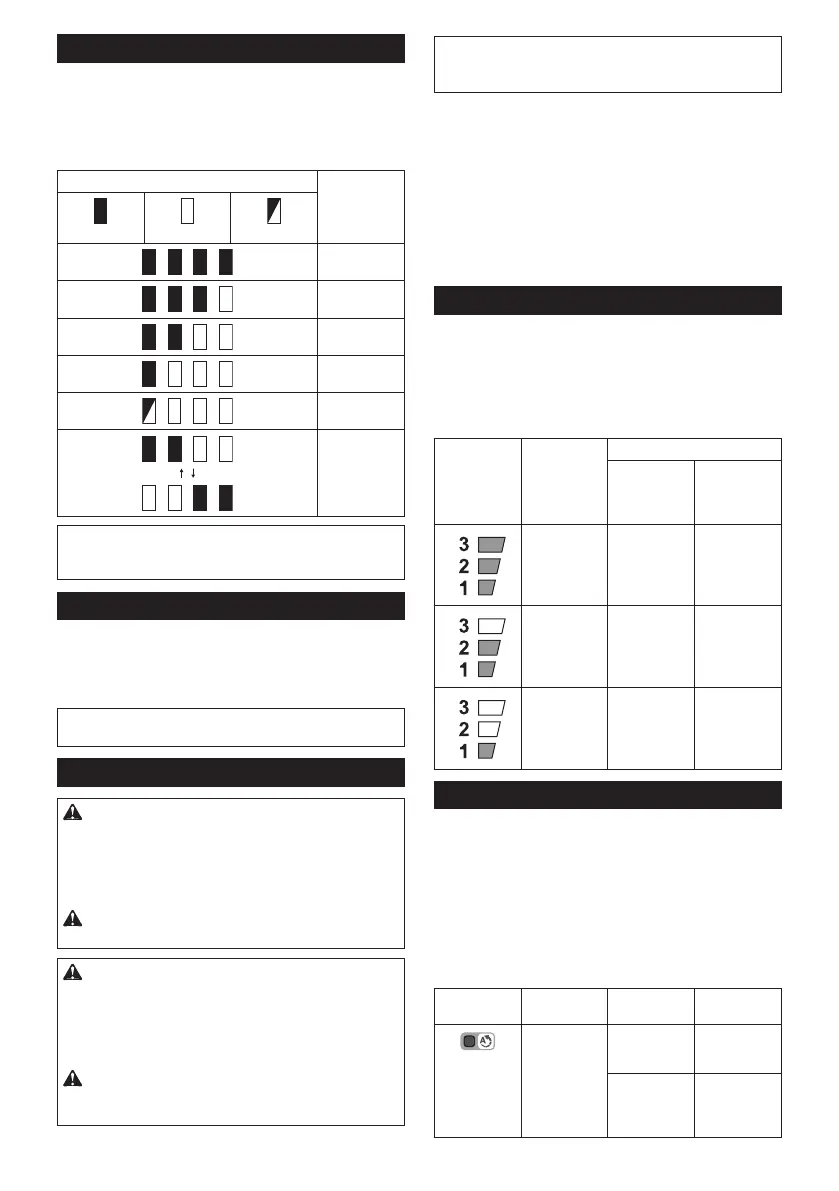
Indicating the remaining battery capacity
Only for battery cartridges with the indicator
► Fig.6: 1. Indicator lamps 2. Check button
Press the check button on the battery cartridge to indi-
cate the remaining battery capacity. The indicator lamps
light up for a few seconds.
Indicator lamps Remaining
capacity
Lighted O Blinking
75% to 100%
50% to 75%
25% to 50%
0% to 25%
Charge the
battery.
The battery
may have
malfunctioned.
NOTE: Depending on the conditions of use and the
ambient temperature, the indication may dier slightly
from the actual capacity.
Main power switch
Tap the main power button to turn on the tool.
To turn o the tool, press and hold the main power
button until the speed indicator goes o.
► Fig.7: 1. Speed indicator 2. Main power button
NOTE: The tool will automatically turned o if it is left
without any operations for a certain period of time.
Switch action
WARNING:
For your safety, this tool is equipped
with lock-o lever which prevents the tool from unin-
tended starting. NEVER use the tool if it runs when
you simply pull the switch trigger without pressing the
lock-o lever. Return the tool to our authorized service
center for proper repairs BEFORE further usage.
WARNING: NEVER tape down or defeat pur-
pose and function of lock-o lever.
CAUTION: Before installing the battery car-
tridge into the tool, always check to see that the
switch trigger actuates properly and returns to
the "OFF" position when released. Operating a tool
with a switch that does not actuate properly can lead
to loss of control and serious personal injury.
CAUTION:
Never put your nger on the main
power button and switch trigger when carrying the
tool. The tool may start unintentionally and cause injury.
NOTICE: Do not pull the switch trigger hard with-
out pressing the lock-o lever. This can cause
switch breakage.
To prevent the switch trigger from being accidentally
pulled, a lock-o lever is provided. To start the tool,
depress the lock-o lever and pull the switch trigger.
The tool speed increases by increasing pressure on the
switch trigger. Release the switch trigger to stop.
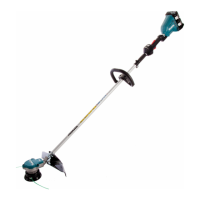
DUR369A
► Fig.8: 1. Lock-o lever 2. Switch trigger
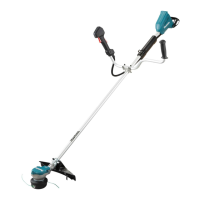
DUR369L
► Fig.9: 1. Lock-o lever 2. Switch trigger
Speed adjusting
You can select the tool speed by tapping the main
power button. Each time you tap the main power button,
the level of speed will change. The tool automatically
adjusts the rotation speed according to the cutting tool
attached to the tool.
► Fig.10: 1. Speed indicator 2. Main power button
Speed
indicator
Mode Rotation speed
Cutter blade
Plastic blade
(305 mm)
Nylon cutting
head
Plastic blade
(255 mm)
High 0 - 7,000
min
-1
0 - 5,500
min
-1
Medium 0 - 5,500
min
-1
0 - 5,000
min
-1
Low 0 - 4,600
min
-1
0 - 4,600
min
-1
Automatic Torque Drive Technology
When you turn on the Automatic Torque Drive Technology
(ADT), the tool runs at optimum rotation speed and torque for
the condition of grass being cut. The tool automatically detects
the cutting tool attached and chooses a suitable rotation speed.
To start ADT, press and hold the reverse button until the
ADT indicator turns on.
To stop ADT, press and hold the reverse button until the
ADT indicator turns o.
► Fig.11: 1. ADT indicator 2. Reverse button
Indicator Mode Cutting tool Rotation
speed
ADT Cutter blade
Plastic blade
(305 mm)
3,500 - 7,000
min
-1
Nylon cutting
head
Plastic blade
(255 mm)
3,500 - 5,500
min
-1
 Loading...