5 ENGLISH
1
2
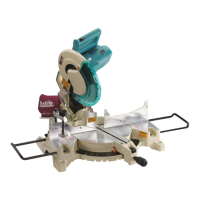
►1. Lock button / Lock-off button 2. Switch trigger
For tool with lock button
To start the tool, simply pull the switch trigger. Release
the switch trigger to stop. For continuous operation,
pull the switch trigger, push in the lock button and then
release the switch trigger. To stop the tool from the
locked position, pull the trigger fully, then release it.
CAUTION: Switch can be locked in "ON" posi-
tion for ease of operator comfort during extended
use. Apply caution when locking tool in "ON"
position and maintain rm grasp on tool.
For tool with lock-off button
To prevent the switch trigger from being accidentally
pulled, a lock-off button is provided. To start the tool,
press the lock-off button and pull the switch trigger.
Release the switch trigger to stop.
WARNING: NEVER defeat the lock-off button
by taping down or some other means. A switch with
a negated lock-off button may result in unintentional
operationandseriouspersonalinjury.
WARNING: NEVER use the tool if it runs when
you simply pull the switch trigger without press-
ing the lock-off button. A switch in need of repair
may result in unintentional operation and serious
personalinjury.ReturntooltoaMakitaservicecenter
for proper repairs BEFORE further usage.
NOTICE: Do not pull the switch trigger hard
without pressing in the lock-off button. This can
cause switch breakage.
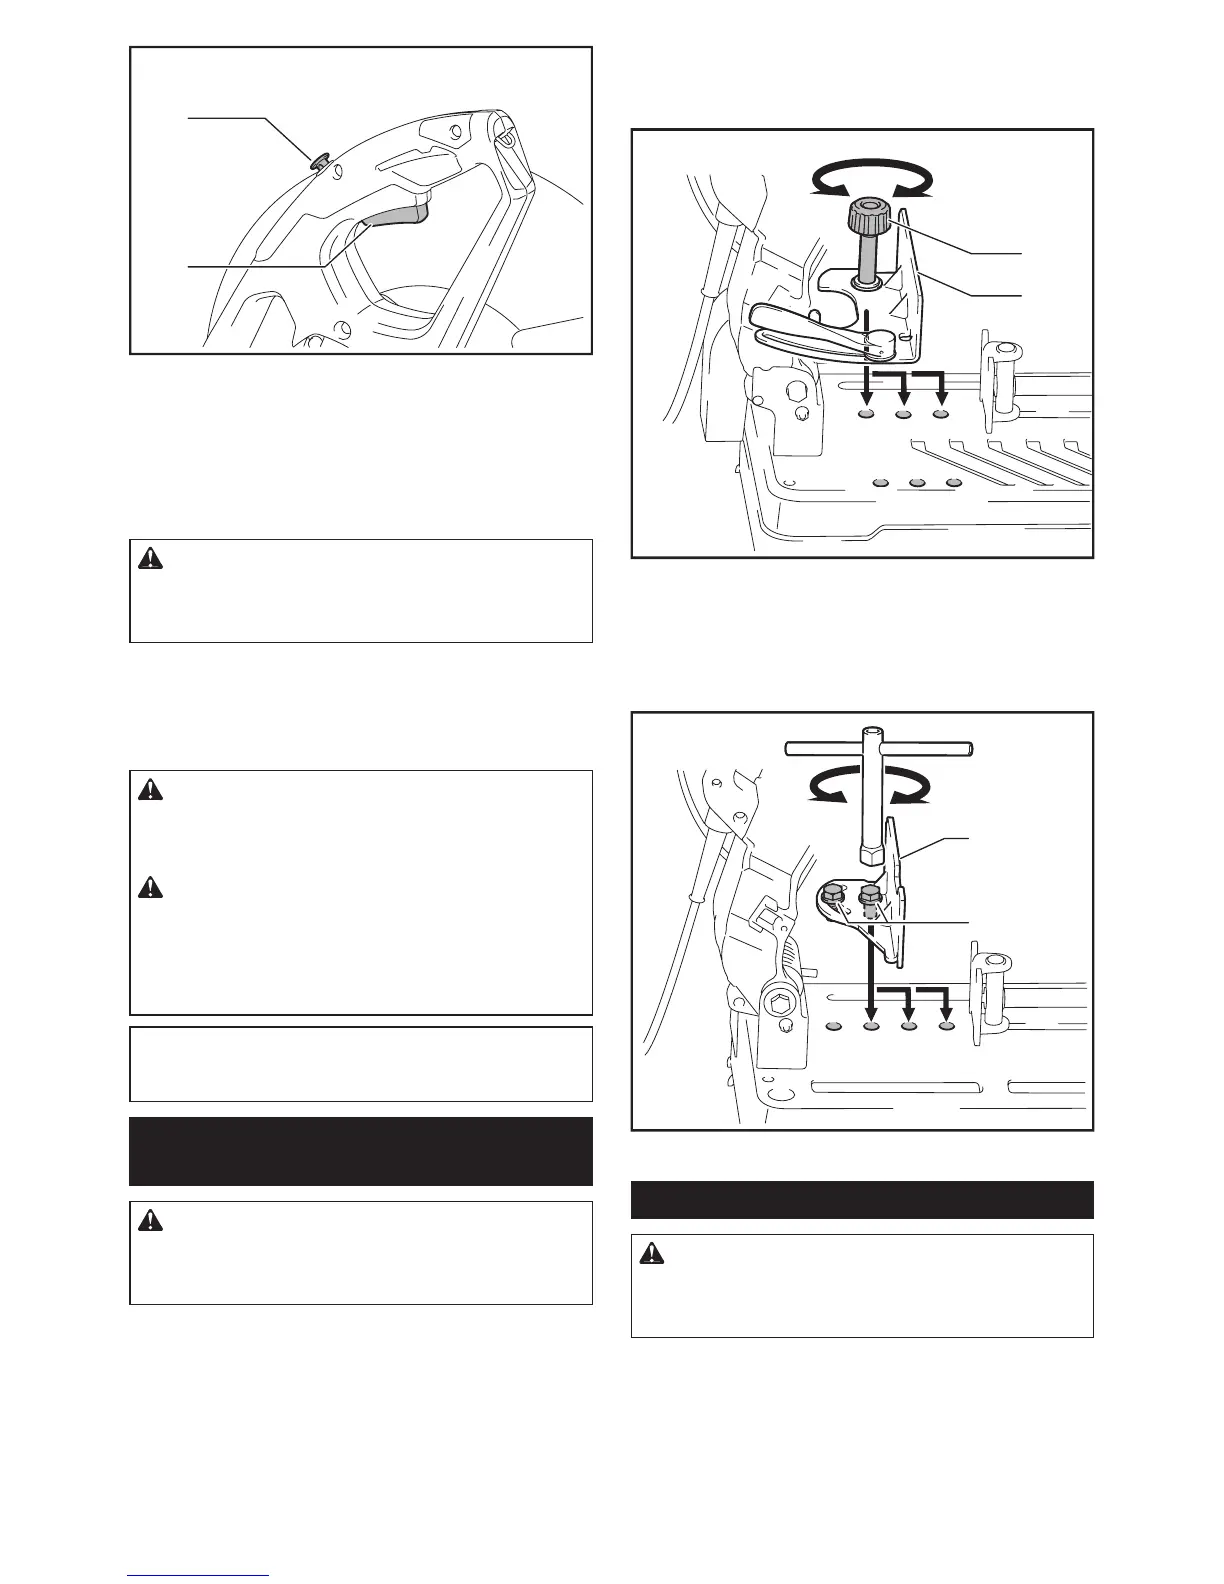
Interval between vise and guide
plate
CAUTION: After adjusting the interval
between the vise and the guide plate, make
sure that the guide plate is properly secured.
Insufcientxingmayresultinpersonalinjury.
The following interval settings of the vise are available:
• 0-170mm(originalsetting)
• 35-205mm
• 70-240mm
If your work requires different setting, proceed as fol-
lows to change the spacing or interval.
For LW1400
Loosen the screw on the guide plate. Move the guide
plate to the desired position then tighten the screw.
1
2
►1. Screw 2. Guide plate
For LW1401
Remove the two hex bolts using a socket wrench. Move
the guide plate to the desired position and secure it with
the hex bolts.
1
2
►1. Guide plate 2. Hex bolts
Cutting angle adjustment
CAUTION: After adjusting the angle of the
guide plate, make sure that the guide plate is
properly secured.Insufcientxingmayresultin
personalinjury.
For LW1400
Turn the lever counterclockwise. Move the guide plate
to the desired angle and fully tighten the lever.
 Loading...