11 ENGLISH
Installing or removing chip receiver
(optional accessory)
CAUTION:
• Alwaysbesurethatthetoolisswitchedoand
unplugged before installing or removing chip
receiver.
NOTE:
• When replacing the chip receiver, always wear
gloves so that hands and face does not directly
contact the blade. Failure to do so may cause
personalinjury.
• Always be sure to remove the blade cover
before installing the chip receiver.
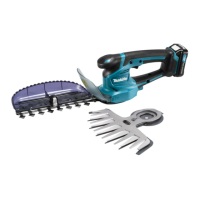
• Thechipreceiverreceivescut-oleavesand
alleviates collecting thrown-away leaves. This
can be installed on either side of the tool.
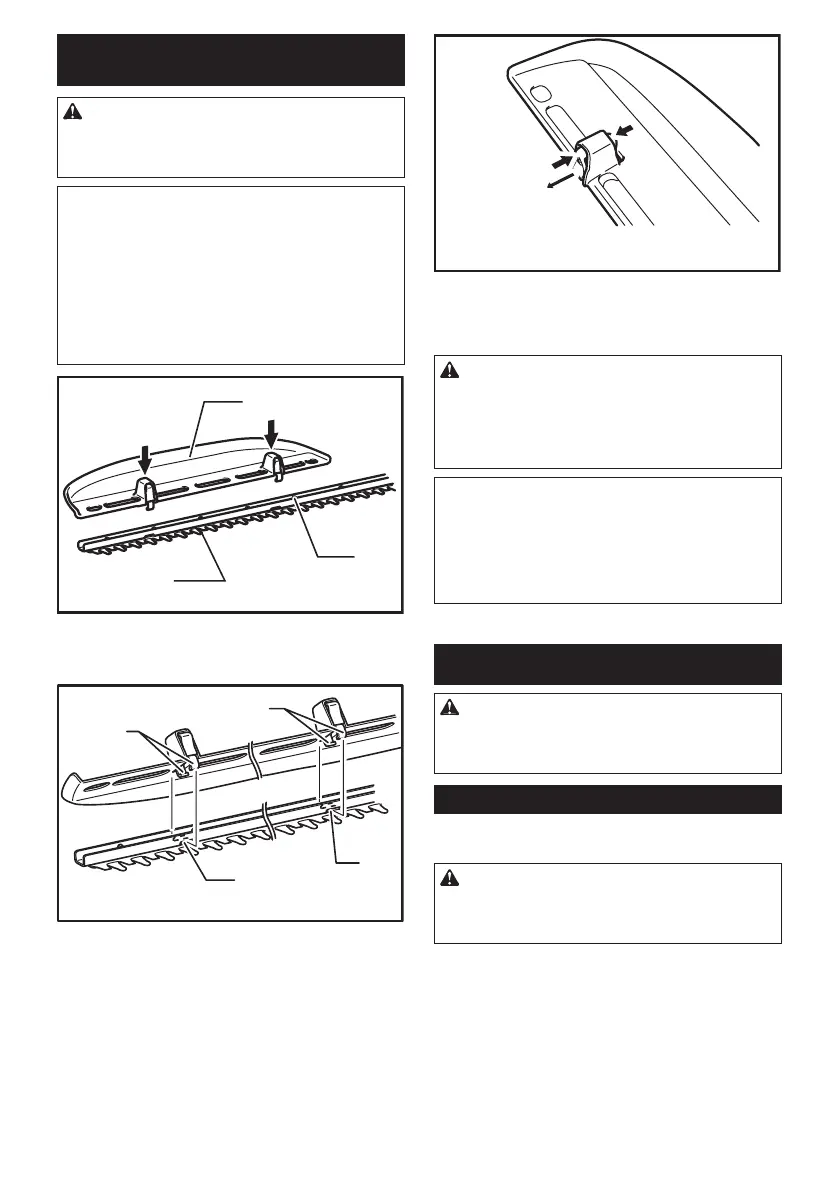
1
2
3
4
►1. Press 2. Chip receiver 3. Nut 4. Shear blade
Press the chip receiver on the shear blades so that its
slits overlap with the nuts on the shear blades.
1
1
2
2
3
3
►1. Hooks 2. Fit the hooks into groove 3. Grooves
At this time, the chip receiver needs to be installed so
thatitshookstintogroovesintheshearbladeunit.
1
2
►1. Press the levers on both sides 2. Unlock the
hooks
To remove the chip receiver, press its lever on both
sides so that the hooks are unlocked.
CAUTION:
• The blade cover (standard equipment) cannot
be installed on the tool with the chip receiver
being installed. Before carrying or storing, unin-
stall the chip receiver and then install the blade
cover to avoid blade exposure.
NOTE:
• Check the chip receiver for secure installment
before use.
• Never try to uninstall the chip receiver by an
excessive force with its hooks locked in the
blade unit grooves. Using the excessive force
may damage it.
MAINTENANCE
CAUTION:
• Alwaysbesurethatthetoolisswitchedoand
the battery cartridge is removed before attempt-
ing to perform inspection or maintenance.
Cleaning the tool
Cleanoutthetoolbywipingodustwithadryorsoap-
dipped rag.
CAUTION:
• Never use gasoline, benzine, thinner, alcohol
or the like. Discoloration, deformation or cracks
may result.
 Loading...