P
ropeller damage is caused by striking solid objects.
If the propeller is not rotating at the time it strikes
a solid object, the damage is usually conned to
just one blade and may be difcult to see. If the propeller
is rotating when it strikes an object, usually the resulting
damage can easily be seen on all blades.
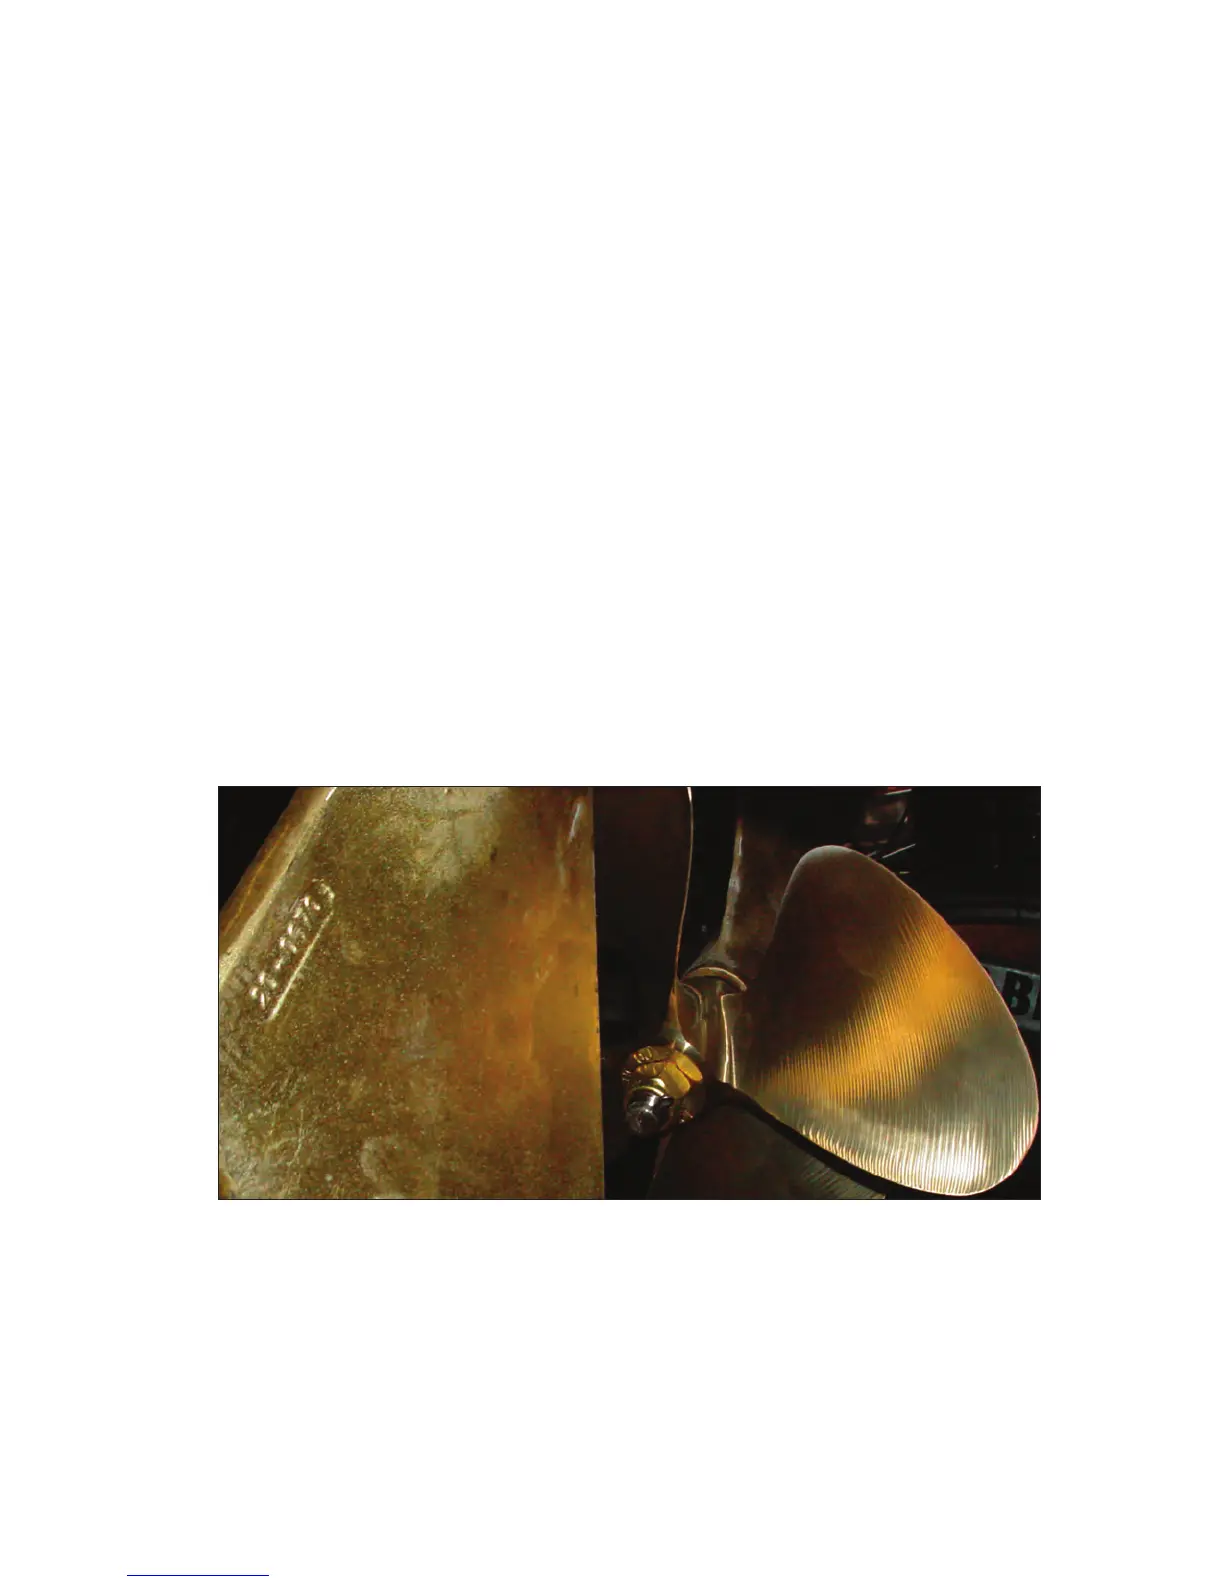
Checking/Repairing Propellers
Step 1: Ensure the engine is OFF and the engine safe-
ty starting switch is disconnected.
Step 2: Clamp a small rule scale to the shaft strut,
parallel to the shaft so that the end of the scale is 3/32-
inches from the leading edge of a propeller blade.
Step 3: Rotate the propeller slowly. There should be no
more than 3/32-inch variance between the blades. If the pro-
peller is damaged, see an authorized MasterCraft dealer.
Changing Propellers
Step 1: Ensure the engine is OFF and the engine safe-
ty starting switch is disconnected.
Step 2: Remove and discard the cotter pin.
Step 3: Remove the propeller nut.
Step 4: Tap the center hub of the propeller with a rub-
ber mallet to release the propeller. Inspect the shaft and
propeller splines for damage.
Step 5: Thoroughly clean and apply a light coat of wa-
terproof marine multi-purpose grease to the splined area
of the shaft and propeller.
Step 6: Align the splines and carefully install the pro-
peller onto the shaft. DO NOT FORCE THE PROPEL-
LER INTO PLACE.
Step 7: Install the propeller nut and torque to 50-ft-lbs.
Step 8: Install a new cotter pin and bend the ends
around the shaft to lock the propeller on the shaft.
2008 MasterCraft Owners Manual Page 20-1
 Loading...