K
Karl SpearsAug 14, 2025
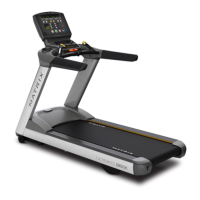
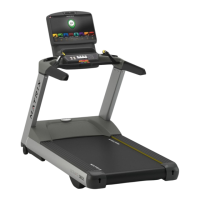
Why is the heart rate function not working on my Matrix T3X-02?
- MMelissa SmithAug 14, 2025
If the heart rate function on your Matrix Treadmill isn't working correctly, there are several potential causes and solutions: * If the chest strap isn't making good contact, recenter it below your pectoral muscle. * If the chest strap has a low battery, replace it. * If the chest strap is damaged, replace it. * If the HR grips are damaged and there is no heart rate reading, replace the HR grips. * If the HR board is damaged and the heart rate is much higher than normal, replace the HR board. * If replacing the HR grips and board doesn't fix the issue, the console (UCB) may be damaged and require replacement.