CHARGING SYSTEM
Page 2B-4 90-857138R1 MAY 2000
Lighting Coil Removal and Installation
Removal
1. Remove manual starter. Refer to Section 8.
2. Remove flywheel. Refer to Section 2A.
3. Remove screw and clamp.
4. Disconnect both YELLOW/RED coil leads.
5. Remove screws securing lighting coil, then remove coil.
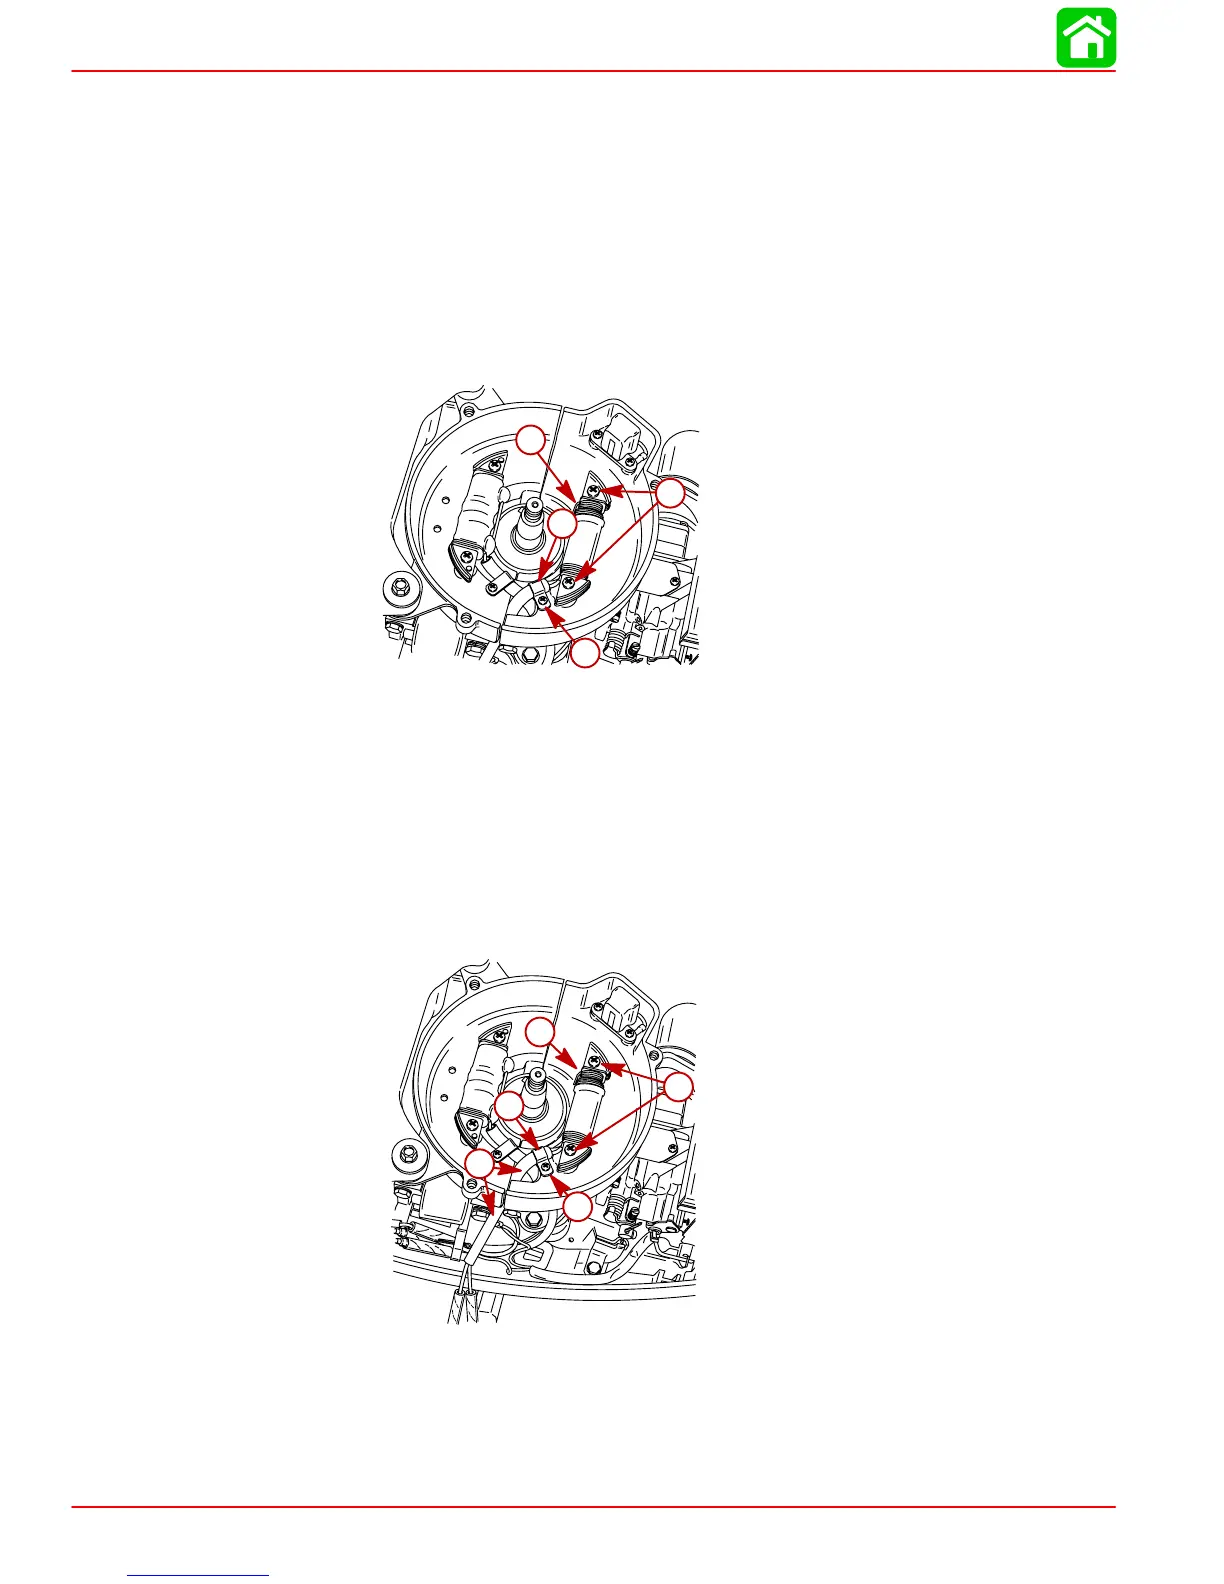
b
a
c
d
56284
a-Screw
b-Clamp
c-Screws (2)
d-Lighting Coil
Installation
1. Route lighting coil leads, as shown and place coil over mounting bosses of crankcase
cover.
2. Secure coil with 2 screws. Torque screws to 14 lb-in. (1.6 Nm).
3. Secure coil leads/sleeve, using wire clamp and screw. Tighten screw securely.
4. Connect both YELLOW/RED lighting coil leads to rectifier or lighting harness.
c
b
d
e
a
56285
a-Lighting Coil Leads
b-Coil
c-Screws (2)
d-Wire Clamp
e-Screw
5. Install flywheel. Refer to Section 2A.
6. Install manual starter. Refer to Section 8.
 Loading...