PAGE 5
MASTER (continued)
NOTE: When trying to use your STUDIO CALIBER at extremely low volume levels it will be
necessary to reduce the far left Gain control. Once the Masters and Output Levels has been reduced to roughly 1.5. , reducing
the Masters or Output Level below this point causes phase interaction that prevents a clean signal from passing through this circuit
junction. If you must use your STUDIO CAL at whisper levels to practice late at night etc...get used to reducing the Gain as
well as the Masters and Output levels. This effect is most noticeable in the Rhythm channel set for a crystal clean sound. In the
Lead channel set for a high gain sound the interaction effect is greatly reduced and virtually unnoticeable.
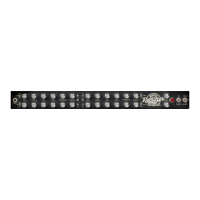
OUTPUT LEVEL: This lonely knob is the STUDIO CALIBER's final Output knob or overall master. After the relative
balance of the two channels has been set with the channel Master controls, use this Output control to increase or decrease the
listening volume. This is also the effects return level control, a
point we just thought you should know. Designed this way, it
simply makes for a simpler set up and one less knob to deal with
when interfacing your favorite effects. Optimum setting depends
on the size of the room you wish to rock, but generally the
STUDIO CAL sounds best with a setting somewhere between
a and on the Output Level control.
6
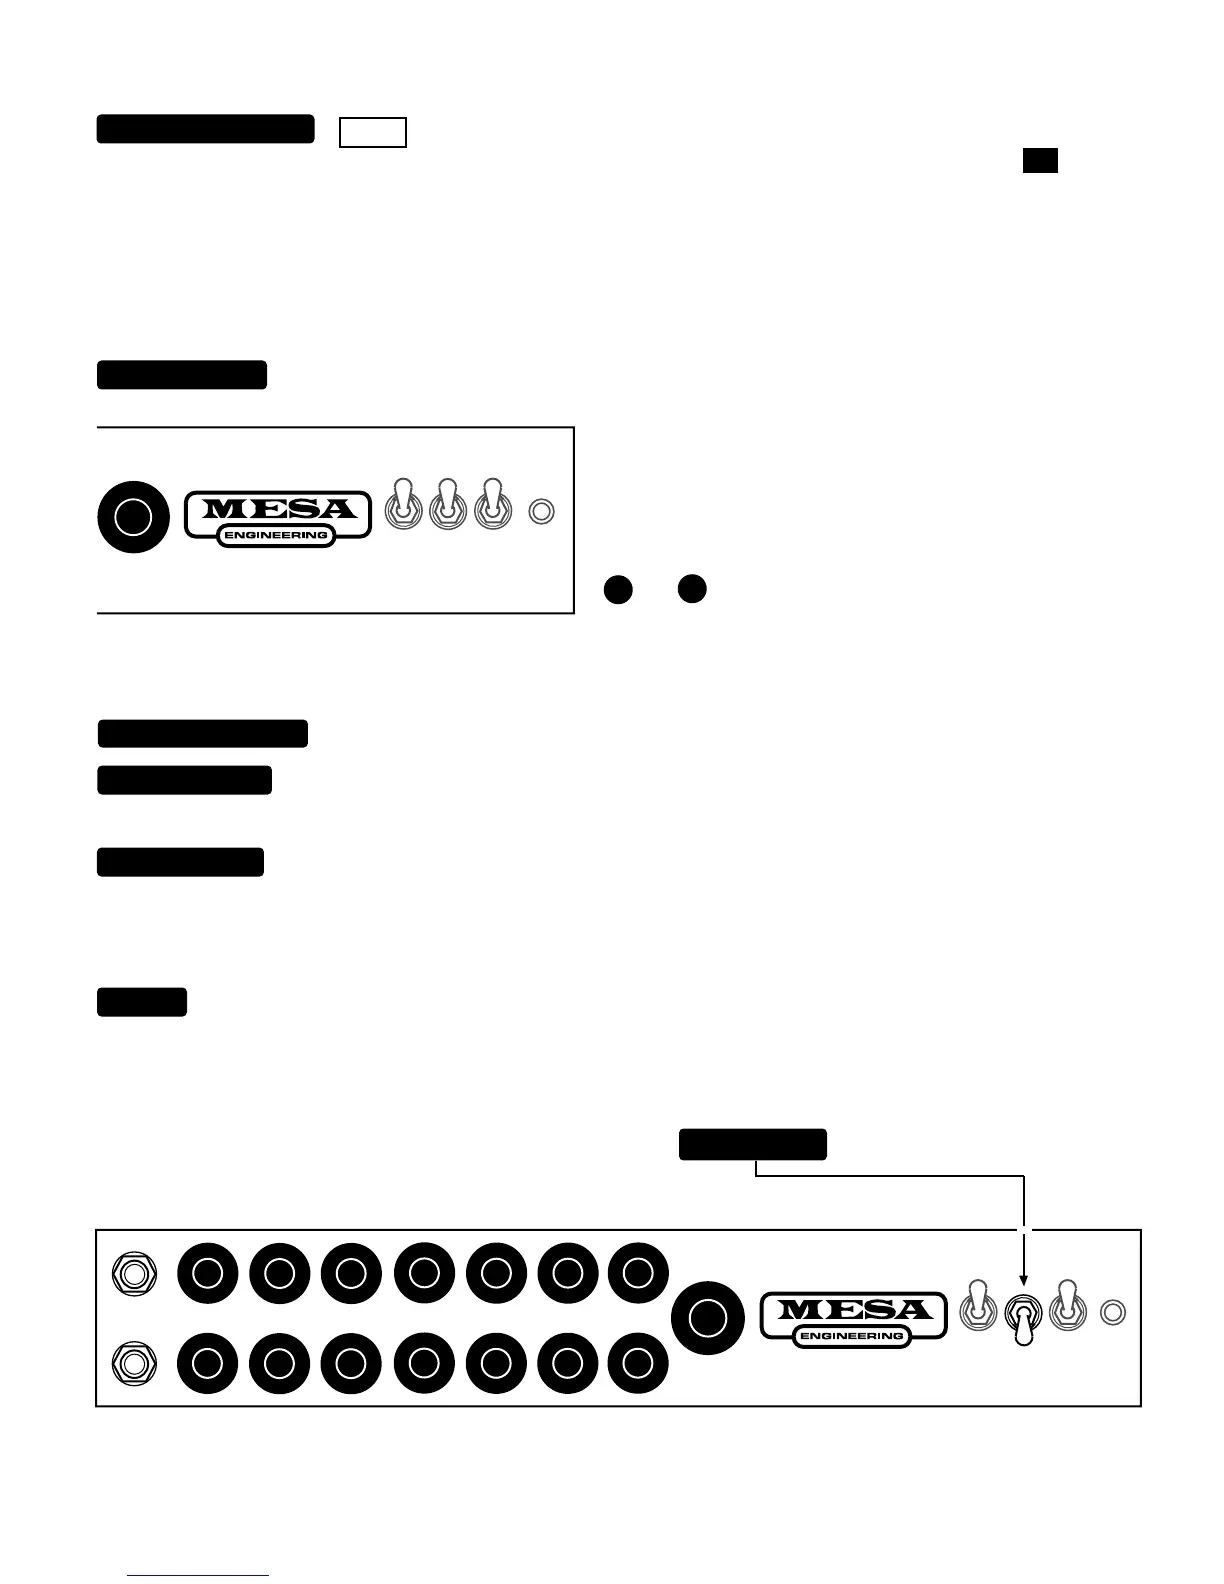
STANDBY POWER
LEAD
ON ONRHYTHM
STUDIOCALIBER
OUTPUT
LEVEL
3
2
TOGGLE SWITCHES
This
toggle calls up one channel or the other and can take the place of the channel select footswitch when
there isn’t one handy.
RHYTHM / LEAD:
ON / STANDBY:
Perfect for set breaks... this toggle switch also serves an even more important purpose. In the Standby
position the tubes are at idle so that during power up they may warm up before being put to use. Before Power is switched on
make sure the Standby switch is in the Standby position. Wait at least 30 seconds and then switch the Standby to the "On"
position. This prevents tube problems and increases their toneful life substantially.
This switch delivers A.C. power to the STUDIO CALIBER . Make sure the unit is grounded (All three terminals of
the A.C. cord must be connected whenever possible to avoid injury to the user as well as to the unit) and that the proper voltage is
present. Follow the cold start procedure described in the above section On / Standby when powering up your STUDIO CAL.
POWER:
Leave switch to the Standby position during power -up for at least 30 seconds.
GAIN TREBLE MID BASS PRESENCE REVERB MASTER
INPUT
FOOT
SWITCH
OUTPUT
LEVEL
2
5
6
7
8
1
0
10
9
3
4
STANDBY POWERLEAD
ONRHYTHM
2
3
4
5
6
7
8
9
1
0
10
2
3
4
5
6
7
8
9
1
0
10
2
3
4
5
6
7
8
9
1
0
10
2
3
4
5
6
7
8
9
1
0
10
2
3
4
5
6
7
8
9
1
0
10
2
3
4
5
6
7
8
9
1
0
10
2
3
4
5
6
7
8
9
1
0
10
2
3
4
5
6
7
8
9
1
0
10
2
3
4
5
6
7
8
9
1
0
10
2
3
4
5
6
7
8
9
1
0
10
2
3
4
5
6
7
8
9
1
0
10
2
3
4
5
6
7
8
9
1
0
10
2
3
4
5
6
7
8
9
1
0
10
2
3
4
5
6
7
8
9
1
0
10
STUDIOCALIBER

 Loading...