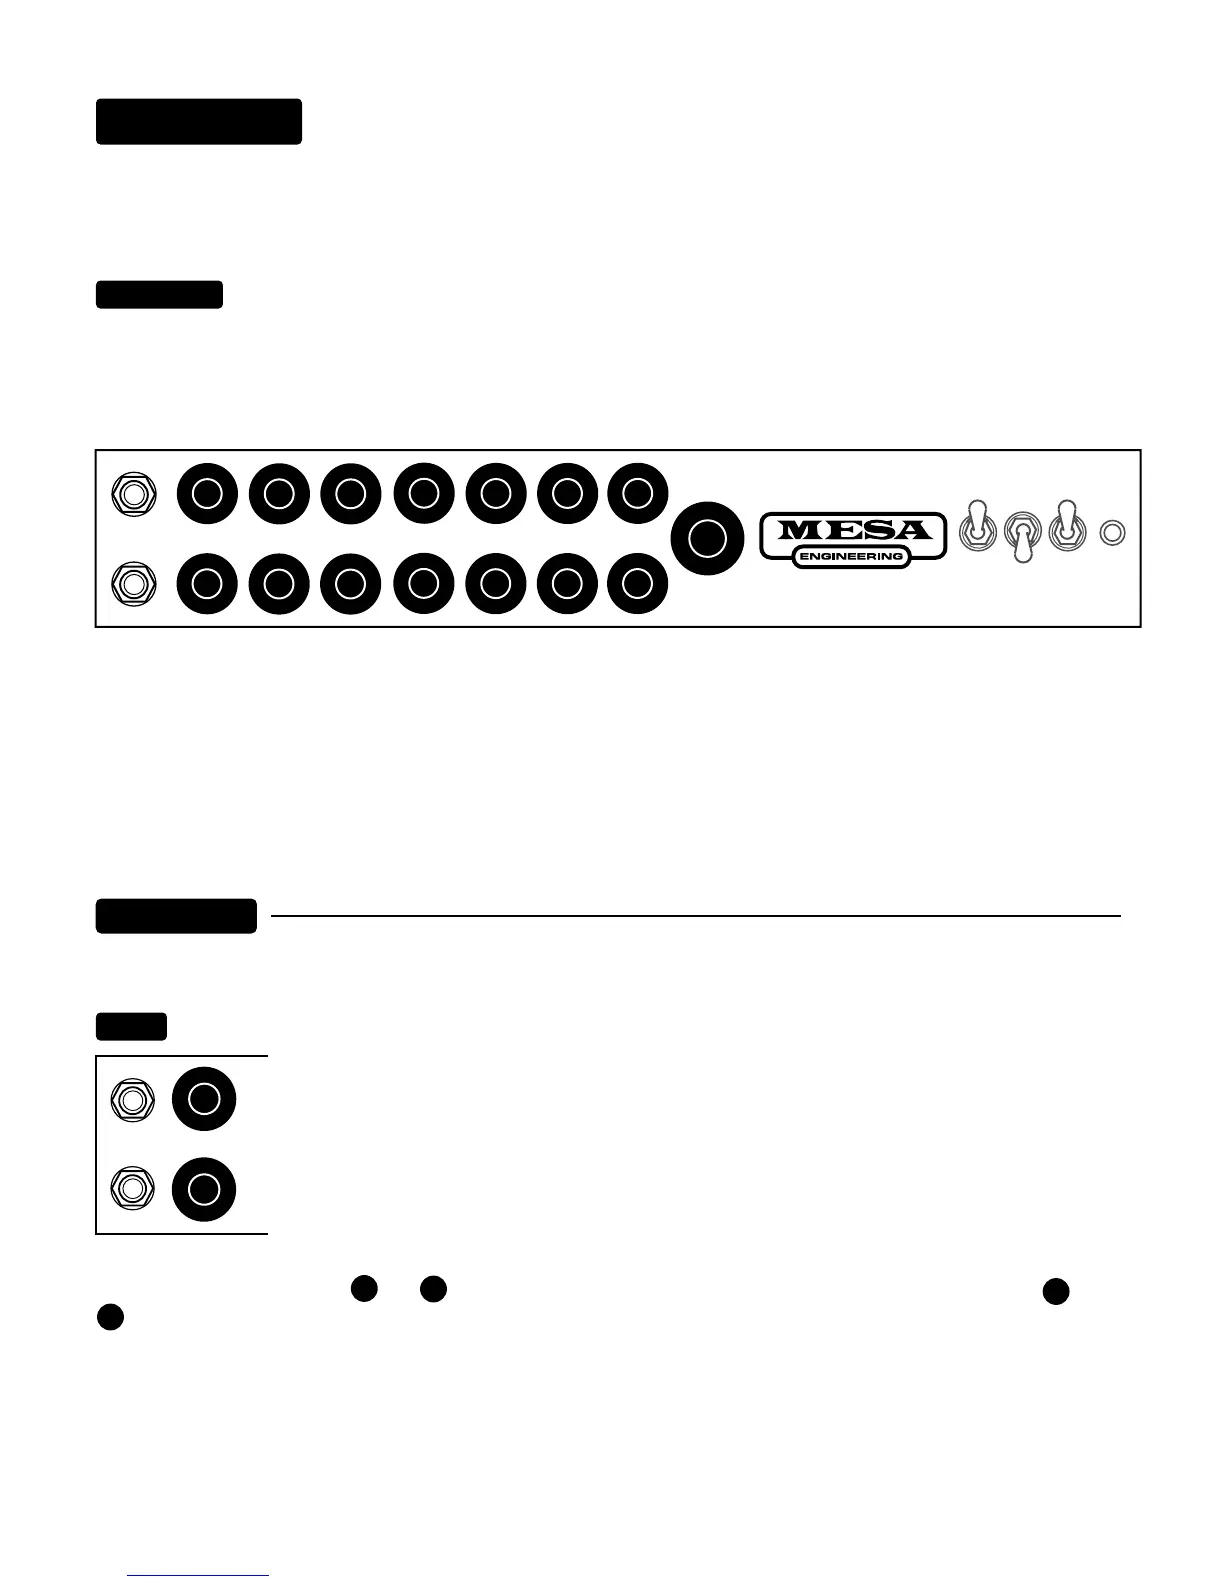
First familiarize yourself with the layout of the front panel and locate the Lead / Rhythm switch on the
right side of the chassis, next to the Standby Switch. This toggles you between the top (Rhythm) Channel and the bottom (Lead)
Channel. If you don’t have the Rhythm/Lead Footswitch connected, this switch will activate the channel switching function. Before
we get too critical about each control, let’s audition the two channels with a basic clean setting in the Rhythm Channel and a fairly
high gain overdriven sound in the Lead Channel.
POWER-UP: Connect your favorite guitar to the instrument input jack. Turn the power switch "On" while leaving the standby
switch set to "Standby". It’s always a good idea to practice this start up procedure as at least 30 seconds of warm-up time lessens
the shock on cold power tubes, thus prolonging their life substantially. Next, using the example below as a guide, set the controls
as illustrated and turn the Standby Switch to the On position to listen to the two distinctly different channels using either the
footswitch or the Channel Select toggle switch on the right side of the front panel.
Again, these are merely examples of the two channels. Experimentation leads to finding many different sounds in each channel,
and understanding the controls and the way they interact can make this much easier and more fun.
Now that you have heard the STUDIO CALIBER ’S two channels, lets move on to understanding the controls and their
interactive roles in achieving the sounds that you want to hear.
PAGE 2
CONTROLS:
GAIN:
This is by far the most powerful control in each channel. It not only determines the overall gain amount, shape and
sensitivity of the channel...but it is also a powerful Tone control. Generally speaking, whatever is
dialed here ultimately determines the channels personality. Set low, it allows cleaner, brighter
sounds with enhanced dynamic response, especially in the higher frequencies. Set high, the
whole personality of the channel becomes darker, fatter and more overdriven. We worked hard
to make sure that the entire range of Gain available is usable in the STUDIO CALIBER and more
importantly, musical. Don’t think for a moment that this simple one knob layout limits you in any way in
regards to the amount and texture of gain that is available. Long neurotic hours were spent to ensure
that the ranges of gain were stylistically accurate. It’s probably a good time to mention that most of the
INPUT
FOOT
SWITCH
GAIN
4
4
8
great sounds can be found in the STUDIO CAL by setting the GAIN Control moderately, especially in the LEAD Channel. For
example, somewhere between thru . In the RHYTHM Channel, try setting this control somewhere between through
u Use of moderation here will reduce the likelihood of pesky tube microphonic problems ever occurring, while at the same
time making the two channels easier to balance in volume and effects send strength.
2
6
3
.
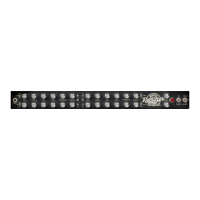
FRONT PANEL:
GAIN TREBLE MID BASS PRESENCE REVERB MASTER
INPUT
FOOT
SWITCH
OUTPUT
LEVEL
2
5
6
7
8
1
0
10
9
3
4
STANDBY POWERLEAD
ONRHYTHM
2
3
4
5
6
7
8
9
1
0
10
2
3
4
5
6
7
8
9
1
0
10
2
3
4
5
6
7
8
9
1
0
10
2
3
4
5
6
7
8
9
1
0
10
2
3
4
5
6
7
8
9
1
0
10
2
3
4
5
6
7
8
9
1
0
10
2
3
4
5
6
7
8
9
1
0
10
2
3
4
5
6
7
8
9
1
0
10
2
3
4
5
6
7
8
9
1
0
10
2
3
4
5
6
7
8
9
1
0
10
2
3
4
5
6
7
8
9
1
0
10
2
3
4
5
6
7
8
9
1
0
10
2
3
4
5
6
7
8
9
1
0
10
2
3
4
5
6
7
8
9
1
0
10
STUDIOCALIBER

 Loading...