MOUNTING THE INDOOR UNIT
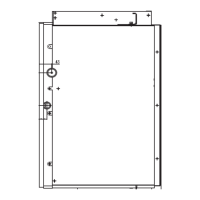
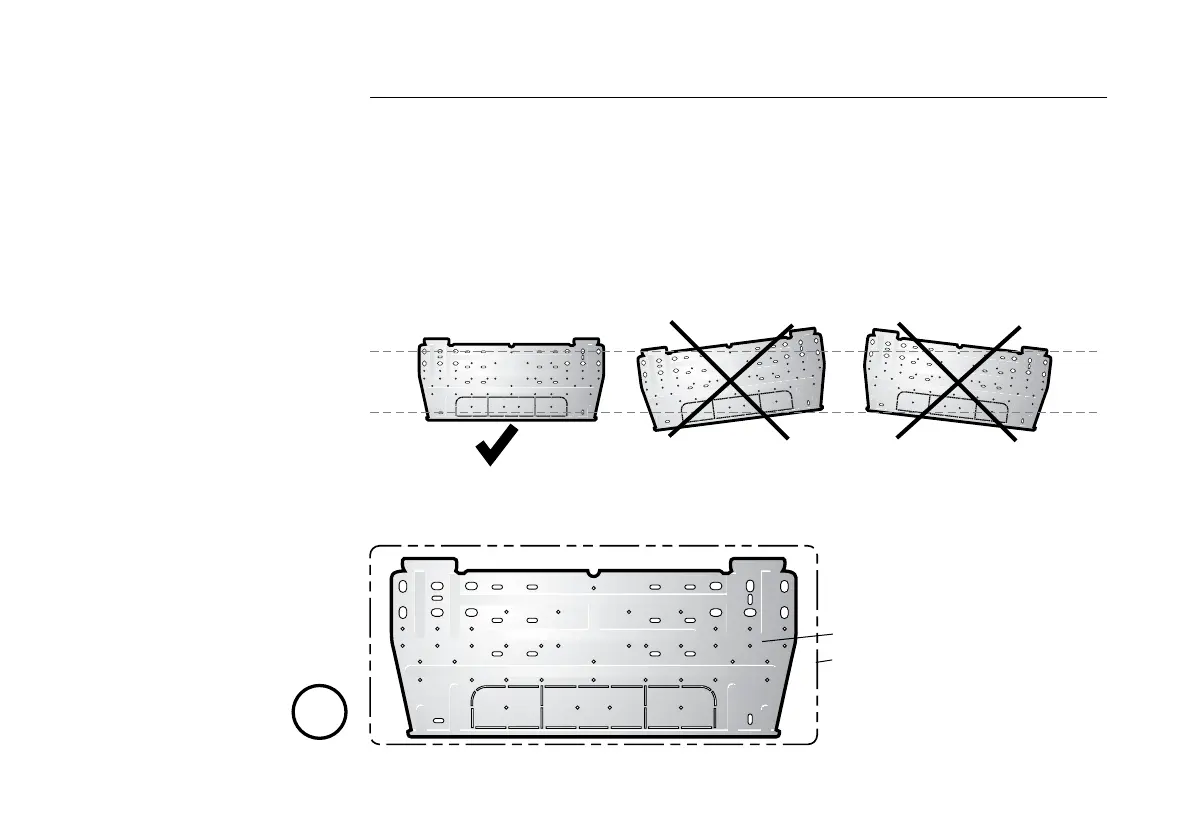
1. installation of the mounting plate
· Install the mounting plate horizontally on a level surface on the wall and leave a great enough space surrounding
the mounting plate.
· If the wall is made of concrete, brick, or similar material, drill four holes with a diameter of 6 mm into the wall. Insert
the mounting brackets for the corresponding screws.
· Use 4 screws to install the mounting plate on the wall.
· Always use a level to mark the drill holes and align the mounting plate.
· Use the level to check the mounting plate after screwing it into the wall to make sure it is truly level.
Note:
Install the mounting plate and holes in the wall
according to the structure of the wall and the fas-
tening points of the mounting plate.
12 cm or more
from the ceiling
12 cm or more
from the wall
12 cm or more
from the wall
Hole for connecting pipe
about Ø 65 mm
Mounting plate
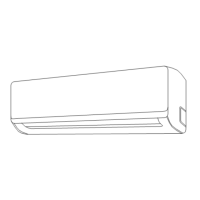
Housing profile indoor unit
 Loading...