9 10
Dehumidifying Operation
Ensure the unit is plugged in and power is
available. The OPERATION indicator on the
display panel of the indoor unit starts flashing.
1. Press the MODE button to select DRY mode.
2. Press the UP/DOWN buttons to set the
desired temperature. The temperature
O O
can be set within a range of 17 C ~ 30 C
O
in 1 C increments.
3. Press the ON/OFF button to start the air
conditioner.
In the Dehumidifying mode, you can not switch the fan
speed. It has already been automatically controlled.
NOTE
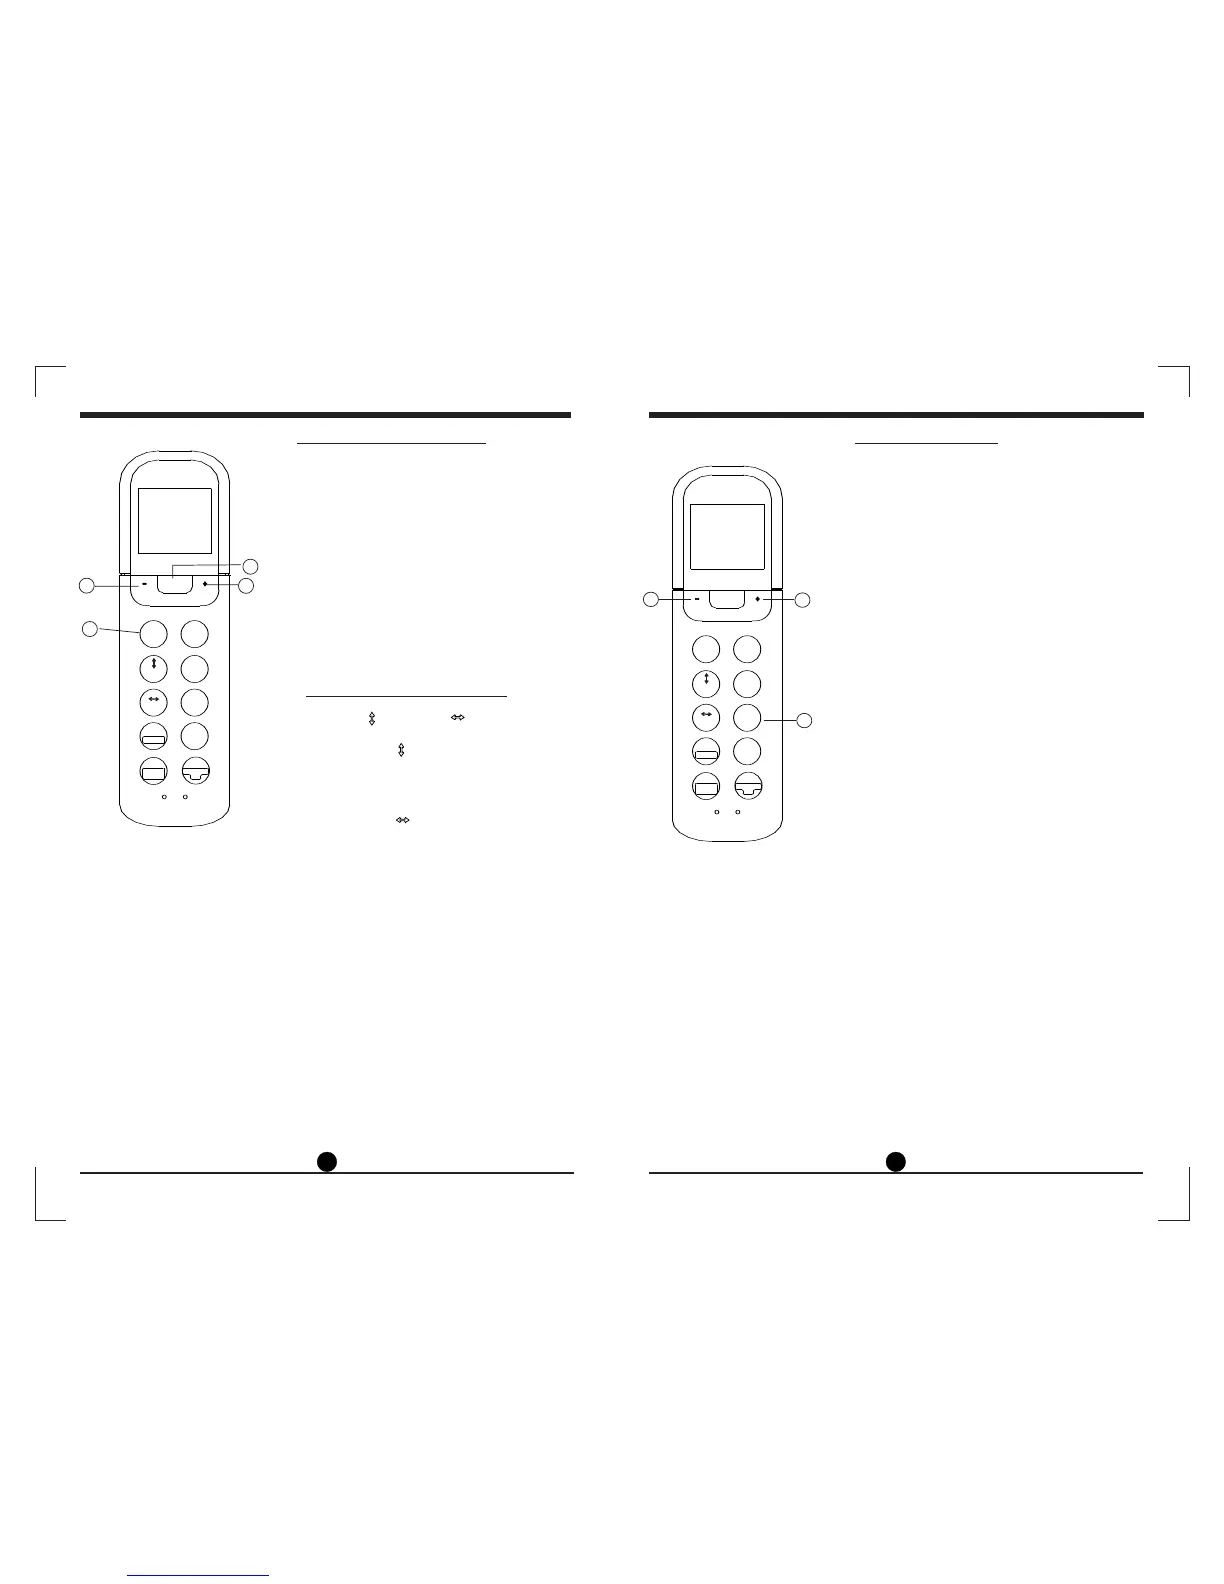
Adjusting Airflow Direction
3
1
2
2
TURBO
SELF
CLEAN
SLEEP
FRESH
SILENCE
FP
TIMER
ON/OFF
INTEL LIGENT
EYE
LOCK
RESET
LED
FOLLOW
ME
FAN
SPEED
SWING
MODE
TEMP
SWING
TURBO
SELF
CLEAN
SLEEP
FRESH
SILENCE
FP
TIMER
ON/OFF
INTEL LIGENT
EYE
LOCK
RESET
LED
FOLLOW
ME
FAN
SPEED
SWING
MODE
TEMP
SWING
Use the SWING and SWING buttons to adjust
the desired airflow direction.
1. When the SWING button is pressed, the
horizontal louver changes 6 degrees in angle for
each press. If pressed for more than 2 seconds,
the louver will automatically swing up and down.
2. When the SWING button is pressed, the
vertical louver changes 6 degrees in angle for
each press. If pressed for more than 2 seconds,
the louver will automatically swing left and right.
NOTE
When the horizontal/vertical louver swings or moves
to a position which would affect the cooling or
heating effect of the air conditioner, it would
automatically change the swing/moving direction.
Timer Operation
Press the TIMER ON button to set the Auto-On
time of the unit. Press the TIMER OFF button
to set the Auto-Off time of the unit.
1. Press the TIMER ON/OFF button to show
‘TIMER ON’ on the display. The last Auto-On
setting time and the signal ‘H’ will be shown on
the LCD display area. Now it is ready to reset
the Auto-On time to START the operation.
2. Push the +/- buttons to set desired Auto-On
time. Each time you press the button, the time
increases by half an hour between 0 and 10
hours and by one hour between 10 and 24 hours.
3. After setting the TIMER ON, there will be a one
second delay before the remote control
transmits the signal to the air conditioner. Then,
after approximately another 2 seconds, the
signal ‘H’ and time will disappear and ‘TIMER
ON’ indicator will remain on the LCD display
window. The set temperature will re-appear on
the LCD display window.
To set the Auto-On time
To set the Auto-Off time
1. Press the TIMER ON/OFF button to show
‘TIMER OFF’ on the display. The last Auto-Off
setting time and the signal ‘H’ will be shown on
the LCD display area. Now it is ready to reset
the Auto-off time to STOP the operation.
2. Push the +/- buttons to set desired Auto-Off
time. Each time you press the button, the time
increases by half an hour between 0 and 10
hours and by one hour between 10 and 24 hours.
3. After setting the TIMER OFF, there will be a
one second delay before the remote control
transmits the signal to the air conditioner. Then,
after approximately another 2 seconds, the
signal ‘H’ will disappear and ‘TIMER OFF’
indicator will remain on the LCD display window.
The set temperature will re-appear on the LCD
display window.
1
2
ON/OFF
ON/OFF
2
 Loading...