Midea R410A Tropical ClimaCreator Series Rooftop Package 220V 3Ph 60Hz MCAC-RTT6S-201701
113
All wiring diagrams are for typical systems only.
Installation:
Step 1: Remove the packing material from the controller. Gently pull the cover straight off the
base. Forcing or prying on the controller will cause damage to the unit.
Step 2: Connect wires beneath terminal screws on base using appropriate wiring schematic.
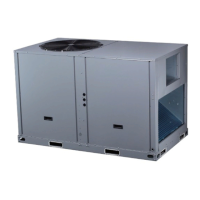
Notes: The default setting value of the reminding function is 2,500 hours, and it can change to be
5,000 hours or 10,000 hours. The setting methods refer to the part of wired controller initial
parameter setting.
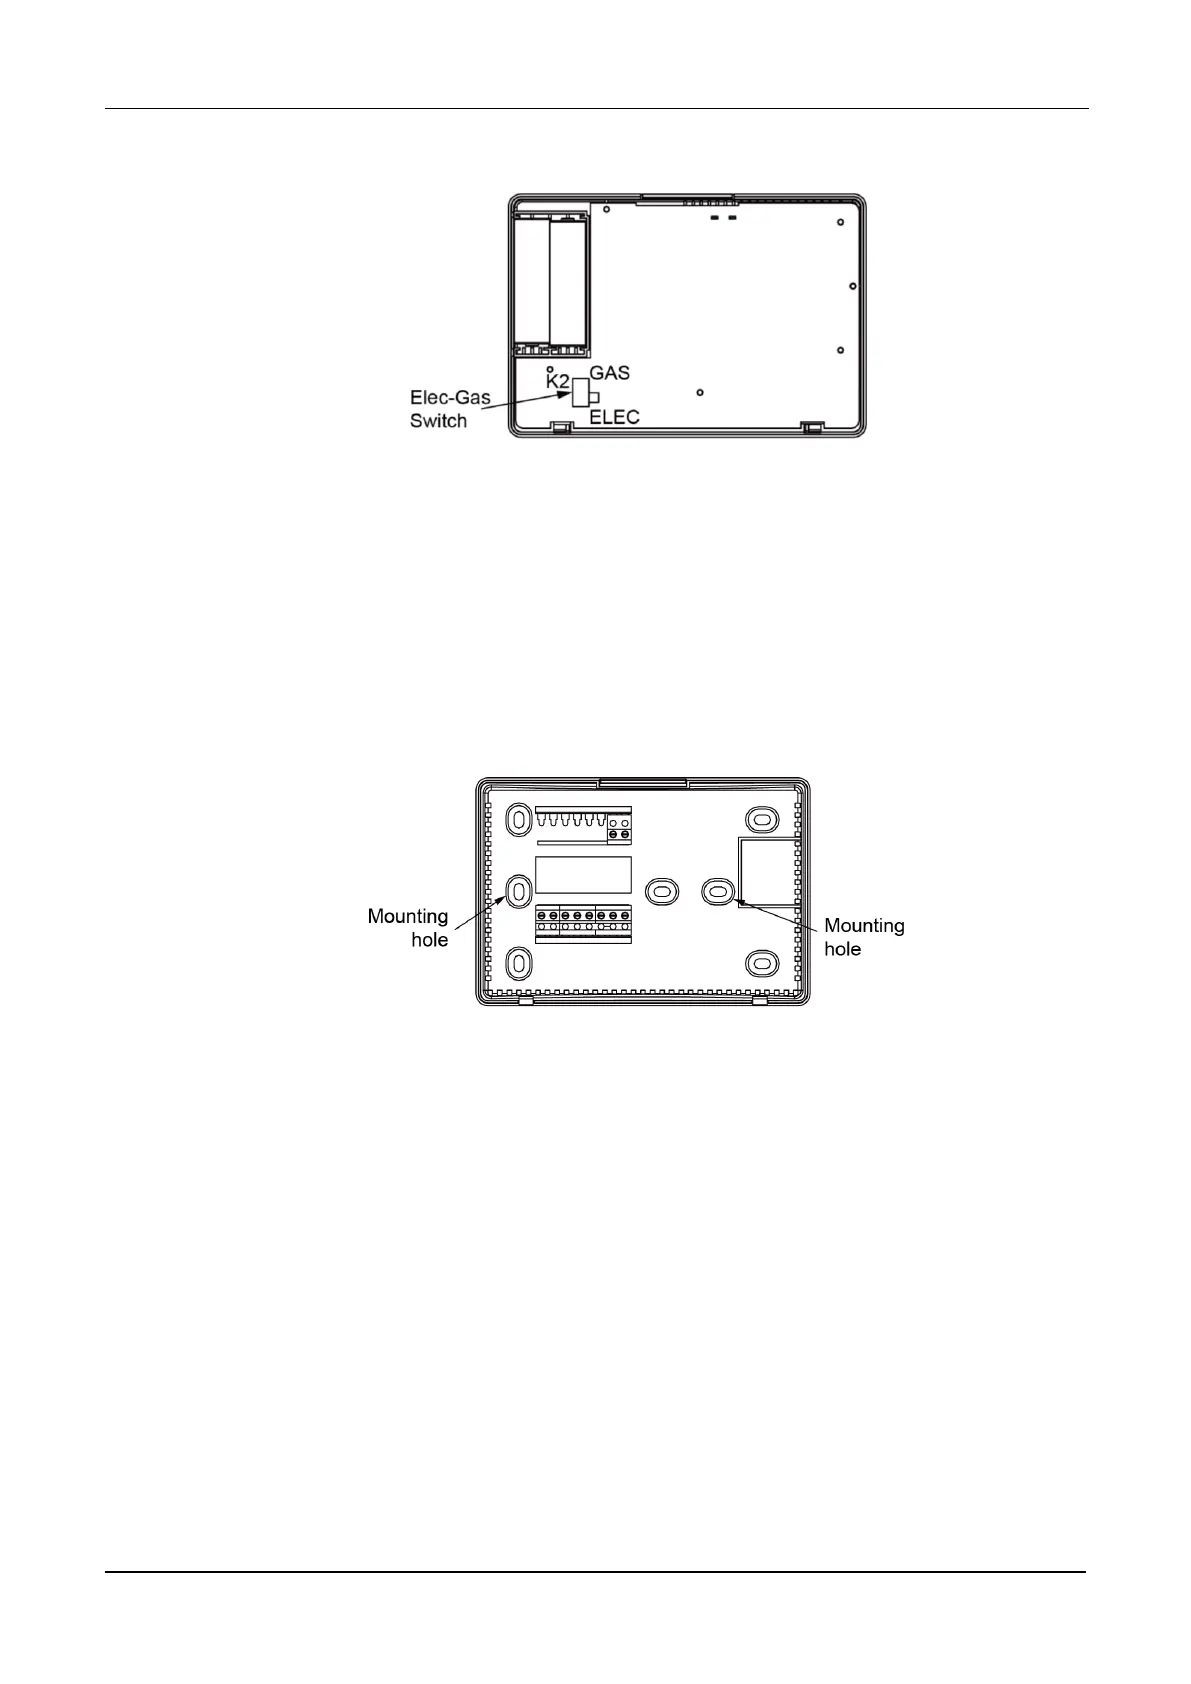
Step 3: Place base over hole in wall and mark the locations of mounting hole on wall using base
as a template.
Step 4: Move base out of the way. Drill mounting holes.
Step 5: Fasten base loosely to wall, using two mounting screws. Place a level against bottom of
base, adjust until level, and then tighten screws. Leveling is for appearance only and will not
affect the controller operation. If using existing mounting holes, or if holes drilled are too large
and do not allow to tighten base snugly, use plastic screw anchors to secure sub-base.
Step 6: Push excess wire into wall and plug hole with a fire-resistant material (such as fiberglass
insulation) to prevent drafts from affecting controller operation.
 Loading...