11 Commissioning
11.1 Outdoor Unit Address and Capacity Settings
Make sure all the settings you need to configure are completed. Refer to part 4 “Field settings” in “V6R VRF Service Manual”.
Before running a system for the first time, set each outdoor unit’s address on switch ENC1 on each outdoor unit’s data
transfer module. Data Transfer Module is an additional auxiliary small PCB installed on the side columns of the outdoor unit.
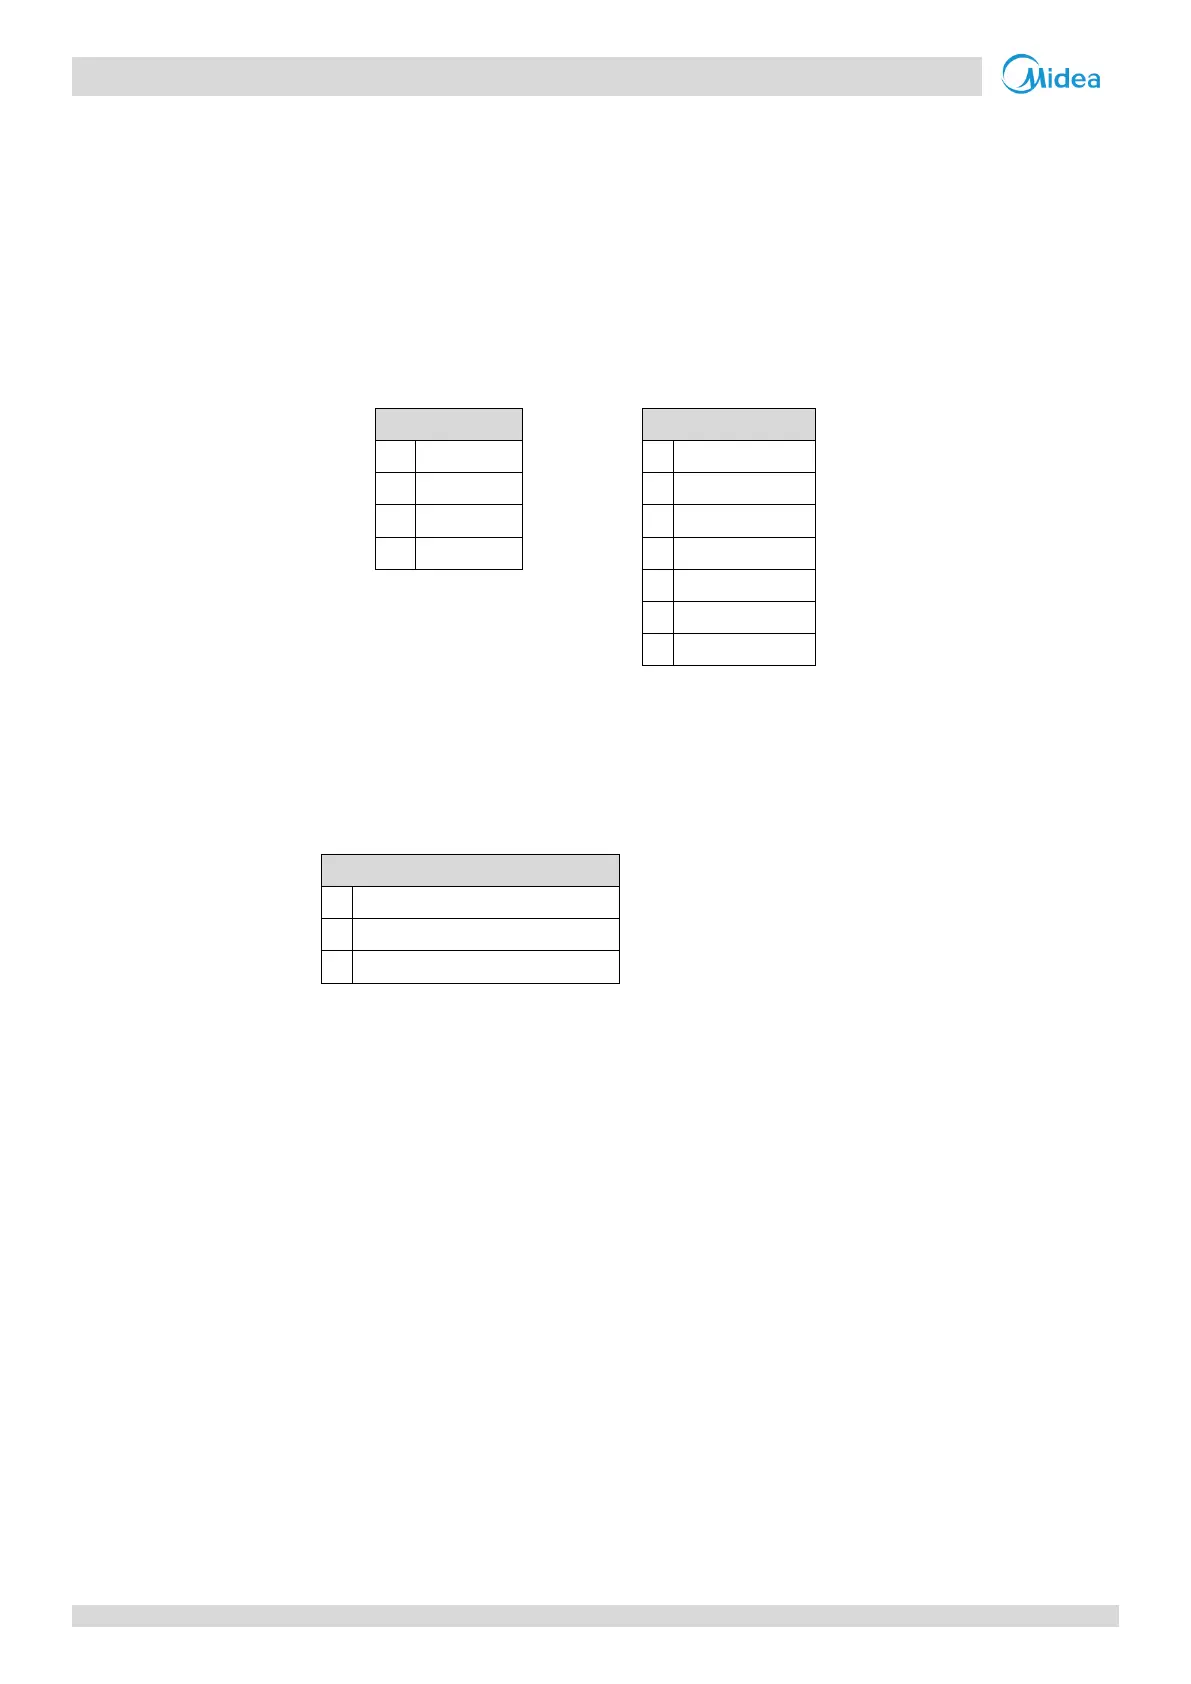
Refer to Table 3-11.1. The capacity of each outdoor unit (on switch ENC2 on each outdoor unit’s main PCB) is factory-set and
should not need changing. Check that the capacity settings are correct. Refer to Table 3-11.1.
11.2 MS Box Address and PCB Number Settings
Refer to part 4 “Field settings” in “V6R VRF Service Manual”. Before running a system for the first time, set each MS box’s
address. The MS unit can be automatic addressed, also the address can be set manually. Manually MS address setting is the
MS box first PCB (ENC2 switches positions “0”). The PCB number of each MS box (on switch ENC2 on each MS box’s main
PCB) is factory-set and should not need changing. Check that the capacity settings are correct. Refer to Table 3-11.2
11.3 Multi-system Projects
For projects with multiple refrigerant systems, each independent refrigeration system (i.e. each system of up to three
outdoor units and their connected indoor units) should be given a test run independently, before the multiple systems that
make up a project are run simultaneously.
11.4 Pre-commissioning Checks
Before turning on the power to the indoor and outdoor units, ensure the following:
1. All indoor and outdoor refrigeration piping and communication wiring has been connected to the correct refrigeration
system and the system to which each indoor and outdoor unit belongs is clearly marked on each unit or recorded in
some other suitable place.
2. Pipe flushing, gastightness testing and vacuum drying have been satisfactorily completed as per instructions.
3. All condensate drain piping is complete and a watertightness test has been satisfactorily completed.
4. All power and communication wiring is connected to the correct terminals on units and controllers. (Check that the
different phases of the 3-phase power supplies have been connected to the correct terminals).
5. No wiring has been connected in a short-circuit.
6. The power supplies to indoor and outdoor units have been checked and the power supply voltages are within ±10% of
the rated voltages for each product.
7. All control wiring is 0.75mm
2
three-core shielded cable and the shielding has been grounded.
8. The outdoor units’ address and capacity switches are set correctly (see Part 3, 11.1 “Outdoor Unit Address and Capacity
 Loading...