09
PRODUCT INSTALLATION
GETTING STARTED
Locate Dispenser
1. Use the appliance indoors, where is no likelihood of rain or bad weather, as there is
damage risk to the product electrical system.
2. Place dispenser upright the product must be installed in as easily accessible location
in case of repairs.
3. Place dispenser upright on a flat surface and keep a minimum distance of 20cm from
the wall. Make sure that the ventilation openings of the product are not being
obstructed.
Notice: Must make sure the outlet is connected to ground wire well before installing, Do
NOT plug in power cord yet.
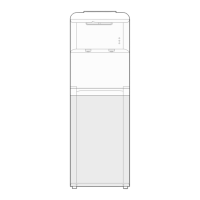
Install Water Bottle
1. Tear the label from the bottle.
2. Vertically insert the bottle into the bottle supporter on top of
the machine. Do not plug the power cord or push the heating
switch until water runs out from the tap of hot water.
3. Insert the plug to socket, then turn on the power switch.
Indicators light up accordingly once the machine works.
4. Vertically pull out the bottle by two hands when the bottle is
empty, then replace it with another bottle of water.
5. This appliance should work under environment of temprature
from 10°C-43 °C humidity ≤ 90%.
6. This appliance is not suitable for installation in an area where a
water jet could be used.
Notice: This unit has been tested and sanitized prior to packing and shipping.During
transit dust and odors can accumulate in the tank and lines. Dispense and dispose at
least one quart of water prior to drinking any water.
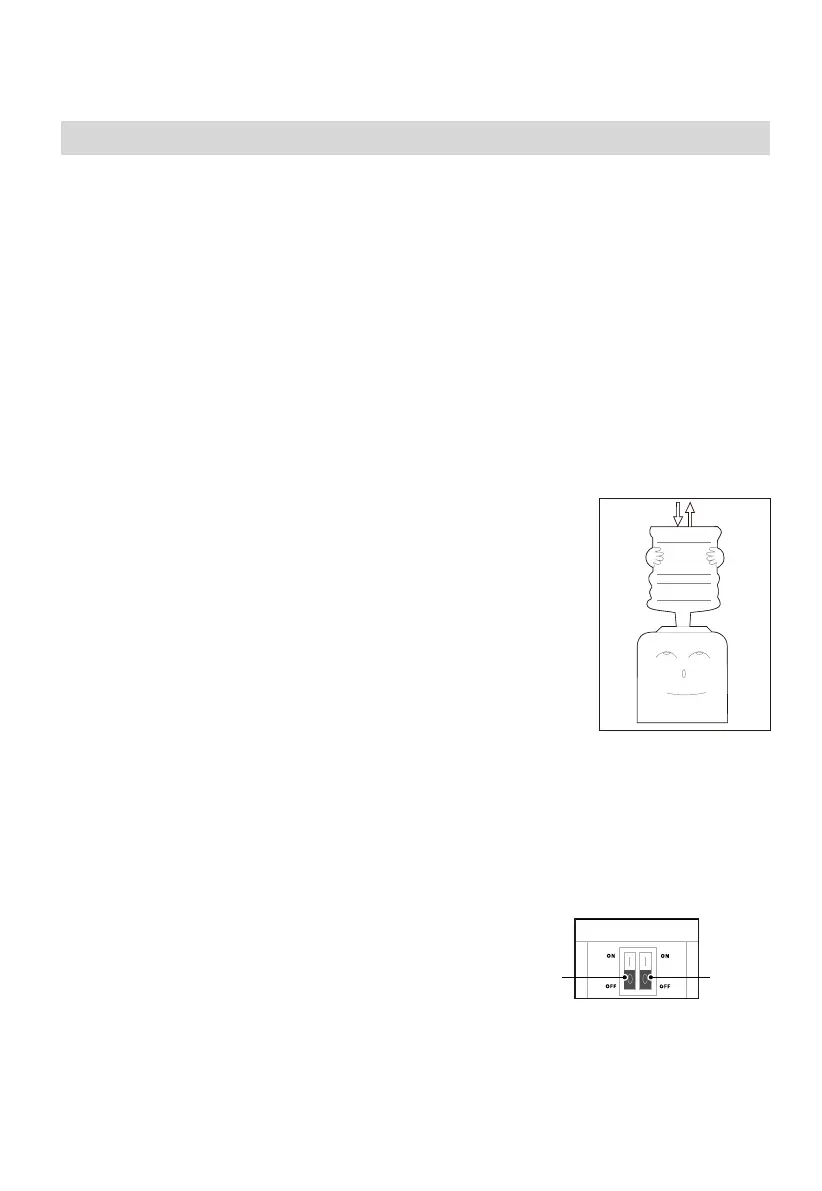
Provide Electricity
First make sure that the two switches on the left of
the water dispenser are turned O. If it is On it will
damage the water dispenser. Plug power cord into
a properly grounded wall outlet, the power pilot lamp
will be On at the same time. It will take up to 3~4
minutes to fill both tanks for the 1 time.
st
Cooling
switch
(Green)
Heating
switch
(Red)
 Loading...