1. Connect the Ethernet cable from the device to the POE port of the POE adapter.
2. Connect an Ethernet cable from your LAN to the LAN port of the POE adapter, please mind arrows for data and
power flow.
3. Connect the power cord to the adapter, and then plug the power cord into a power outlet.
Configuration
Once logged in, we recommend clicking the "Check for updates" button in the QuickSet menu, as updating your
RouterOS software to the latest version ensures the best performance and stability. For wireless models, please make
sure you have selected the country where the device will be used, to conform with local regulations.
RouterOS includes many configuration options in addition to what is described in this document. We suggest starting here
to get yourself accustomed to the possibilities: https://mt.lv/help. In case an IP connection is not available, the Winbox
tool (https://mt.lv/winbox) can be used to connect to the MAC address of the device from the LAN side (all access is
blocked from the Internet port by default).
For recovery purposes, it is possible to boot the device for reinstallation, see section Buttons and jumpers.
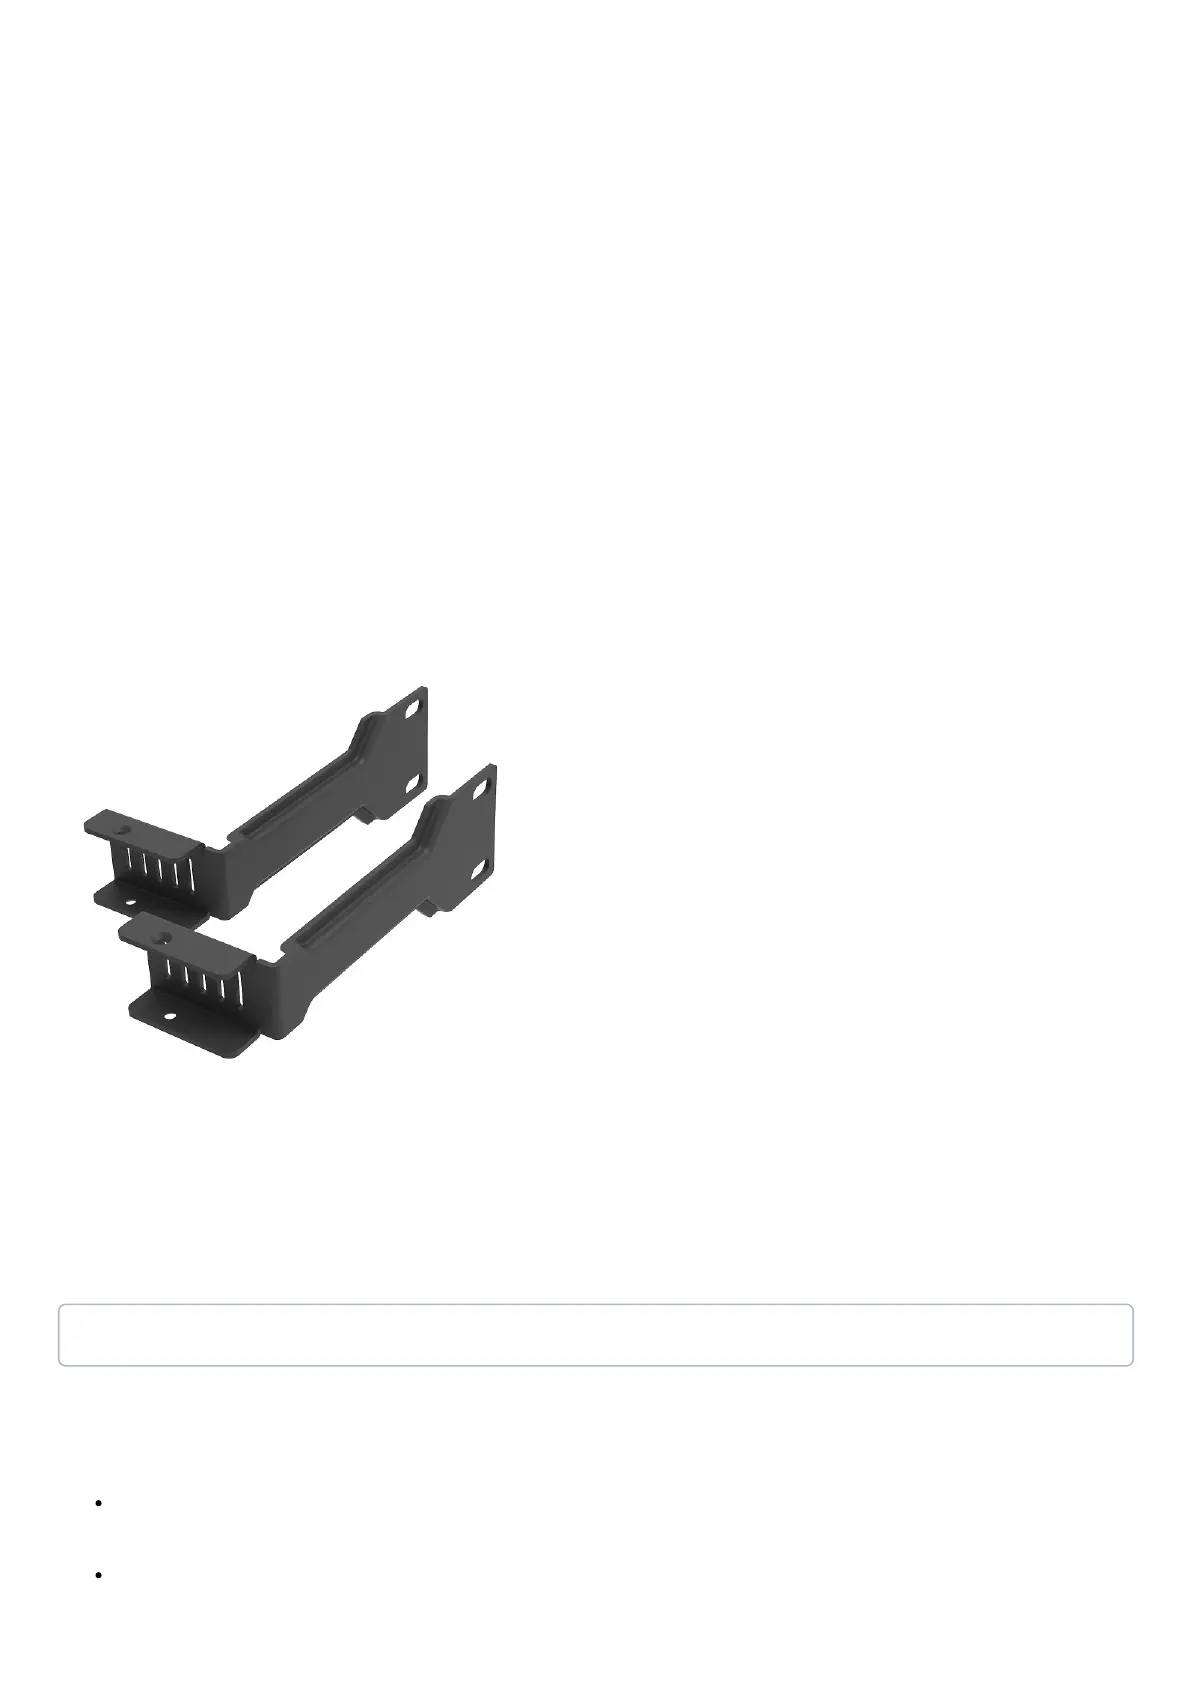
Mounting
The device is designed to use indoors and it can be mounted in a rackmount enclosure using provided rack mounts, or it
can be placed on the desktop. Please attach rubber pegs on the bottom of the router if the desired placement is on the
flat surface or use a Phillips screwdriver to attach rackmount ears on both sides of the device if designated use is for
rackmount enclosure:
1. Attach rack ears to both sides of the device and tighten four screws to secure them in place;
2. Place the device in a rackmount enclosure and align with the holes so that the device fits conveniently;
3. Tighten screws to secure it in place.
The device has no protection from water contamination, please ensure the placement of the device in a dry and ventilated
environment.
We recommend Cat6 cables for our devices.
Mounting and configuration of this device should be done by a qualified person.
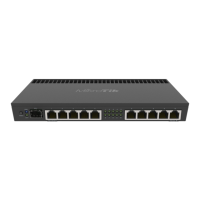
Extension slots and ports
The Ethernet ports are connected in two groups of five, each group is connected through a switch chip. The ports
can be configured individually and support automatic cross/straight cable correction (Auto MDI/X), so you can use
either straight or cross-over cables for connecting to other network devices.
SFP+ port accepts SFP and SFP+ modules. Refer to the compatibility list
https://wiki.mikrotik.com/wiki/MikroTik_SFP_module_compatibility_table
Operating humidity can be from 5% to 95% non-condensing.

 Loading...