13
ADDING IN A SUBHARMONIC OSCILLATOR
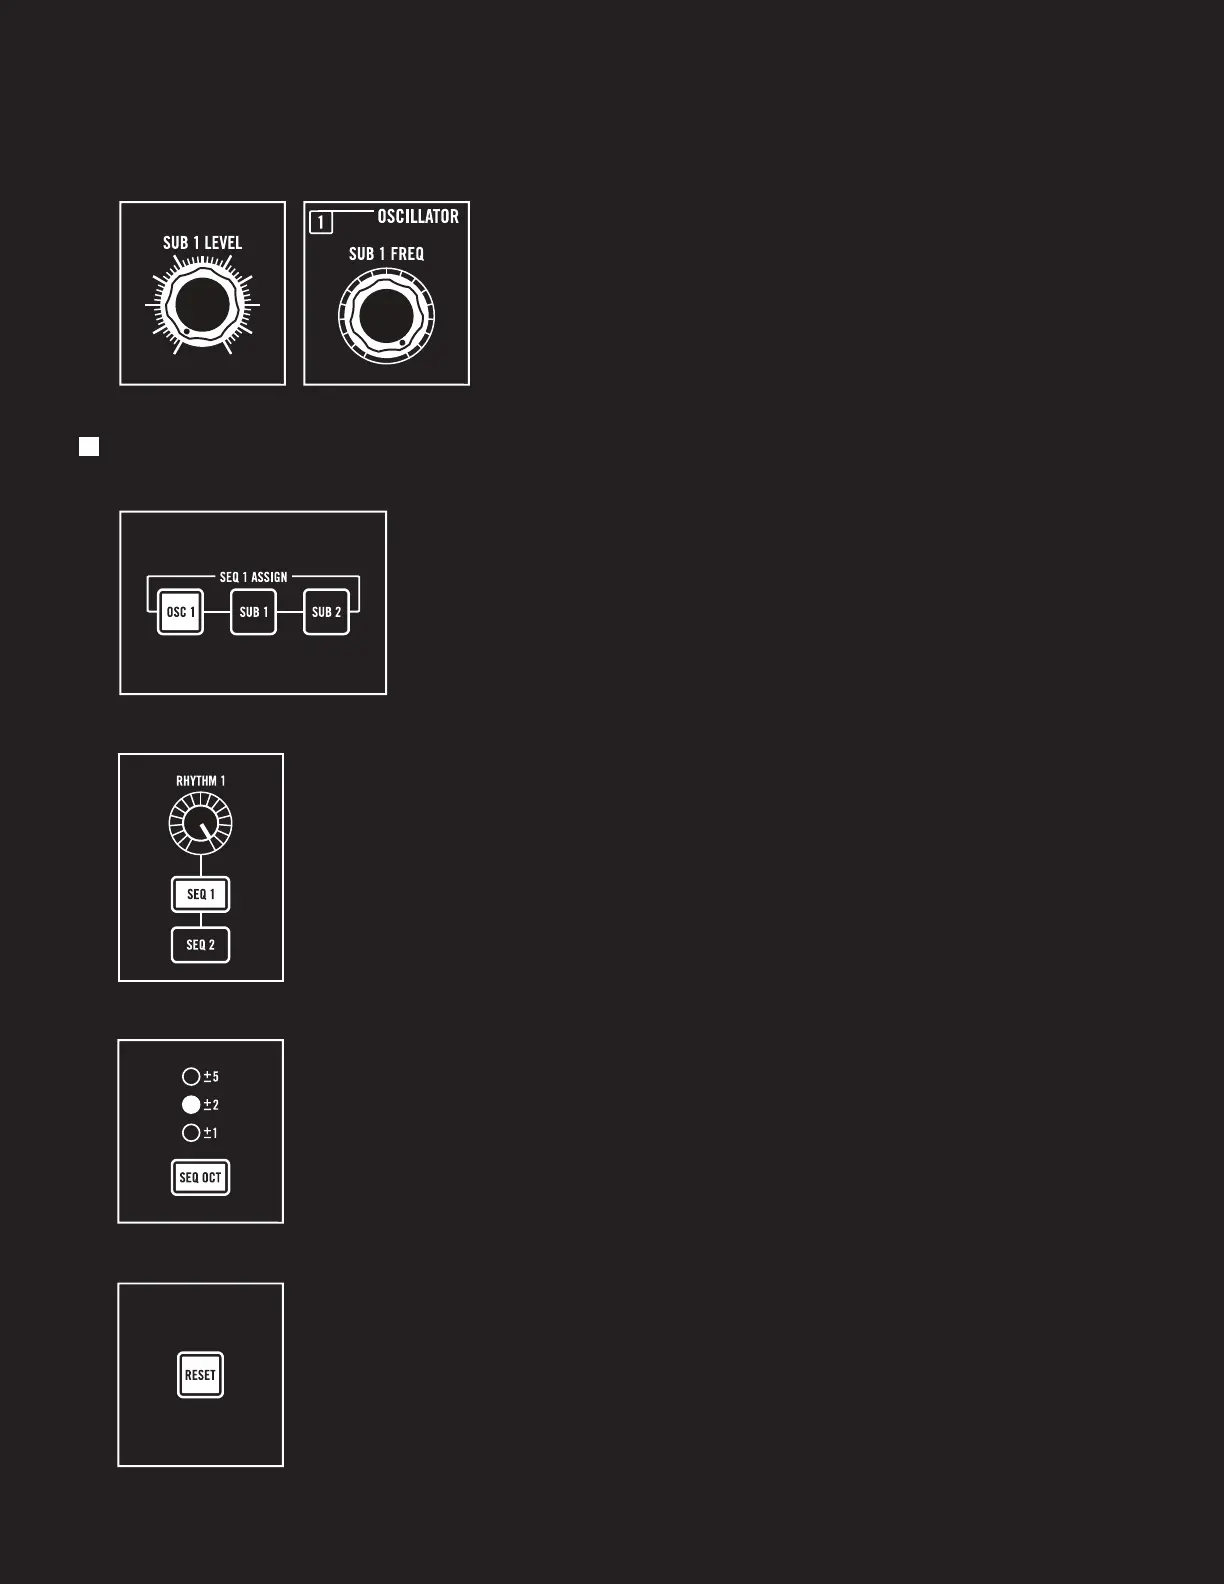
Rotate the SUB 1 LEVEL knob clockwise and you will hear
the sound of the first subharmonic oscillator associated
with VCO 1 mixed in with the sound of VCO 1. With the
SUB 1 FREQ knob all the way clockwise, VCO 1 and SUB 1
are playing in unison. As you rotate the SUB 1 FREQ knob
slowly counter-clockwise, you will hear the pitch of SUB 1
step through the available undertones.
EXPLORING YOUR SUBHARMONICON (Continued)
CREATING A SEQUENCE
INTRODUCTION
Before we can create a sequence, we need to let Subharmonicon
know what our intentions are. First, press the OSC 1 button (located
in the SEQ 1 ASSIGN buttons) so that it is lit. This allows the
individual STEP knobs of Sequencer 1 to modify the pitch of VCO 1.
Next, press the SEQ 1 button (located under the RHYTHM 1 knob) so that it is
lit. This step attaches a rhythm source to Sequencer 1, so that we can use the
NEXT and RESET buttons to navigate the individual steps of Sequencer 1.
Finally, use the SEQ OCT button to select the range, in octaves, of the
sequencer STEP knobs. An LED will indicate the current selection. Use the
SEQ OCT button to cycle through the available options. For now, let’s use
the ±2 option.
Press the RESET button to return the sequencer(s) to Step 1.
This will also reset the rhythm generators to their starting position.
13
 Loading...