43
PROGRAMMING FEATURES
• Wait for 3 seconds before releasing the
buttons until the audible tone “Cloning” is
heard.
3. Place the Source radio in the source pocket that
pairs with the target pocket you chose in step 1.
Press and release the SB1 button.
4. After cloning is completed, the Source radio will
announce either “successful” (cloning is
successful) or “fail” (cloning has failed). If the
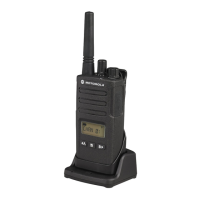
Source radio is a display model, it will either
show ‘Pass’ or ‘Fail’ on the display (a tone is
heard within 5 seconds).
5. Once you have completed the cloning process,
turn the radios OFF and ON to exit the ‘cloning’
mode.
Further details on how to clone radios are
explained in the Instructions Sheet provided
with the MUC.
When ordering the MUC, refer to P/N#
PMLN6385_.
Notes:
• If cloning fails, refer to “What To Do If Cloning
Fails” on page 46.
• Paired Target radios and Source radios must be
of the same band type in order for the cloning to
run successfully.
• MUC pockets numbers should be read from left to
right with the Motorola Solutions logo facing front.
• A radio which is programmed with the expanded
frequencies (446.00625 MHz–446.19375 MHz)
will not support cloning to legacy eight frequency
radios.
63M03_A_BRCAN_en.book Page 43 Monday, November 19, 2018 10:16 AM
 Loading...