Operation Section 3
3-2
Part Number 020002777 10/11
SET THE RATIO (WATER TO SYRUP MIXTURE)
1. Remove valve nozzle by turning the nozzle and pulling
down.
2. Place Syrup Separator on valve to be adjusted. Actuate
the valve manually (pad, lever) until both syrup and water
flow out of the syrup/water separator.
3. Position the proper ratio cup under the Syrup Separator.
Manually Actuate the valve pad or lever valve (pad,
lever). Dispense until at least 3/4 of the ratio cup is filled.
Both products should fill to the same level.
4. To adjust the syrup flow (if levels are not equal), turn the
syrup flow control adjusting screw clockwise to increase.
Turn the syrup flow control adjusting screw
counterclockwise to decrease the flow of syrup.
NOTE: Do not adjust the water flow during this procedure.
5. After syrup is adjusted, remove the Syrup Separator and
replace the valve nozzle.
6. Repeat this procedure (steps 1 through 5 above) for the
remaining valves.
For Special Dual Flavor Dispensing Valves
NOTE: The Syrup Separator is not used on second flavor.
1. Make sure first flavor (keypad and LED to left) is selected
when testing Ratio as above.
2. Make sure second flavor (keypad and LED to right) is
selected when testing Ratio as follows. Leave original
nozzle on.
3. Rotate proper Ratio Cup 90o so it catches the second
flavor syrup from tube just back of nozzle on bottom of
valve.
4. Dispense until at least 3/4 of the ratio cup is filled. Both
products should fill to the same level.
5. Adjust Syrup flow as necessary as stated above (step 4
under "Hot to set the Ratio (water to syrup mixture)".
SET THE VOLUME (DRINK PORTION SIZES)
1. To enter the Portion Control Calibrate Mode, press CAL
pad three (3) times in less than 3 seconds. The calibrate
lamp will illuminate.
2. Use Volume Cup with finished drink marking lines, or use
correct size sample cup with desired volume of ice.
3. Press and hold respective SIZE pad until product gets
close to proper finished drink mark, or until close to top of
sample cup.
4. Release SIZE pad before reaching final mark or before
foam exceeds final mark. Press SIZE pad again
momentarily, as many times as is necessary (letting foam
settle), to get to the correct finished drink mark.
5. Repeat steps 2 through 4 above for all sizes and all
stations (products) needing calibration. Be sure to use the
correct Volume Cup finished drink marking line, or correct
sample cup size and ice amount, for each size pad.
NOTE: If you fill above the final mark or need to "start over" for
any reason, you must exit the Calibrate Mode and then re-
enter the Calibrate Mode to resume.
6. Exit Calibrate Mode by pressing CAL pad once. Calibrate
light will go out. All changes will be permanently saved.
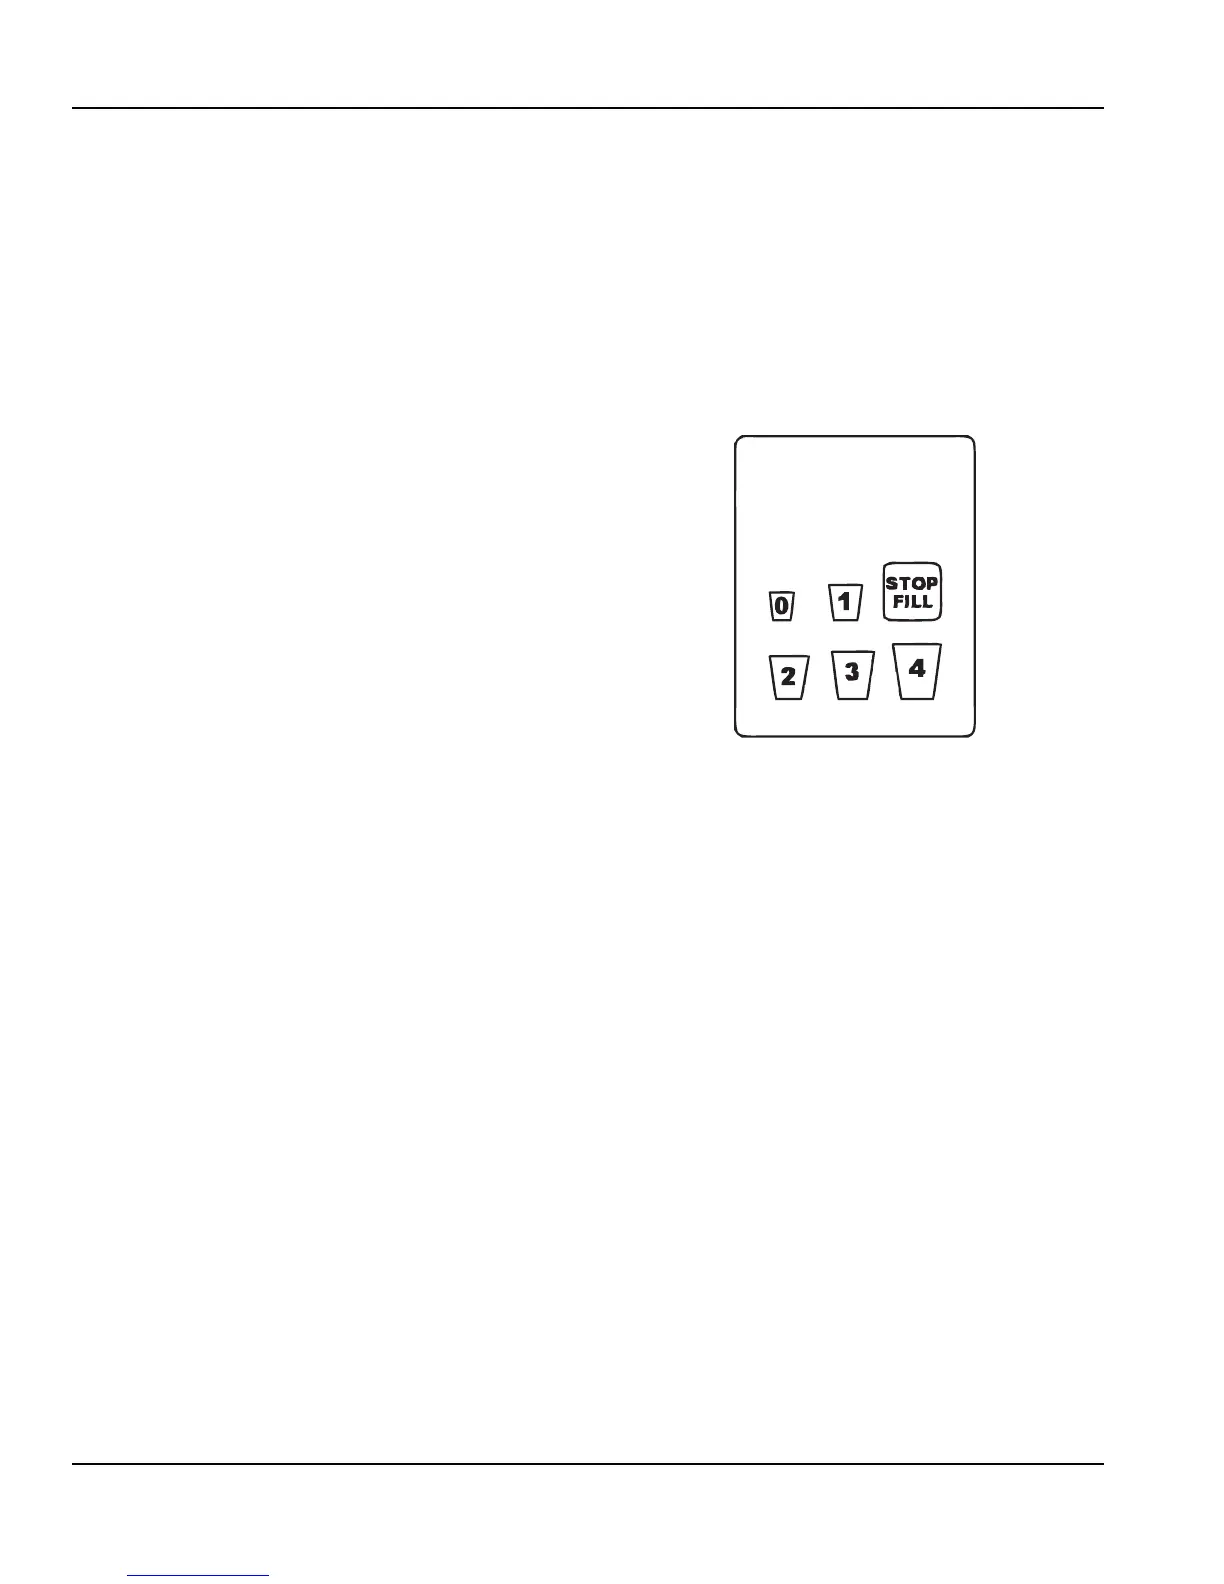
RUN MODE
Size Buttons
Press any size button (0, 1, 2, 3, or 4) on any station to
dispense product for that station for pre-programmed time for
that respective size.
STOP-FILL Buttons
If no dispense is in progress, press any STOP-FILL button to
manually dispense from the station. If portion dispense is in
progress, press the STOP-FILL button to manually cancel.
Portion Control Water/Soda dispensing
Press either the WATER or the SODA button momentarily.
Now press any size button on the respective station (within
2 seconds maximum). Portion dispense will continue
automatically for that size only.
Optional Dual Flavor Keyboard
NOTE: Station No. 2 and No. 4 have Dual Flavors.
1. Press the flavor button and its associated LED will come
“on”.
2. Press any size button to dispense this flavor and size. If the
required flavor button LED is already “on”, press the size
button desired.
NOTE: The left LED flavor is the default on both stations.
 Loading...