V. ALGO 3i Screening Procedure
This section will first provide a 12-step basic overview of the screening procedure. Then each
step will be described in further detail. See Chapter IX. Troubleshooting for information on
problem resolution for any of these steps.
Note: Prior to initiating the first screening procedure, ensure that the User and Biomed preferences
have been set per your program requirements. Refer to Chapter VIII. Service Manual: Device Set-Up.
Overview of Screening Procedure
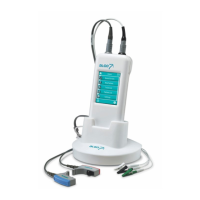
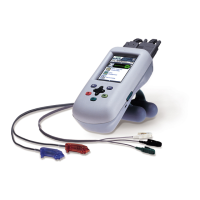
Step 1. Power on: Turn on the ALGO 3i screener by sliding the On/Off switch upward, and
releasing it.
Start-up/Warnings: The ALGO 3i screener will briefly display a Start-Up window
while it performs a self-check. Warnings may appear which may require your
acknowledgement. The MainMenu will appear next.
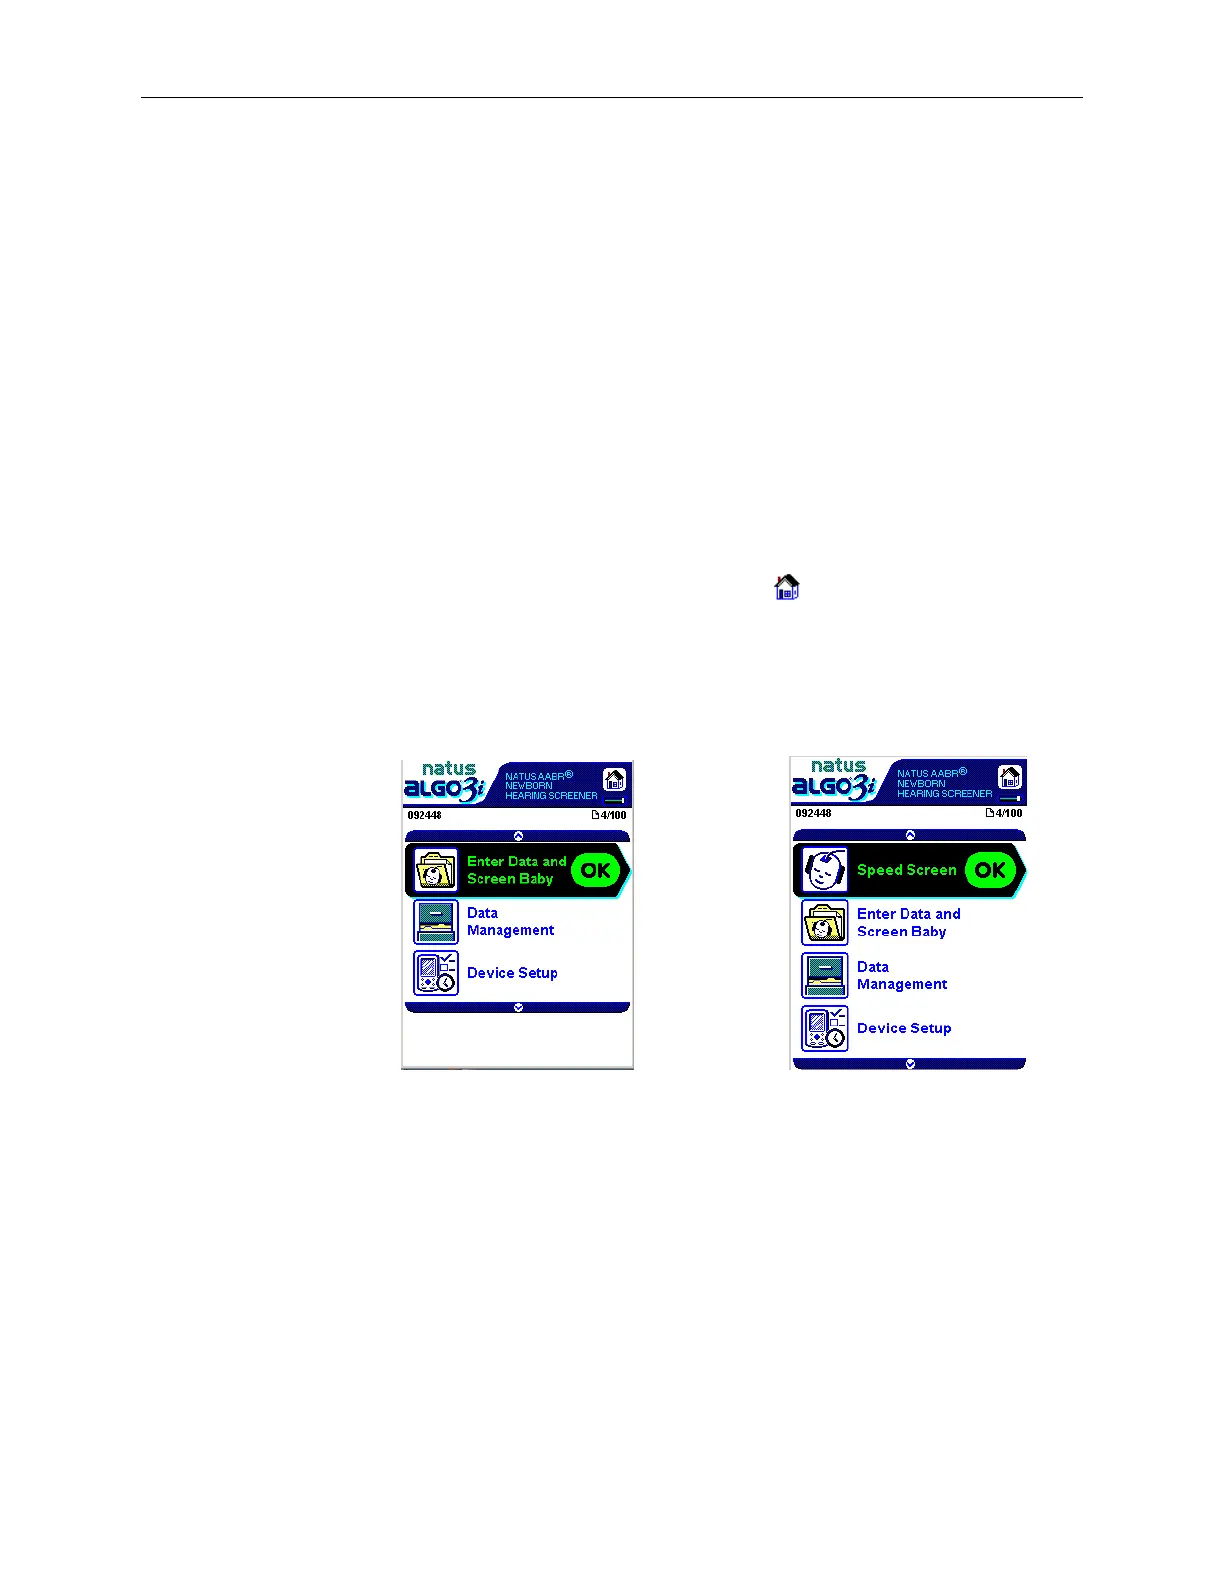
Step 2. Observe MainMenu: The MainMenu shows each of the major functions of the
ALGO 3i screener, and is indicated by this icon:
a. SpeedScreen, if enabled (SpeedScreen mode)
b. Enter Data/ScreenBaby (ScreenBaby mode)
c. DataManagement
d. Device Set-Up
SpeedScreen disabled (default setting) SpeedScreen enabled
Step 3. Select screening mode
a. SpeedScreen allows you to immediately begin screening, with the option of
entering infant data during the screening process.
b. Enter Data/ScreenBaby allows you to create an infant record and select screening
configurations prior to initiating the screening process.
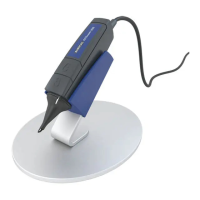
Step 4. Prepare baby and attach supplies: Prepare the infant for screening by ensuring that
no exclusion criteria are present, and that the infant is in a quiet state. Evaluate skin and
prep if necessary. Connect cables to Natus screening supplies (earphones and sensors).
 Loading...