20 Nektar Impact LX Mini owner’s manual www.nektartech.com
MMC Transport Control
The Nektar DAW Integration software automatically maps transport and navigation buttons to their respective functions in supported
DAWs. If your DAW is not supported directly, you may still be able to control your DAW’s transport controls using MIDI Machine Control.
For Pro Tools, you can use the dedicated setup below.
Here is how you set up the Impact LX Mini keyboard to send MIDI Machine Control messages:
• Press [Shift]+[Internal] to activate Setup mode. The [Internal] button blinks while Setup is active.
• Press A2 ‘USB Port Mode’ on the keyboard.
• Press G#1 to select the numerical value 3.
• Press [Enter] (C3) to accept the change and exit Setup.
• Make sure your DAW is set up to receive MMC from Impact LX Mini’s USB MIDI port 2.
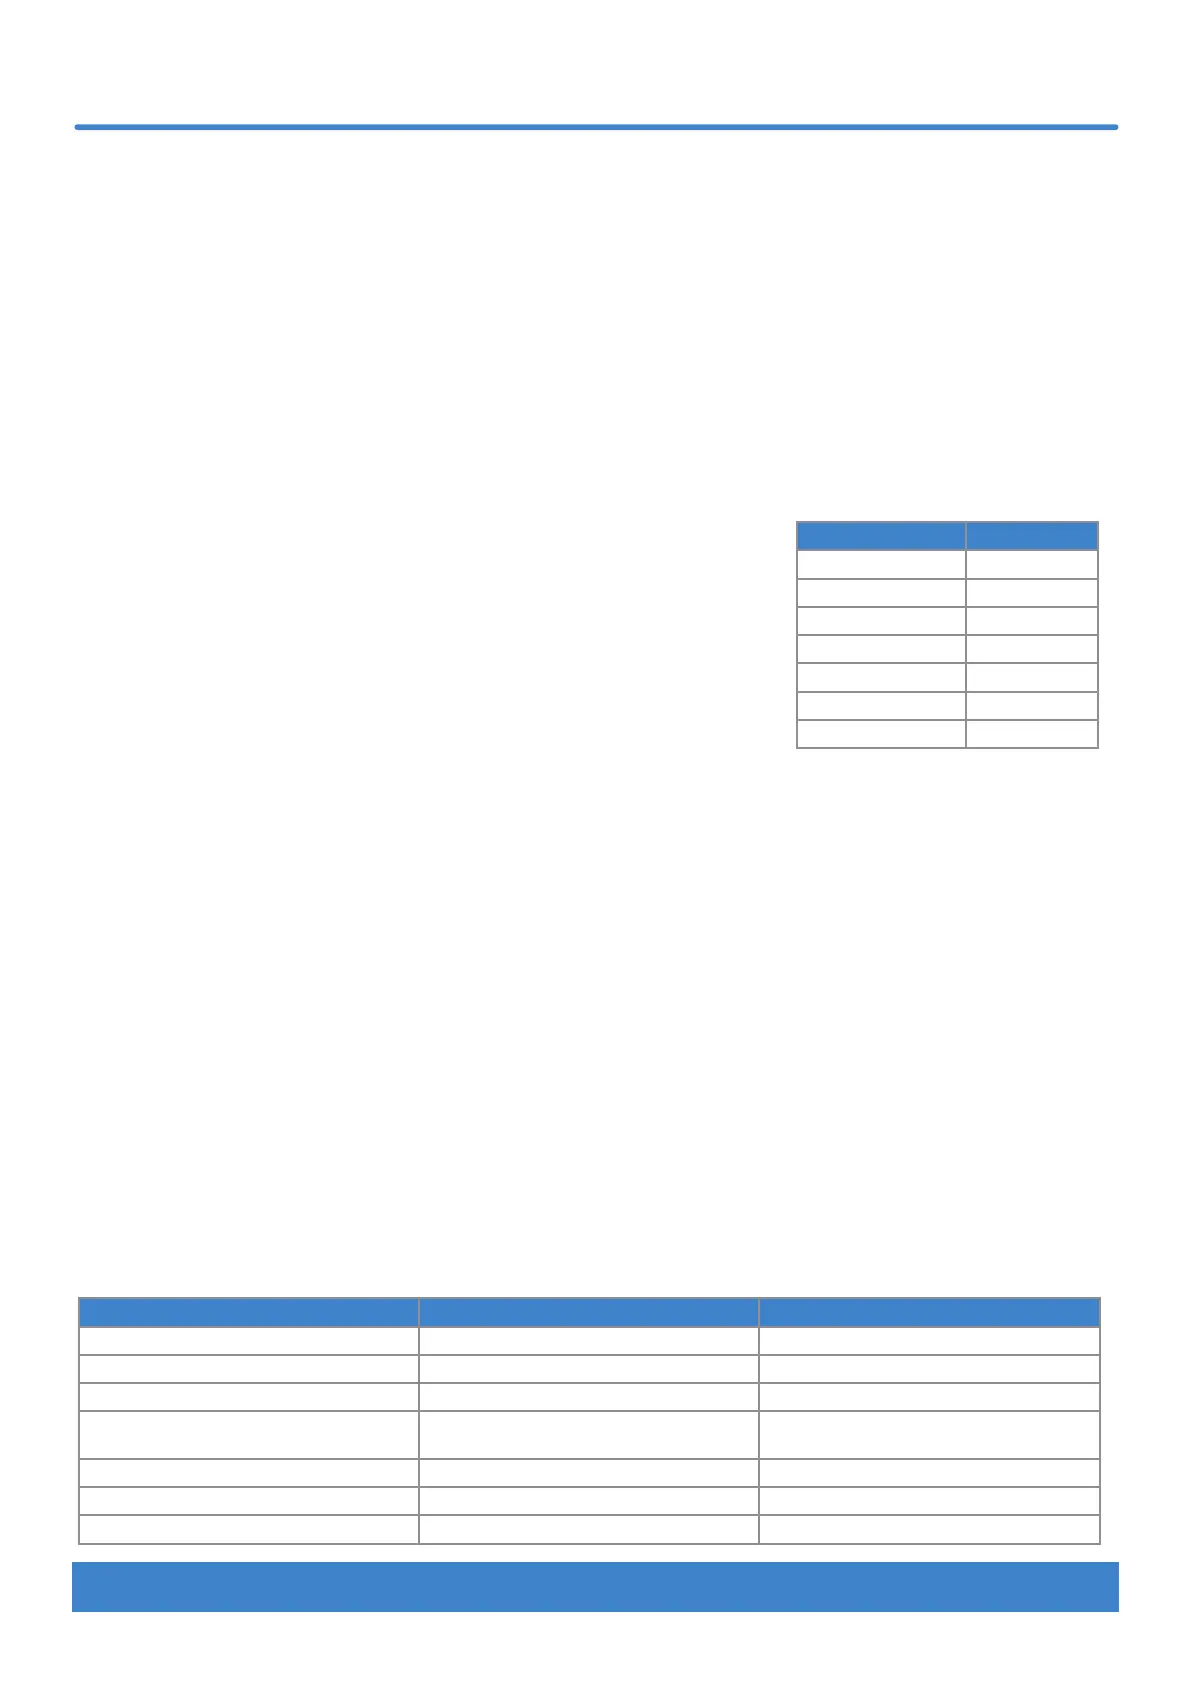
Button Function
Click
No
<< (Rewind)
Yes
>> (Forward)
Yes
Cycle / Loop
No
Stop
Yes
Play
Yes
Record
Yes
Pro Tools setup
• Press [Shift]+[Internal] to activate Setup mode. The [Internal] button blinks while Setup is active.
• Press A2 ‘USB Port Mode’ on the keyboard.
• Press A#1 to select the numerical value 4.
• Press [Enter] (C3) to accept the change and exit Setup.
In Pro Tools, go to Peripherals and select the ‘MIDI Controller’ tab. Next select the following settings:
Type: ‘M-Audio Keyboard’
Receive From: ’Impact LX Mini MIDI 2’ in OSX / MIDIIN2 (IMPACT LX Mini) in Windows.
Send To: ’Impact LX Mini MIDI 2’ in OSX / MIDIOUT2 (IMPACT LX Mini) in Windows.
• Click OK to exit.
Impact LX Mini is now set up to work with Pro Tools. When [Instrument] is selected, the 8 pots control volume for each of the mixer
channels in the current bank.
The chart below shows what the transport buttons do.
Transport Loop buttons [Shift] active/illuminated blue
[Click] : Not Assigned [Loop]+[Play] : Loop playback S1 : Mute selected track
[<<] : Rewind [Loop]+[Record] : Loop record S2 : Solo selected track
[>>] : Forward [Loop]+[Stop] : Undo <Track : Select previous track
[Loop] : Used with other buttons. See next
column
[Loop]+[<<] : Go to start Track> : Select next track
[Stop] : Stop playback [Loop]+[>>] : Go to end <Patch : Jump back 8 tracks
[Play] : Start playback Patch> : Jump ahead 8 tracks
[Record] : Arm for recording
MMC Transport & Pro Tools setup
Provided your DAW is set up to receive MMC, you can now control transport functions
from Impact LX Mini. The buttons are assigned according to the chart on the right.
MMC is supported by many DAWs and devices but is not needed for DAWs supported
by Nektar DAW Integration.
 Loading...