Connect to the Internet
7
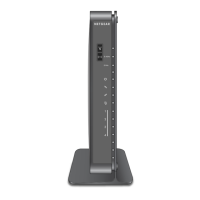
NETGEAR Wireless Cable Gateway
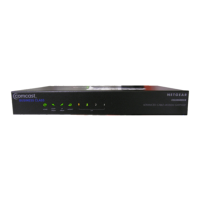
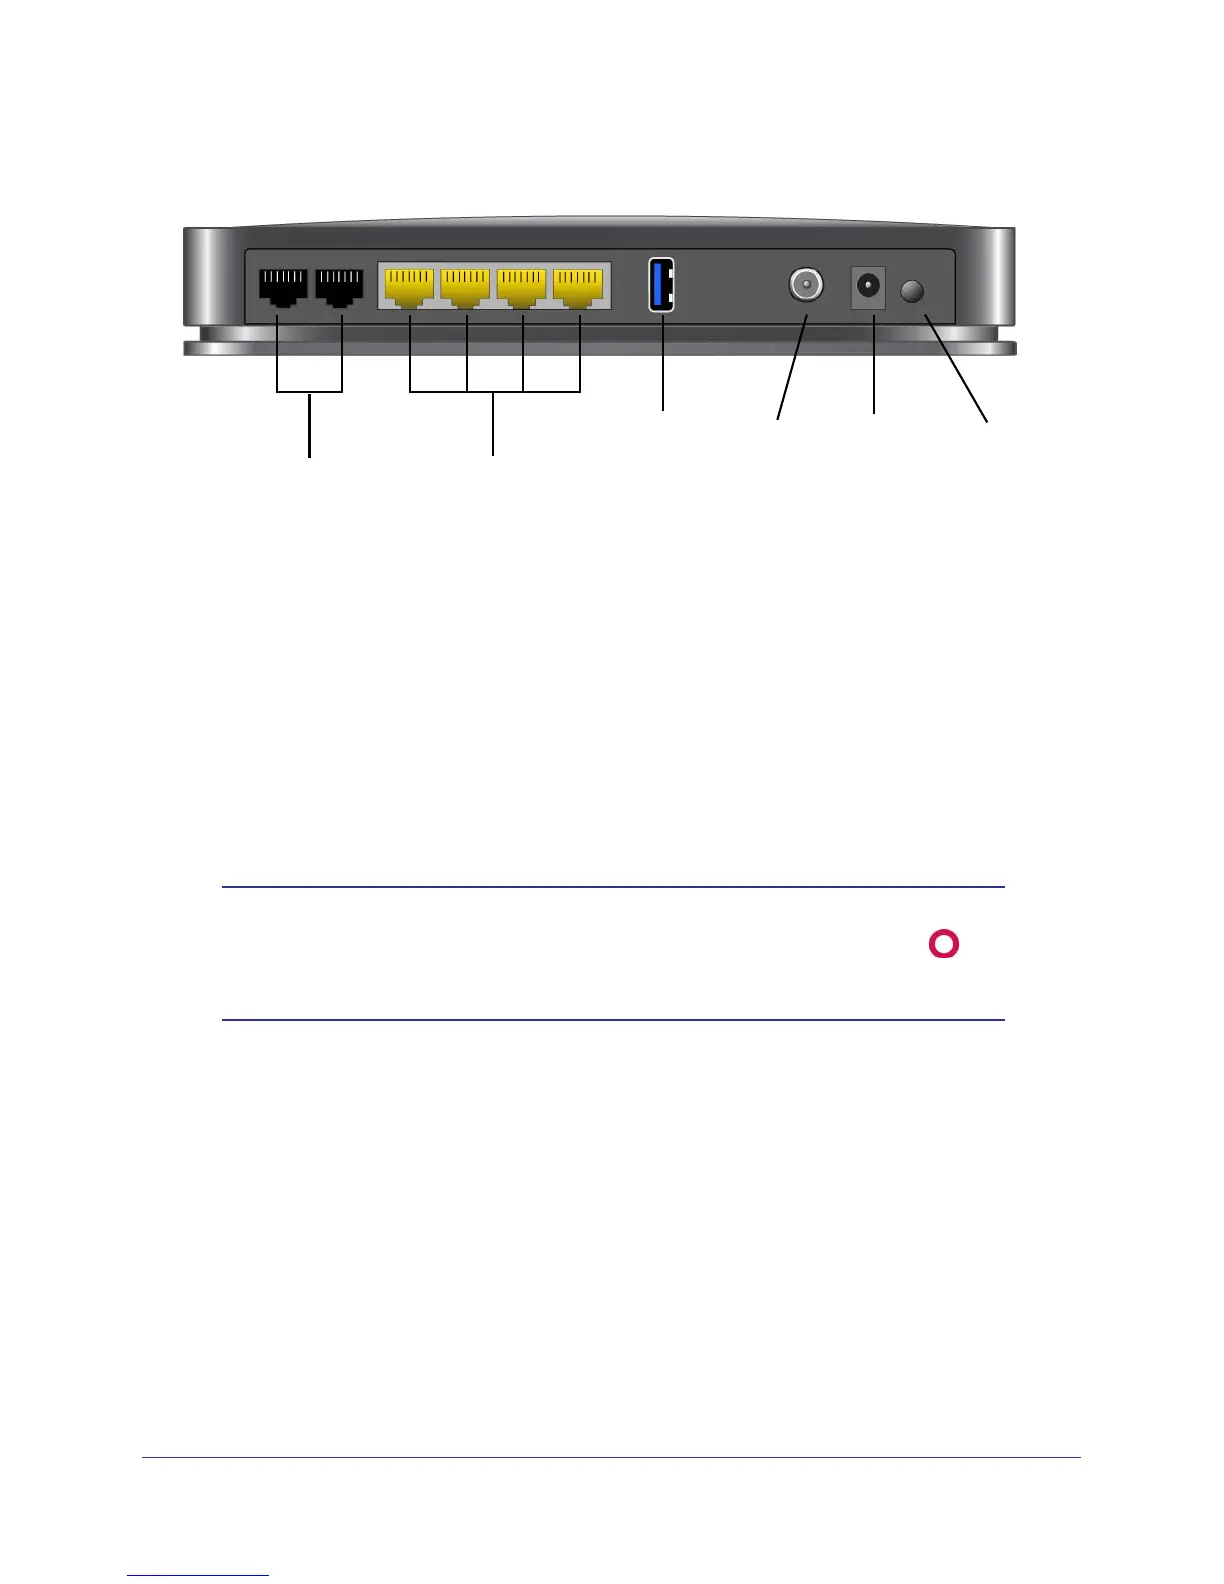
Gateway Rear Panel
Ethernet LAN ports
USB
port
Coaxial
cable
connector
Power
adapter
input
Power On/Off
button
Voice ports
Figure 2. Gateway rear panel
The rear panel includes the following connections, viewed from left to right:
• Two voice/phone ports. WIth VoIP service, connect one or two handsets to these ports.
• Four Gigabit-Ethernet LAN ports. Use these ports to connect local computers.
• USB port: The USB port is a USB host and can be used for connecting a USB printer.
Note: USB functionality is only available with future firmware upgrades.
• Power. Power adapter input.
• Power On/Off button.
Note: You can return the gateway to its factory settings. On the bottom of
the gateway, press and hold the Restore Factory Settings button
for over 7 seconds. The gateway resets, and returns to its factory
settings. See Factory Default Settings in Appendix A.
Install the Voice Gateway
Installation is the four-step process summarized here and described in the headings that
follow. Make sure you complete the installation in this order.
1. Check the Installation Requirements.
2. Cable the Gateway.
3. Log in to the Gateway.
4. Connect to the Internet.and VoIP.
After installation, set up the wireless connection as explained in Chapter 2, Wireless
Configuration.
 Loading...