Page 14 of 20
CHAPTER 4: INSTALLATION
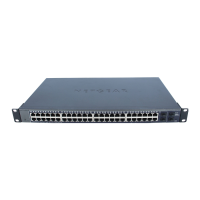
This chapter describes the installation procedures for your NETGEAR ProSafe GS716T Gigabit Smart Switch. Switch installation involves the
following steps:
Step 1: Preparing the site
Step 2: Installing the switch
Step 3: Checking the installation
Step 4: Connecting devices to the switch
Step 5: Installing an SFP GBIC module
Step 6: Apply AC power
Step 7: Switch management through a Web Brower or Utility Program (initial configuration)
Step 1: Preparing the Site
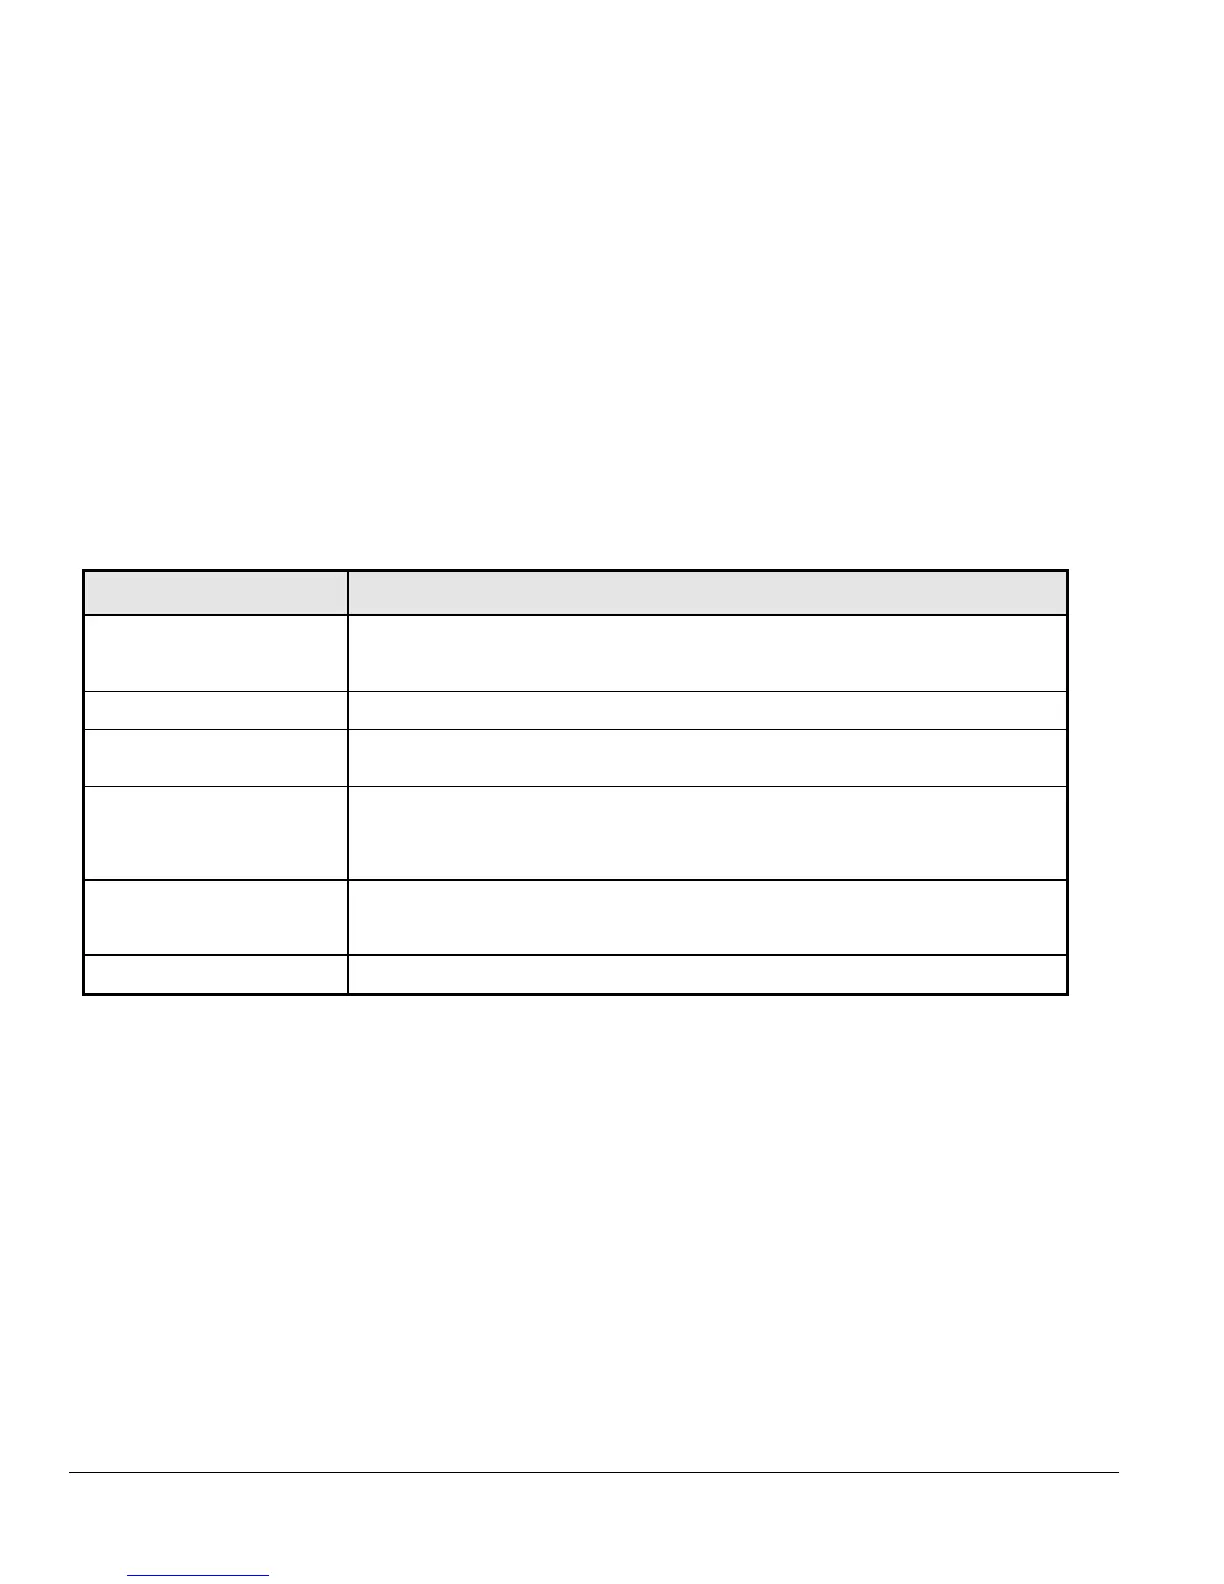
Before you install your switch, be sure your operating environment meets the operating environment requirements in Table 4-1.
Table 4-1. Site Requirements
Characteristics Requirements
Mounting
Desktop installations:
Rack-mount installations:
Provide a flat table or shelf surface.
Use a 19-inch (48.3-centimeter) EIA standard equipment rack that is grounded and physically
secure. You also need the rack-mount kit supplied with your switch.
Access Locate the switch in a position that lets you access the front panel RJ-45 ports, view the front
panel LEDs, and access power connector.
Power source Provide a power source within 6 feet (1.8 meters) of the installation location. Power specifications
for the switch are shown in Appendix C. Be sure the AC outlet is not controlled by a wall switch,
which can accidentally turn off power to the outlet and the switch.
Environmental
Temperature: Install the switch in a dry area, with ambient temperature between 0 and 40ºC (32 and 104ºF).
Keep the switch away from heat sources such as direct sunlight, warm air exhausts, hot-air vents,
and heaters.
Operating humidity: The installation location should have a maximum relative humidity of 90%, non-condensing.
Ventilation: Do not restrict airflow by covering or obstructing air inlets on the sides of the switch. Keep at least
2 inches (5.08 centimeters) free on all sides for cooling.
Be sure there is adequate airflow in the room or wiring closet where you intend to install the
switch.
Operating conditions: Keep the switch at least 6 ft (1.83 m) away from nearest source of electromagnetic noise, such as
a photocopy machine.
Step 2: Installing the Switch
You can install your NETGEAR ProSafe GS716T Gigabit Smart Switch on a flat surface or in a standard 19-inch rack.
Installing the Switch on a Flat Surface
The switch ships with four self-adhesive rubber footpads. Stick one rubber foot pad on each of the four concave spaces on the bottom of the switch.
The rubber footpads cushion the switch against shock/vibrations. They also provide space between each stacked switch for ventilation.
Installing the Switch in a Rack
To install the switch in a rack, use the following procedure (and refer to Figure 4-1). To perform this procedure, you need the 19-inch rack-mount kit
supplied with your switch.
1. Attach the supplied mounting brackets to the side of the switch.
2. Insert the screws provided in the rack-mount kit through each bracket and into the bracket mounting holes in the switch.
3. Tighten the screws with a #1 Phillips screwdriver to secure each bracket.
4. Align the mounting holes in the brackets with the holes in the rack, and insert two pan-head screws with nylon washers through each bracket
and into the rack.
5. Tighten the screws with a #2 Phillips screwdriver to secure the switch in the rack.
 Loading...