12 www.neutonpower.com
Step 2: Remove the Battery
You can quickly and easily remove the Battery from your Mower.
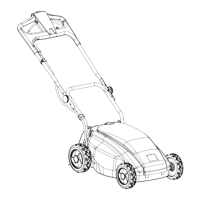
1. Open the Battery Cover (Figure 2).
Press down on the Mower body next to the Battery Cover Handle before pulling the Cover open.
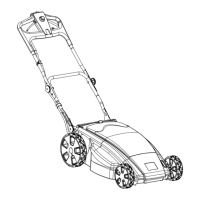
2. Turn the Battery Retainer Arm until it is no longer blocking the Battery (Figure 3).
To help keep the Mower from rolling while removing the Battery, put one foot behind a wheel for
stability.
3. Pull the Battery straight up and remove it.
Step 3: Charge the Battery before Your First Use
You MUST charge the Battery for twenty (20) to thirty (30) hours before you use the Mower for the first
time. If you do not charge it before using the Mower, the Battery’s charging capacity may decrease.
For instructions on removing and charging the Battery, read “Chapter 5: Charging and Caring for the
Battery” before you operate the Mower.
Step 4: Attach the Lower Handlebar Sections
To keep the Mower from moving while you assemble it, place your foot behind one of the wheels.
NOTE: You will use the green Quick-Connect Knobs to attach the Lower Handlebar sections to the Mower.
Install both handlebars the same way.
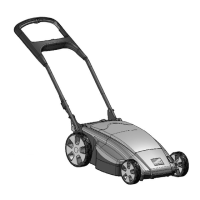
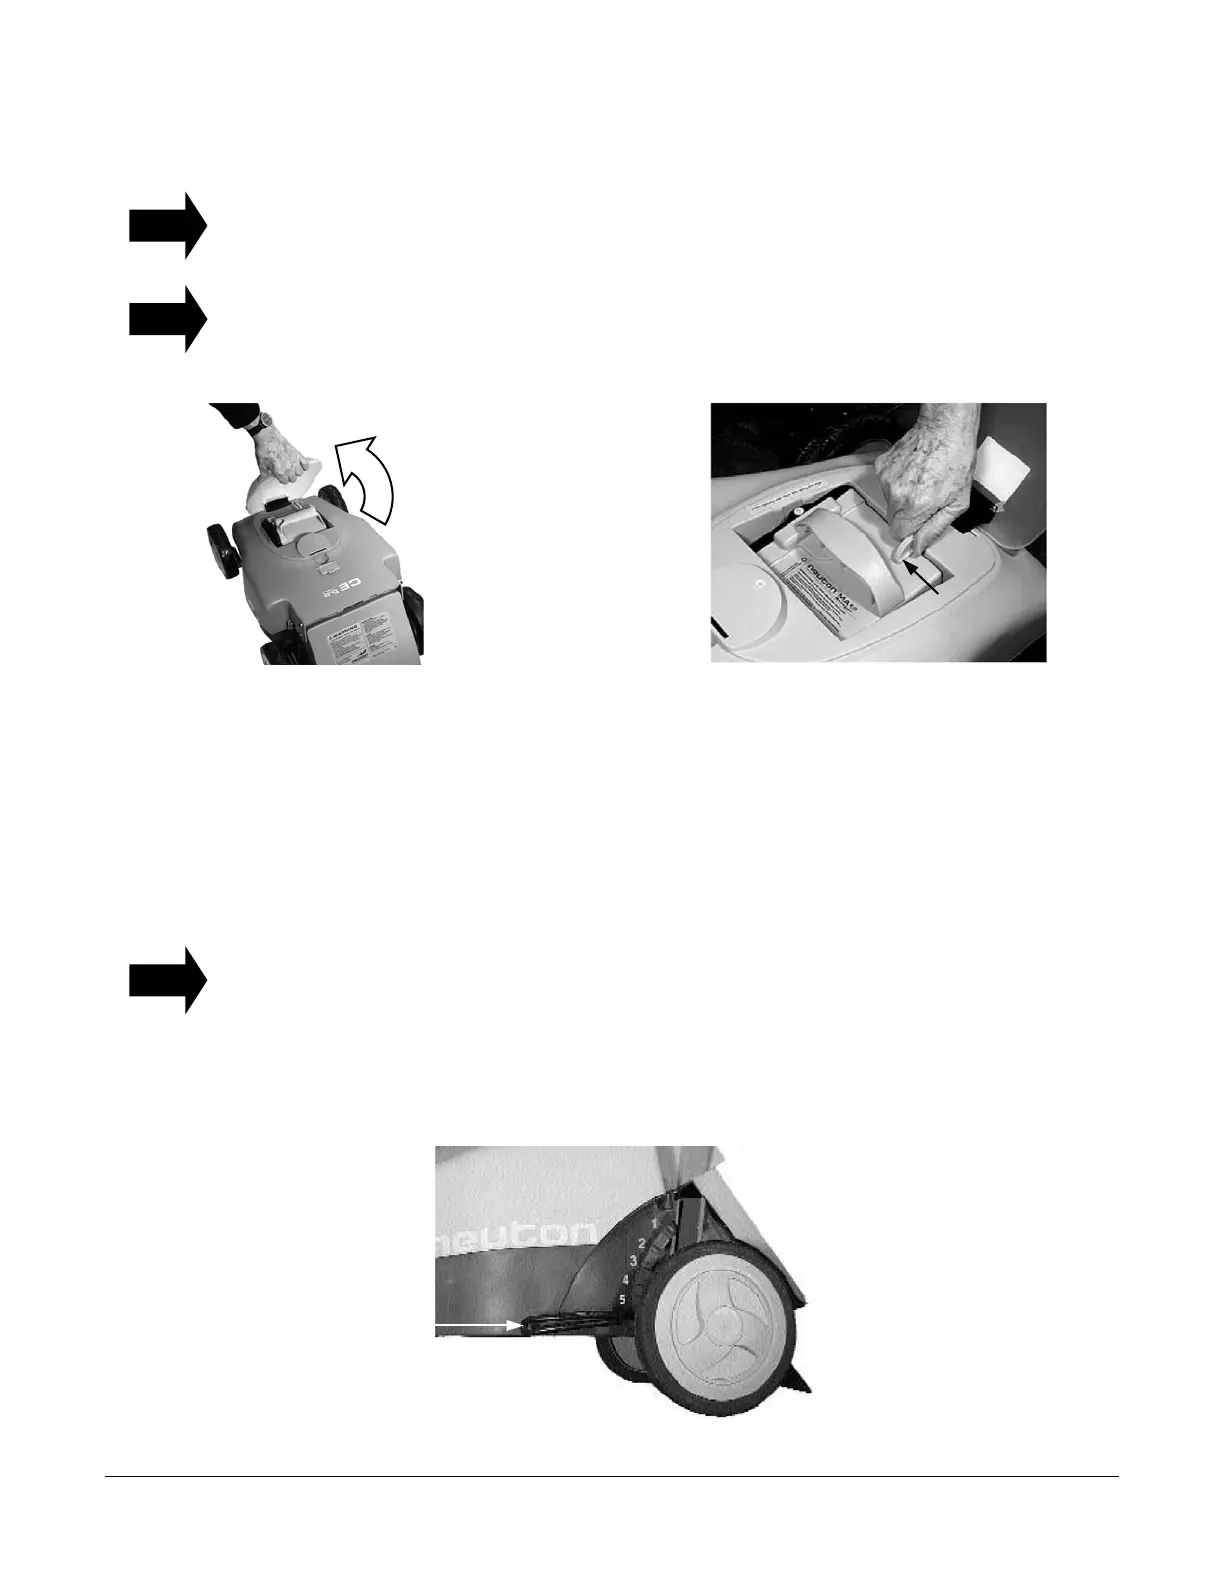
1. Set the Cutting Height Lever (Figure 4) to the highest adjustment (position 6 as molded into the
Mower body). This makes it easier to reach the slots on the Mower frame.
TIP
TIP
Figure 2 Figure 3
Figure 4
Retainer Arm
Cutting Heigh
Leve
(in position 6)
TIP
NOTE: The position numbers are high
lighted in this photo for clarity.
 Loading...