Chapter 3 Assembly
10
6
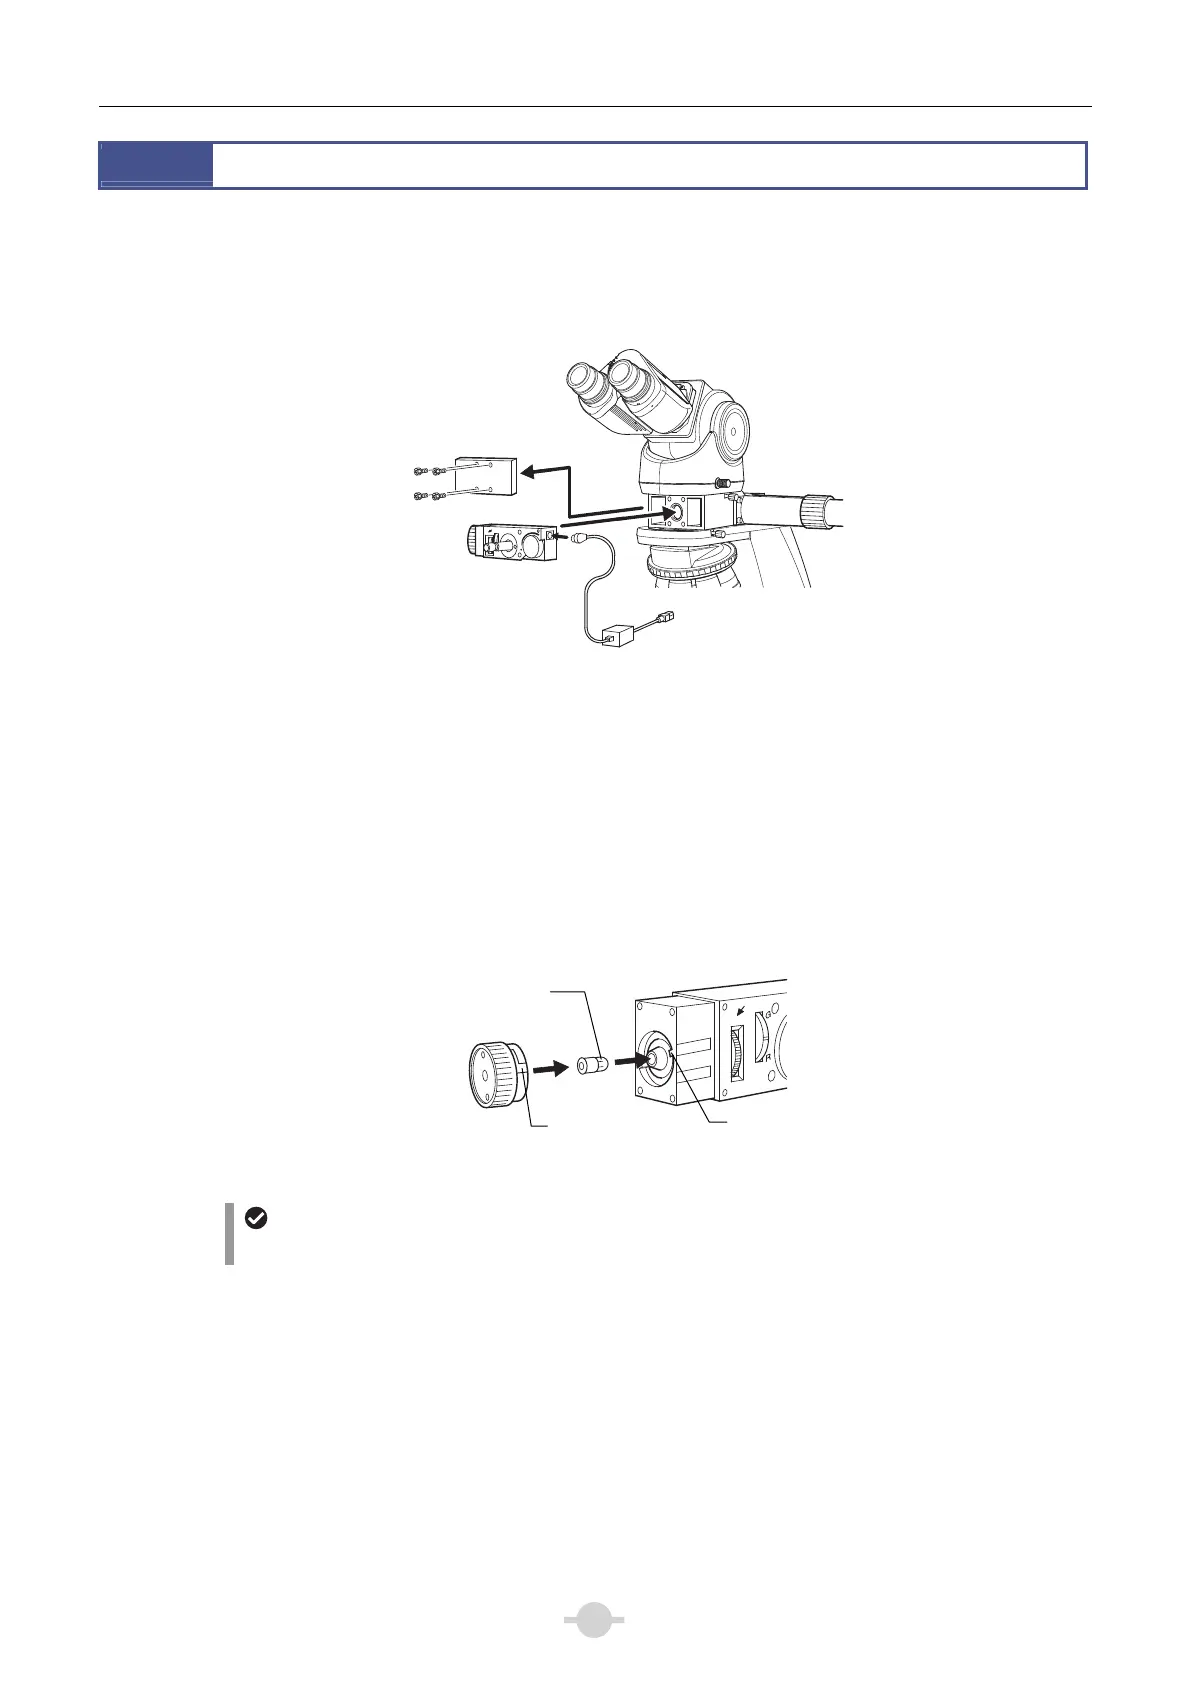
Mounting the pointer
Mount the pointer on the front side of the main observer section with the provided hexagonal wrench.
When a multi-viewing attachment for 10 persons is being used, mount the pointer on the lower part (the front side
of the MTH main splitter).
Be sure to use the AC adapter provided with the pointer.
G
<Attaching/replacing the lamp> (Only for the Y-THP Pointer Unit)
Allow the lamp to cool before replacing it. Before replacing the lamp, turn the arrow brightness control
counterclockwise as far as it will go to turn off the arrow and then unplug the AC adapter plug from the wall outlet.
(1) Push and turn the lamphouse cover approximately 45° counterclockwise to remove it.
(2) Position the illuminating part of the lamp inward and insert the lamp into the socket.
(3) Return the lamphouse cover to its original position. (Align the protrusion with the notch and turn the cove
clockwise as far as it will go.)
Remarks
You cannot replace the built-in LED in the Y-THPL LED Pointer Unit.
Pointer
Plastic cover
C adapte
To the power cord
Lamphouse cover
Illuminating part
Lamp
Protrusion
Notch

 Loading...