14
www.sharkninjamanual s.com
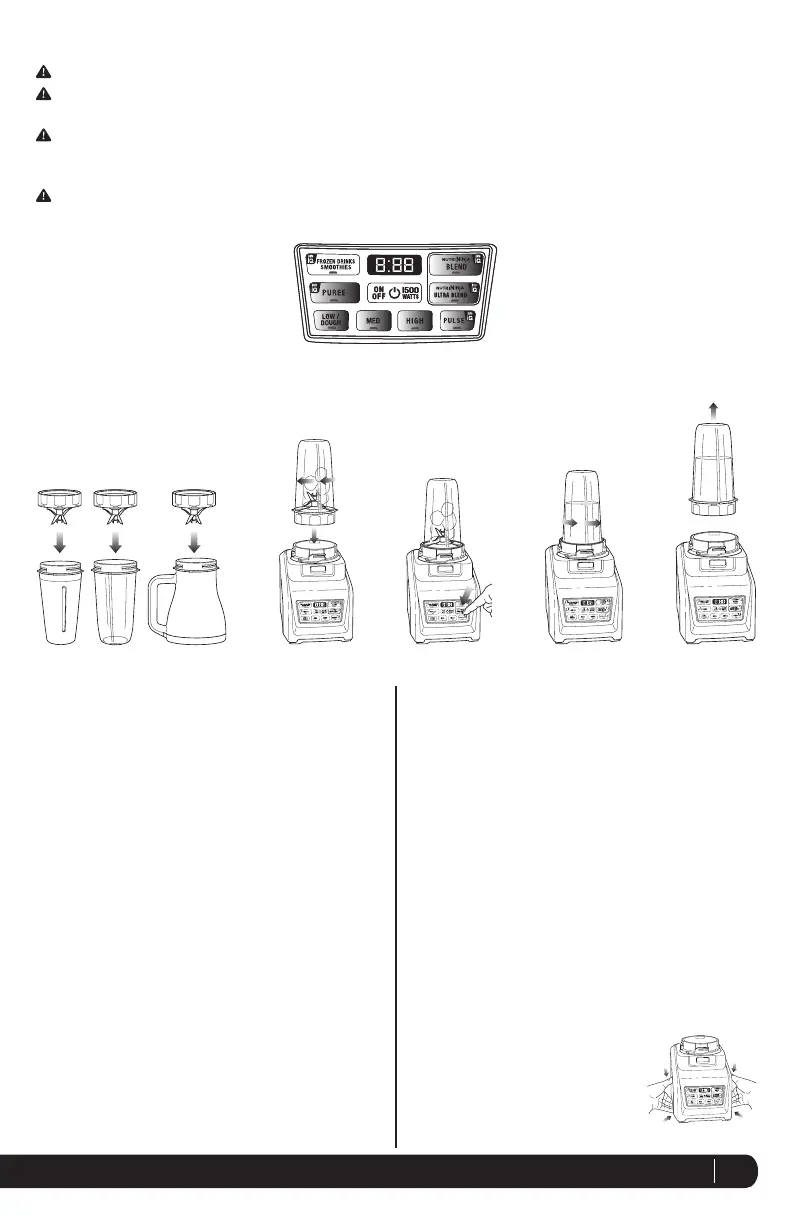
Fig. 2
or or
Fig. 3 Fig. 4 Fig. 5
AU
T
Fig. 6
Fig. 1
Assembly and Use for the Nutri Ninja
®
Cups
WARNING: Never leave the appliance unattended while in use.
CAUTION: Pro Extractor Blades
™
are sharp and removable, handle with care. When handling the Pro
Extractor Blades, do not hold the blades, always hold by the base of the Pro Extractor Blades.
CAUTION: Do not put hot liquids in the Stainless Steel 650 ml Ninja Cup before blending. Start with cool or
room temperature liquid. Heated liquid can create internal pressure in a sealed cup, which may erupt on
opening and cause a burn injury.
CAUTION: DO NOT BLEND HOT LIQUIDS. Allow the liquids and foods to cool to room temperature before blending.
IMPORTANT: Make sure that the motor base is plugged in for use.
IMPORTANT: When processing soft dry ingredients
such as day-old bread or cheese use quick, short 1
second pulses. Do not overfill to avoid overheating the
appliance. Allow the appliance to cool after each use.
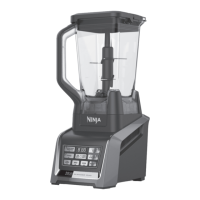
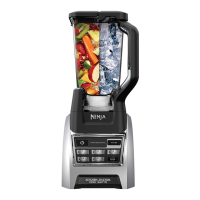
NOTE: Nutri Ninja | Ninja
®
Blender Duo with Auto-iQ
®
Technology can sense which jar is on the motor base.
The available function lights will illuminate depending
on which jar is placed on the motor base. (Fig. 1)
1 Place the motor base on a clean, dry, level surface such
as a counter or table top. Press down on the motor
base to make sure that the suction cups adhere to the
counter or table top.
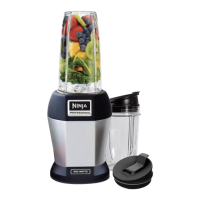
2 Add ingredients to the Nutri Ninja cup.
3 Place the Pro Extractor Blades onto the cup and tightly
screw it on clockwise until you have a good seal. (Fig. 2)
4 Turn the Nutri Ninja cup upside down and place it onto the
motor base, aligning the tabs on the cup with the motor base.
Rotate the Nutri Ninja cup clockwise until it locks in place,
you will hear a click when the lock is engaged. (Fig. 3)
5 Press the power button on, and select the speed or
Auto-iQ program that suits your needs. (Fig. 4) The
Auto-iQ program will stop the appliance automatically
at the end of the program.
6 To pause the appliance, press the selected speed or
Auto-iQ program a second time. When the program is
paused, the light on the program button will flash until
you press it again to resume the rest of the program.
7 Once you have reached your desired consistency, stop the
appliance by pressing the power button and wait for the
Pro
Extractor Blades
to stop turning. Turn the Nutri Ninja
®
cup
anticlockwise and pull straight up to remove. (Fig. 5, Fig. 6)
NOTE: Do not overfill! To avoid spilling, do not add
ingredients past the “MAX” fill line.
8 Turn the cup upright and remove the Pro Extractor Blades
by twisting the Pro Extractor Blades anticlockwise.
9 Place the Sip & Seal
®
lid onto the Nutri Ninja
®
cup,
twist to seal and enjoy!
NOTE: Sip & Seal lid not intended for use with the XL
Multi-serve 1.4 L Ninja Jar.
10 Make sure that the motor base is unplugged when not in use.
11 To release the motor base from the
counter or table top, place your hands
underneath both sides of the motor
base and gently pull the unit up and
towards you. (Fig. 7)
Fig. 7
ASSEMBLY USE REMOVAL
 Loading...