10
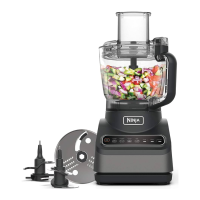
Assembly and Use of the Shredding/Slicing Disc with the Bowl
Fig. 7 Fig. 10
Fig. 8 Fig. 9
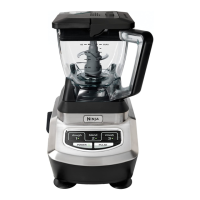
On/Off
Switch
IMPORTANT: Never feed food by hand.
Always use the food pusher to add food
through the feeder tube on the fully
assembled unit.
IMPORTANT: Avoid contacting moving
parts.
1 Place the motor base on a clean, dry,
level surface such as a counter or table
top.
2 Align and lower the bowl onto the motor
base. Handle should be aligned slightly
to the left of the “LOCK” symbol on the
motor base.
3 Rotate the container to the left as far as
it will go to lock in place.
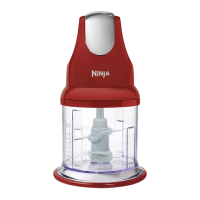
4 Insert the spindle into the bowl. (Fig. 7)
5 Hold the disc by the plastic hub and
carefully place the shredding/slicing disc
onto the spindle. (Fig. 8)
6 Holding the lid by the feeder tube, place
it on top of the bowl aligning the on/off
switch with the bowl’s handle. (Fig. 9)
CAUTION: Shredding/Slicing disc is sharp! Handle with care. Make sure that the
appliance is unplugged from the power source before inserting or removing the
shredding/slicing disc and before cleaning.
CAUTION: SHREDDING/SLICING DISC
IS SHARP! HANDLE CAREFULLY WHEN
CLEANING.
7 Place food into the feeder tube. Using
the food pusher, add food through the
feeder tube. Push the on/off switch
forward to the “On” position. (Fig. 10)
8 When you have finished slicing or
shredding, release the on/off switch to
turn the appliance off. Wait for the disc
to stop turning and then remove the lid.
9 Hold the shredding/slicing disc by the
hub to remove and then remove the
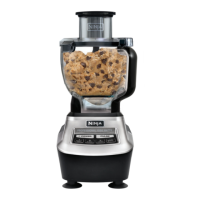
spindle. Empty the food from the bowl.
10 The spindle, shredding/slicing disc,
lid and food pusher are all top rack
dishwasher safe.
BL206Q_30_IB_ENG_111228_1.indd 10 11-12-29 10:49 AM
 Loading...