Net calls
5
Copyright © 2007 Nokia. All rights reserved.
Define a SIP profile
1 Select > Tools > Settings > Connection >
SIP settings > Options > New SIP profile.
Contact your net call service provider for the correct
information.
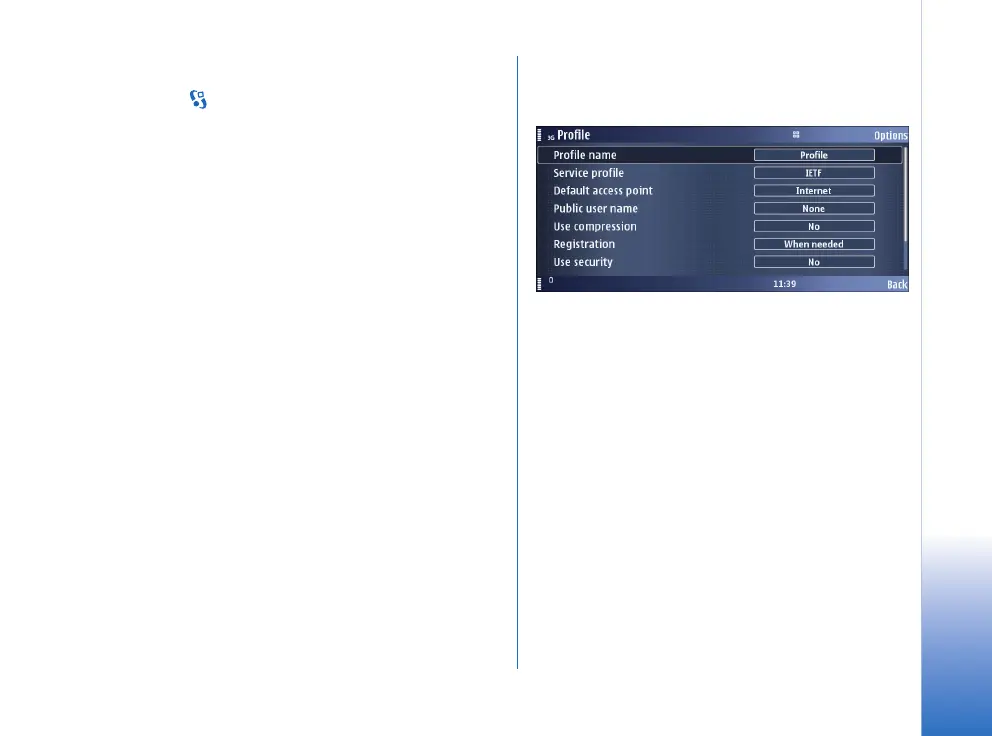
Define the following settings:
• Profile name — Enter a name for the SIP profile.
• Service profile — Select IETF or Nokia 3GPP as specified
by your service provider. The default is IETF.
• Default access point — Select the access point to use
for the Internet connection.
• Public user name — Enter your user name received
from your service provider.
• Use compression — Select Yes or No as specified by
your service provider. The default is No.
• Registration — For automatic login, set the
registration mode to Always on. For manual login, set
it to When needed.
• Use security — Select Yes or No as specified by your
service provider. The default is No.
• Proxy server — Enter the proxy server settings for this
SIP profile. See “Define SIP proxy server details”, p. 5.
• Registrar server — Enter the registration server
settings for this SIP profile. See “Define registration
server details”, p. 6.
2 Select Back until you return to the Connection menu.
Define SIP proxy server details
1 Select Proxy server.
Proxy servers are intermediate servers between a
browsing service and its users used by some service
providers. These servers may provide additional
security and speed up access to the service.
Define the following settings:
• Proxy server address — Enter the host name or IP
address of the proxy server in use.
• Realm — Enter the proxy server realm.
• User name and Password — Enter your user name and
password for the proxy server.
• Allow loose routing — Select Yes or No as specified by
your service provider. The default is Yes.
• Transport type — Set the Transport type to Auto.
• Port — Enter the port number of the proxy server.

 Loading...