15
5 Installation of the Water Heater
5.1 Mounting the Water Heater to the
wall
• Protect your hands with gloves and take
caution to not inflict injury.
• Be careful not to hit electrical wiring, gas, or
water piping while drilling holes.
CAUTION
• The weight of the appliance will be applied
to the wall. If the strength of the wall is not
sufficient, reinforcement must be done to
prevent the transfer of vibration.
• Install the appliance on a vertical wall and
ensure that it is level.
• The Water Heater will make noise during
operation. Depending on the construction
of the building, this noise may be noticeable
within the building while operating. Avoid
installing the Water Heater in a location (e.g.
adjacent to bedroom, office) where this noise
may become a nuisance.
NOTICE
Do not drop or apply unnecessary force to the
appliance when installing. Internal parts may be
damaged and may become highly dangerous.
WARNING
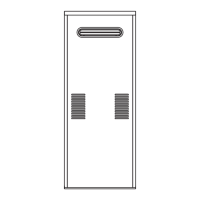
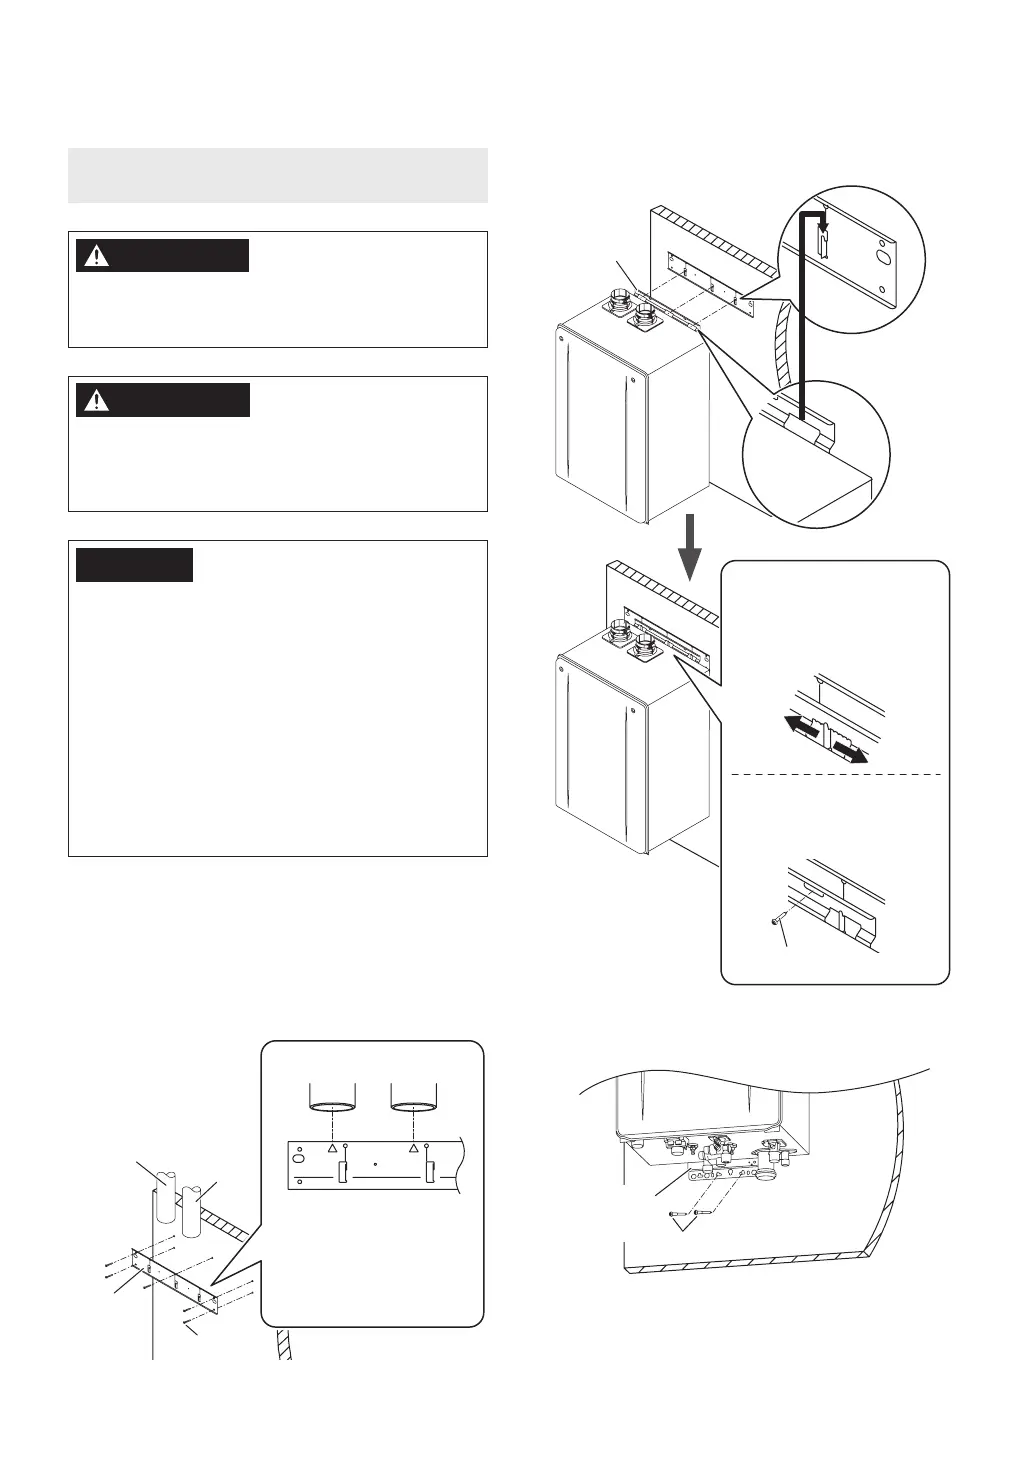
1. Ensure that the Wall Mounting Bracket is
leveled.
Drill holes for the Wall Mounting Bracket and
affix the Wall Mounting Bracket securely to the
wall by 5 screws.
Finally, make sure the bracket can support the
weight of the Water Heater.
2. Hang the Water Heater on the Wall Mounting
Bracket.
After hanging the Water
Heater, you have the ability
to move either left or right
to position the Water Heater
in the appropriate spot.
Once positioned, a screw
(see below) can be fastened
to ensure no horizontal
movement will occur.
(Not supplied
from Noritz.)
Mounng
Bracket
(Upper)
Hang
3. Affix the Mounting Bracket (Lower) to the wall
by 2 screws.
Anchoring Screw
Mounting
Bracket
(Lower)
The bracket has marking to
assist with ensuring properly
aligned connections. Align
the intake and exhaust vent
center line with the
corresponding mark on the
bracket.
Anchoring
Intake
Vent
Intake
Vent
Exhaust
Vent
Exhaust
Vent
Installation of the Water Heater
 Loading...