INSTALLATION MANUAL
INSTALLATION
13
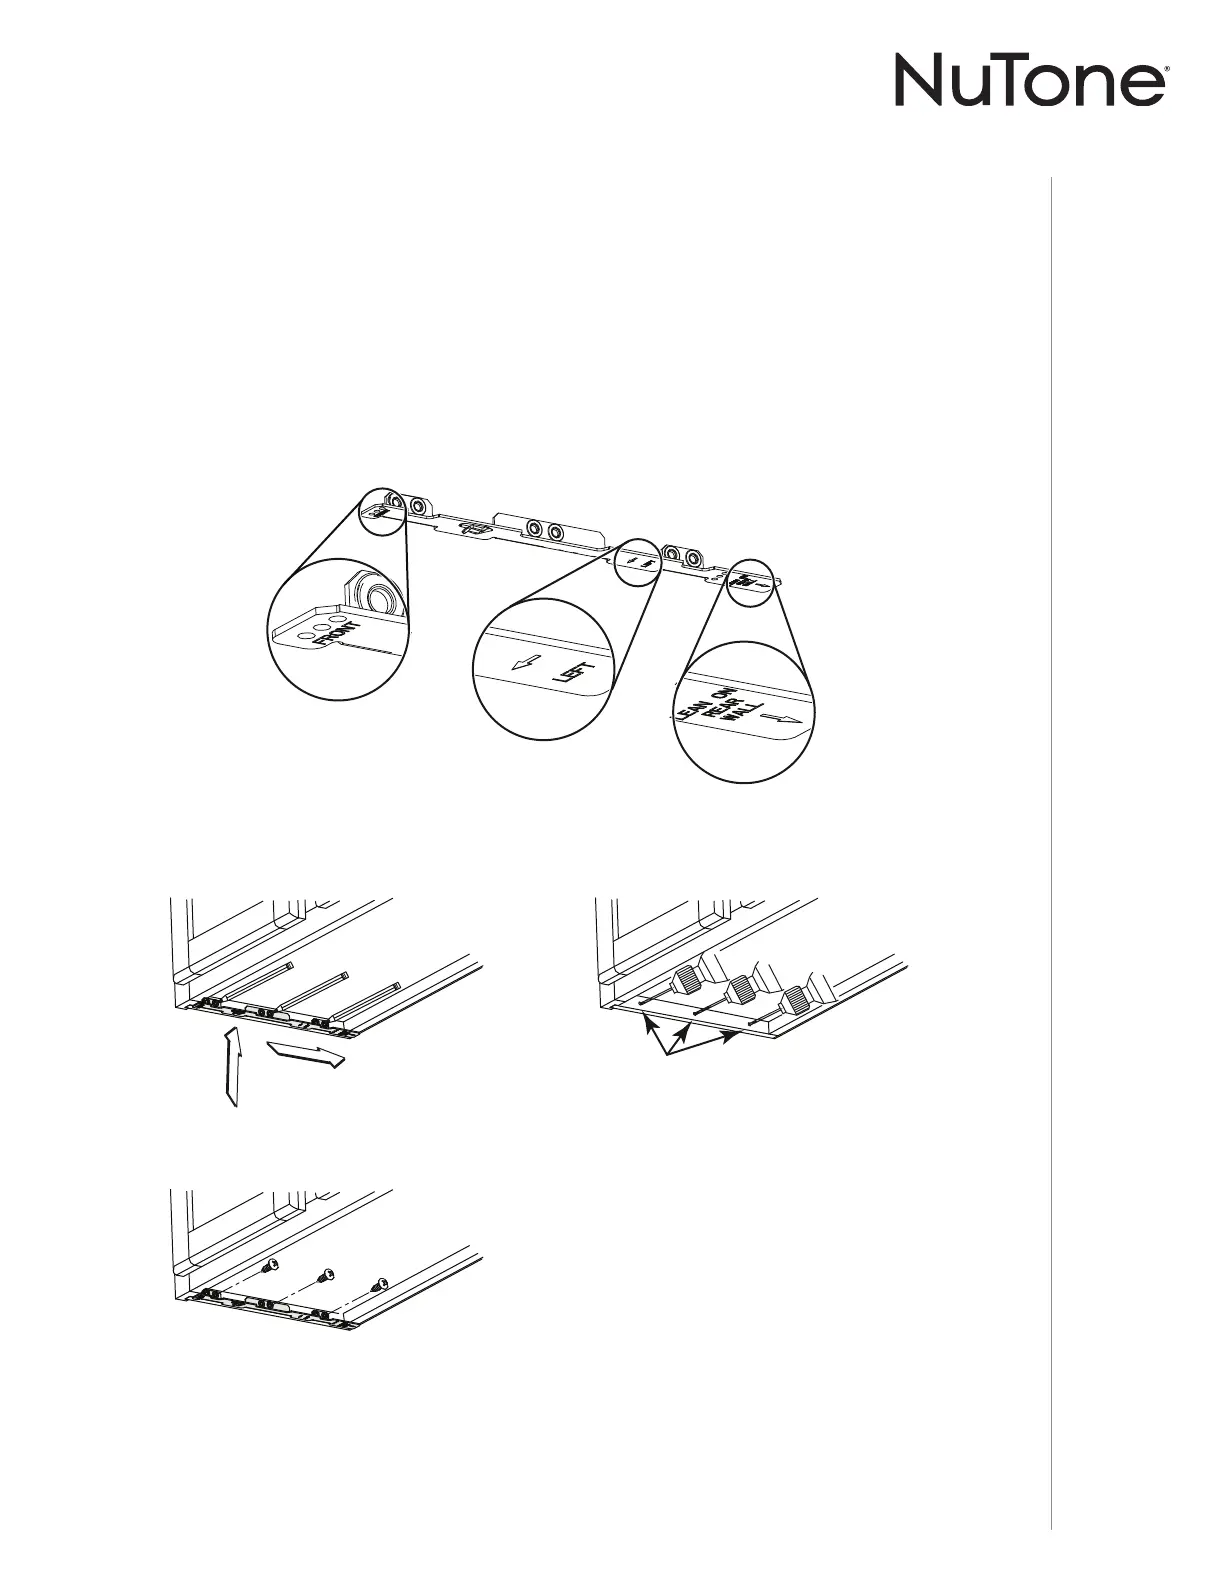
FRAMED CABINET
7/64”
XY
Z
Refer to the marking on the brackets to determine the correct installation side and
orientation.
Mate the corresponding bracket to the cabinet side frame, while placing rear end
of bracket against the wall. Use a pencil to mark 3 holes (there are 6 holes but only
3 are necessary).
Remove the bracket. Using a 7/64” drill bit, drill 3 holes where marked.
Assemble the bracket to the side frame using a Phillips screwdriver and 3 provided
no. 8 x 5/8” wood screws. Repeat for the other side frame.
7 ] Install the proper installation brackets according to the type of cabinet (framed or frameless).
See below.
4 ] Drill a 1/8” dia. pilot hole for house wiring, at A location on template.
5 ] Use a sharp pencil or 1/8” drill bit to mark the locations for the appropriate duct access
holes (16 locations for 7” round duct, or 4 corner locations for rectangular duct). Remove the
template.
6 ] Draw the border for the exhaust ducting by linking its marks (16 for round duct and 4 for
rectangular duct), then cut the opening in the cabinet bottom (vertical exhaust) or in the wall
(horizontal exhaust). Drill the house wiring hole by using a 1½” hole saw centered with the
pilot hole previously made in 4.
 Loading...